Introduction
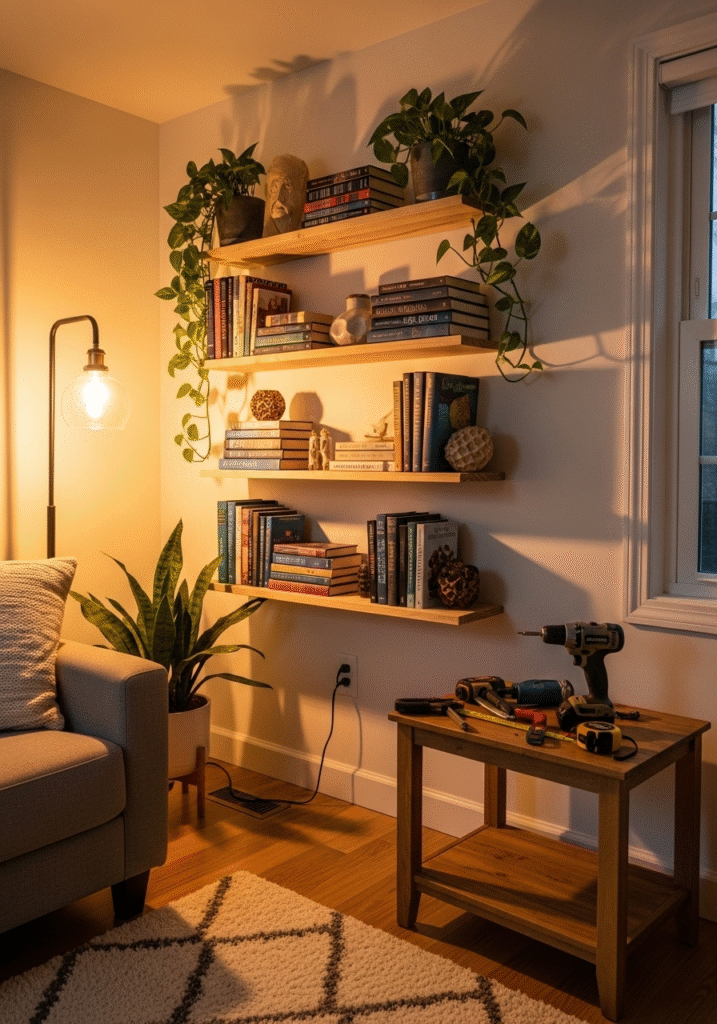
A wall-mounted bookshelf is more than just a storage solution—it’s a way to showcase your personality, style, and love for books. Instead of spending money on store-bought shelves that may not fit your space or aesthetic, why not build your own? This comprehensive DIY guide will teach you how to create a custom wall-mounted bookshelf step by step, using affordable materials and basic tools. Whether you’re looking to declutter your living room, organize your home office, or add a decorative focal point to any room, this project is perfect for beginners and experienced DIYers alike.
You’ll learn how to plan your design, choose the right type of wood, measure and cut accurately, assemble the shelf, and securely mount it to your wall. Along the way, we’ll share tips on finishes, paint, and styling ideas to make your bookshelf stand out. Not only will you gain a practical and stylish addition to your home, but you’ll also enjoy the satisfaction of building something with your own hands. By the end of this guide, you’ll have a functional, beautiful bookshelf that reflects your creativity and helps keep your space tidy and inviting.
Why Choose a Wall-Mounted Bookshelf?
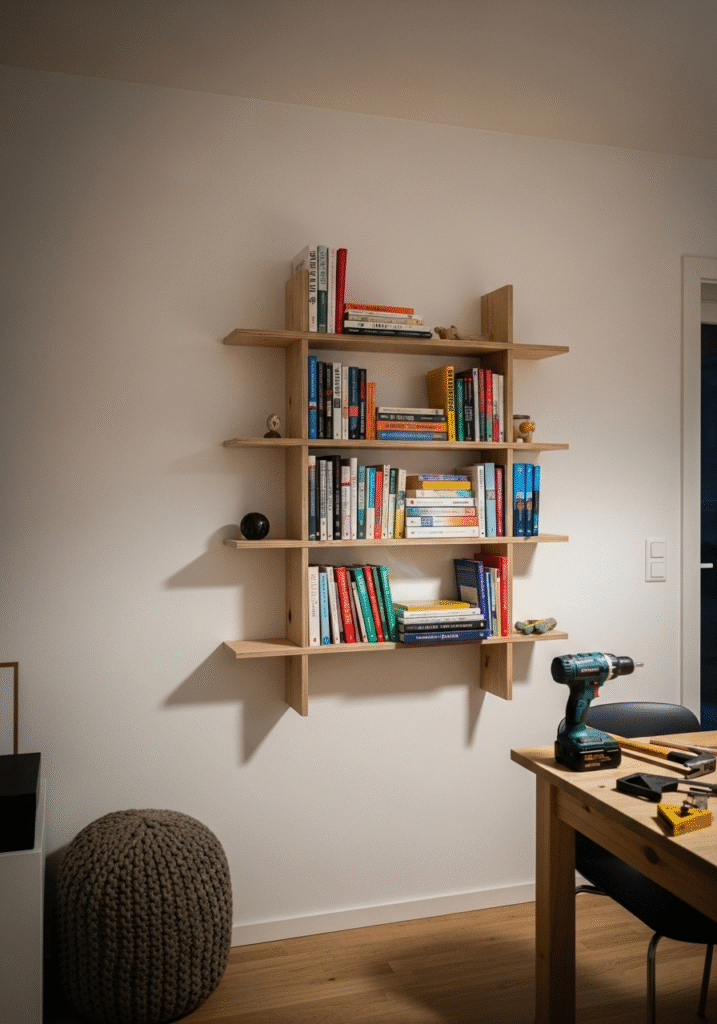
A wall-mounted bookshelf is one of the smartest additions you can make to your home, offering a perfect balance of functionality and style. Unlike bulky freestanding bookshelves that can overwhelm a room, wall-mounted shelves maximize vertical space, freeing up your floors and making even the smallest rooms feel more open and organized. This is especially ideal for compact apartments, home offices, or cozy bedrooms where every inch of space counts.
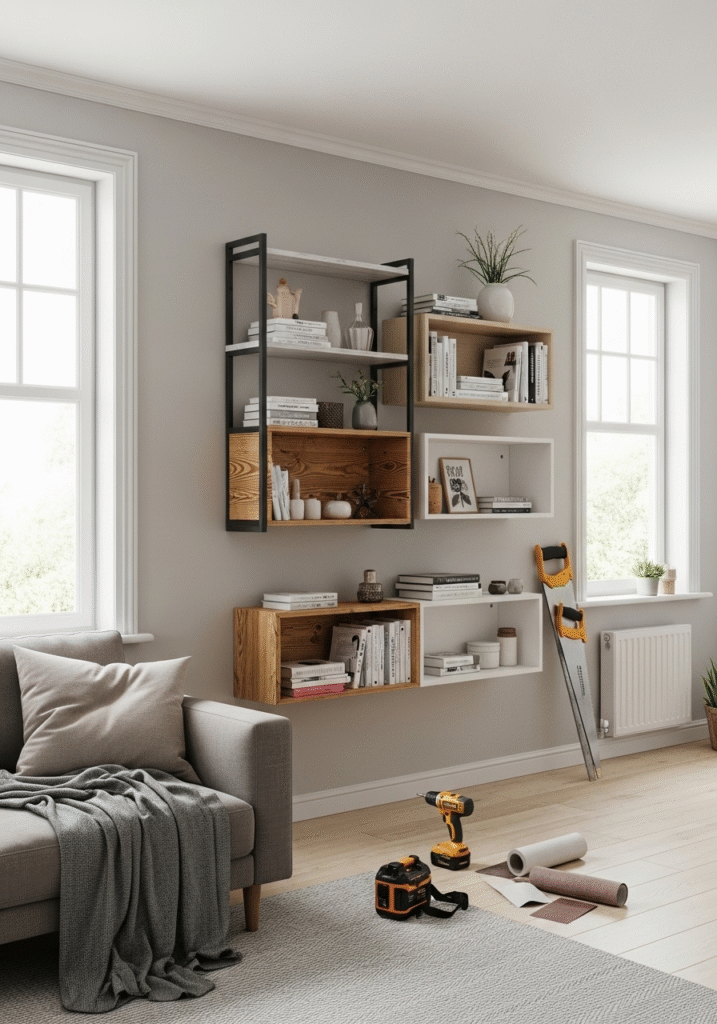
Beyond saving space, wall-mounted bookshelves allow you to express your personal style. With countless design options—whether sleek and minimalist, rustic and farmhouse-inspired, or bold and modern—you can customize your shelves to complement your existing décor. Play with different wood finishes, paint colors, or unique arrangements to turn your bookshelf into a statement piece that elevates your interiors.
Perhaps one of the biggest advantages is affordability. Store-bought shelves often come with a hefty price tag, especially for high-quality or designer pieces. But with a simple DIY approach, you can create a beautiful, sturdy wall-mounted bookshelf for a fraction of the cost. All you need are some basic materials, tools, and a little creativity. Plus, building it yourself gives you full control over the size, style, and finish—ensuring it fits your space perfectly.
Whether you’re an avid reader looking to organize your growing collection, or someone seeking a decorative element to display plants, photos, or art, a wall-mounted bookshelf is a versatile solution. It’s more than just storage—it’s a way to transform your walls into a functional and stylish feature that enhances your living space.
Materials You’ll Need
Before you begin building your DIY wall-mounted bookshelf, it’s important to gather all the necessary materials and tools. Having everything prepared in advance will save you time and help your project run smoothly from start to finish.
Materials:
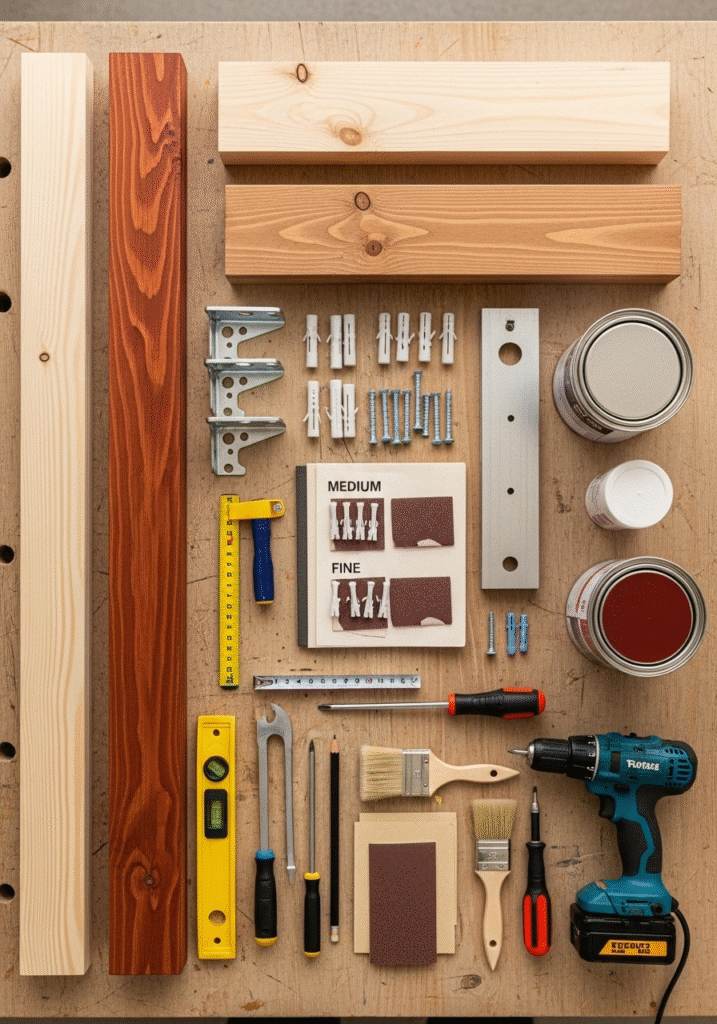
- Wooden Planks: Choose high-quality wood for durability and appearance. Hardwood options like oak or pine are excellent choices, offering strength and a beautiful natural finish. You can select the thickness and length based on the size of your bookshelf and how much weight you plan to place on it.
- Wall Brackets or Floating Shelf Brackets: These are essential for supporting your shelves. Traditional wall brackets provide visible support, while floating shelf brackets give a sleek, modern, “floating” appearance without visible hardware.
- Screws and Wall Anchors: Use sturdy screws and appropriate wall anchors to ensure your bookshelf is securely mounted, especially if you’re drilling into drywall or plaster.
- Sandpaper (Medium and Fine Grit): To smooth the wood surface and edges, start with medium grit and finish with fine grit for a polished look.
- Wood Stain or Paint (Optional): Add color or enhance the natural beauty of your wood with a stain or paint that complements your home décor.
- Clear Sealant: Protect your finished shelf from scratches, moisture, and wear with a clear coat of sealant.
Tools:
- Drill & Screwdriver: Essential for drilling holes and securing screws into both the wall and brackets.
- Level: To ensure your shelves are perfectly straight and aligned.
- Measuring Tape & Pencil: For precise measurements and marking drill points accurately.
- Paintbrush or Cloth: Needed for applying wood stain, paint, or sealant evenly.
By assembling these materials and tools beforehand, you’ll set yourself up for a smooth, enjoyable DIY experience. Whether you’re building a single small shelf or an entire wall unit, these essentials are the foundation of a sturdy and attractive wall-mounted bookshelf.
Step-by-Step Guide to Building Your DIY Wall-Mounted Bookshelf
Building your own DIY wall-mounted bookshelf is an incredibly rewarding project that not only saves you money but also gives you a beautiful, custom piece to enhance your living space. Follow this detailed step-by-step guide to create a sturdy, stylish bookshelf that reflects your personality and fits perfectly in your home.
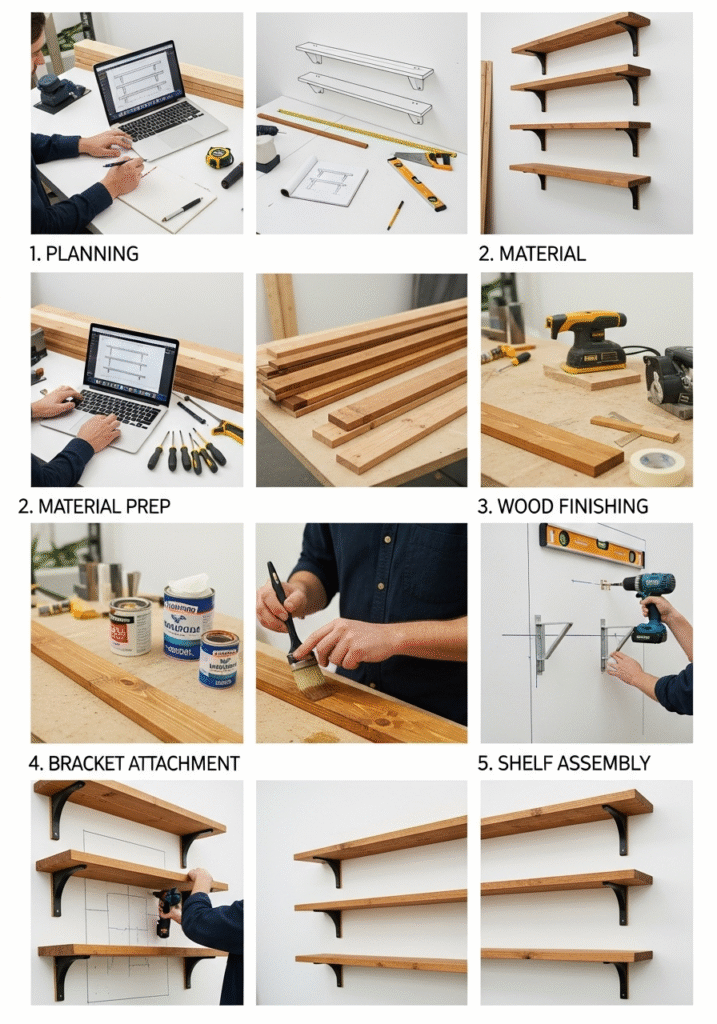
Step 1: Plan Your Bookshelf Design
The first and most important step is planning. Take precise measurements of the wall where you plan to mount your bookshelf. Decide on the length, depth, and height of your shelves to ensure they meet your needs and complement your space. A standard shelf depth of 10–12 inches works well for most books, while a vertical space of 10–15 inches between shelves allows room for taller books or decorative items. Sketch a rough design to visualize how your bookshelf will look, including how many shelves you want and the placement of each one. This step helps avoid mistakes later and ensures your project fits seamlessly into your chosen room.
Step 2: Cut and Prepare the Wood
If you’re using pre-cut wooden planks, you can skip the cutting process. Otherwise, measure and mark your planks carefully according to your design plan. Use a saw to cut the wood to your desired length, making sure to follow safety precautions. Once cut, sand all sides thoroughly—start with medium-grit sandpaper to smooth out rough areas and finish with fine-grit sandpaper for a polished surface. Proper sanding ensures the wood is safe to handle and gives a professional finish when stained or painted later.
Step 3: Stain or Paint the Wood (Optional)
Customizing the appearance of your shelves adds personality and style. If you prefer a natural wooden look, apply a wood stain using a cloth or brush, then wipe away excess for an even finish. Allow the stain to dry fully before applying a second coat for richer color. For protection, seal the wood with a clear finish to guard against scratches and moisture. If you prefer a painted look, matte black or white paint can create a modern, minimal aesthetic, while bold colors can make your shelves stand out as a feature wall.
Step 4: Install the Brackets
Next, position the brackets on the wall. Use a pencil to mark where each bracket will go, ensuring even spacing and alignment with a level. Drill pilot holes into your marked spots. If you’re attaching the brackets to drywall, use wall anchors to provide extra support and prevent sagging. Once the anchors are in place, secure the brackets tightly with screws. It’s important to check with a level after installing each bracket to ensure your shelves won’t tilt or look uneven.
Step 5: Mount the Shelves
Now it’s time to bring your project to life. Place your prepared wooden planks onto the installed brackets, aligning them carefully. Secure the planks by screwing them into the brackets from underneath or using the provided bracket hardware. Double-check with a level to confirm that the shelf is perfectly horizontal before tightening all screws. Repeat this process for additional shelves, maintaining consistent spacing between them for a clean, professional look.
When finished, step back and admire your handiwork. Not only have you created a functional storage solution, but you’ve also added a decorative feature that enhances your space and reflects your creativity.
Creative Ideas for Styling Your Bookshelf
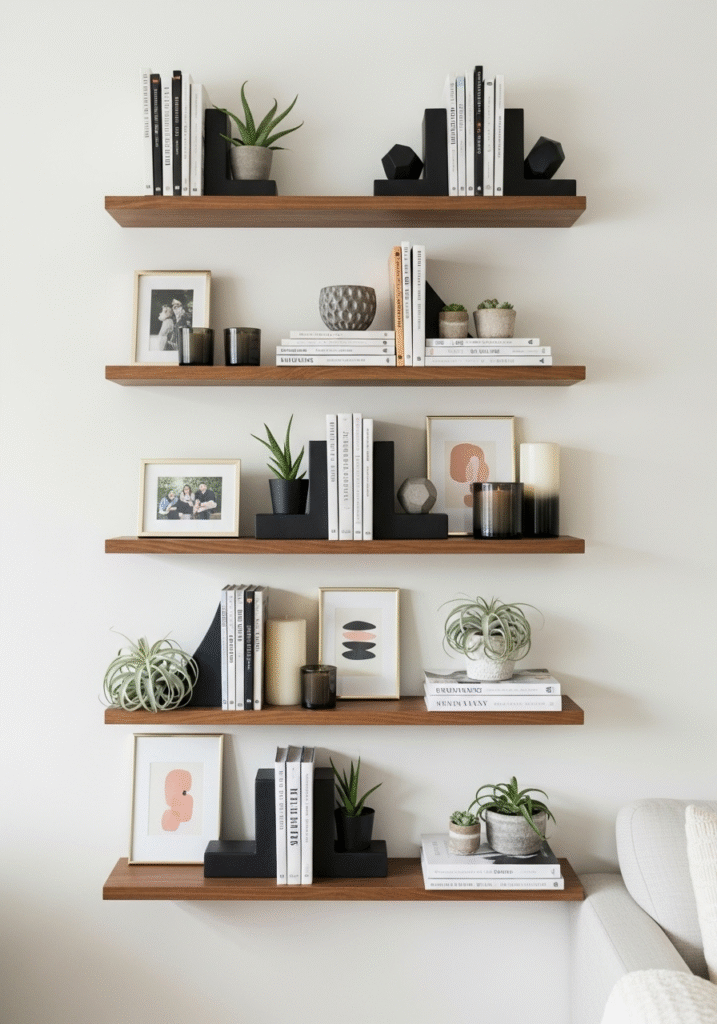
Once your DIY wall-mounted bookshelf is securely installed, the fun part begins—styling it! A well-decorated bookshelf does more than just hold your favorite reads; it can become a stunning focal point that enhances the overall ambiance of your room. With a little creativity, you can transform your shelves into a curated display that reflects your personality and complements your interior design.
Start by arranging your books in a way that feels fresh and visually interesting. Instead of lining them up traditionally, try alternating between vertical and horizontal stacks. Horizontal piles can break up the uniformity and create space for displaying decorative objects on top. For a minimalist and modern look, organize books by color to create a stylish “rainbow” effect or stick to a neutral palette for a more calming vibe.
Incorporate potted plants or succulents to add life and a natural touch to your shelves. Small plants not only bring in greenery but also help soften the structure of the shelves, making the overall arrangement feel more balanced and inviting.
For a personal touch, display framed photos, candles, or small pieces of art alongside your books. These accents can tell a story and make your bookshelf feel like an extension of your home rather than just a storage unit. Vary the heights and shapes of these items to create layers and dimension in your styling.
Lastly, don’t forget decorative bookends. They are both functional and stylish, helping to keep your books upright while also acting as art pieces themselves. From sleek metal designs to quirky, character-filled options, bookends can reinforce your chosen theme and add a pop of personality.
By thoughtfully styling your bookshelf with these ideas, you’ll create a space that feels organized, beautiful, and uniquely yours. Whether your shelves are packed with novels or carefully curated with a mix of décor, they’ll surely draw compliments from guests and bring you joy every time you see them.
Common Mistakes to Avoid
Even the simplest DIY projects can run into issues if you’re not careful, and building a wall-mounted bookshelf is no exception. To ensure your hard work results in a sturdy, stylish, and long-lasting shelf, it’s important to avoid some common mistakes that many beginners make. Here’s what to watch out for:
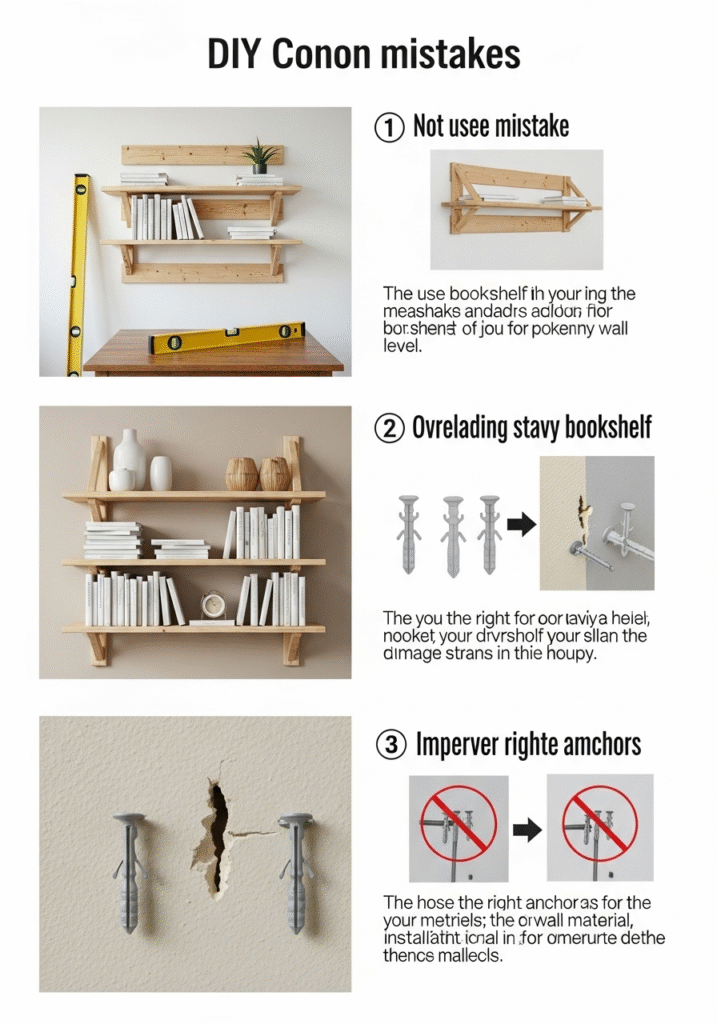
Skipping the Level
One of the most frequent mistakes is neglecting to use a level during installation. Uneven shelves not only look unprofessional but can also lead to practical issues—books sliding off, decorative items tipping over, and an overall unbalanced appearance. Always double-check with a level when marking bracket positions, drilling holes, and placing the shelf. Taking this extra step ensures a flawless, horizontal alignment that elevates the overall look of your project.
Overloading the Shelf
It’s easy to get carried away once your bookshelf is up, especially if you’re eager to display a large collection of books, décor, or plants. However, every shelf has a weight limit based on the type of wood, brackets, and wall anchors used. Overloading can cause the shelf to sag over time—or worse, pull away from the wall entirely. To prevent accidents, check the weight capacity of your brackets and anchors, and distribute heavier items evenly across the shelf.
Ignoring Wall Type
Not all walls are created equal, and using the wrong hardware for your wall type can result in a weak installation. Drywall, plaster, and brick each require specific anchors and screws to hold a shelf securely. For drywall, use heavy-duty wall anchors or toggle bolts; for brick or concrete, masonry screws or anchors are essential. Skipping this step could lead to your shelf pulling out of the wall and damaging both your wall and belongings.
By keeping these pitfalls in mind, you’ll set yourself up for success and create a wall-mounted bookshelf that’s both beautiful and dependable. Remember, a little extra care during installation goes a long way in ensuring your DIY project stands the test of time.
Benefits of a DIY Wall-Mounted Bookshelf
Choosing to build your own wall-mounted bookshelf comes with a host of benefits that go beyond simple storage. Not only do you get a functional and stylish addition to your home, but you also enjoy the satisfaction of creating something uniquely yours. Here’s why a DIY bookshelf is such a rewarding project:
Customization
One of the greatest advantages of going the DIY route is complete creative freedom. Unlike store-bought shelves, which come in fixed sizes, colors, and materials, a DIY bookshelf allows you to design it exactly the way you want. Choose your preferred type of wood—whether it’s rich, dark oak for a classic look or light pine for a modern feel. Select stains or paint colors that perfectly complement your décor, and customize the size to fit your space and storage needs. Whether you want a single floating shelf or a full wall of staggered shelves, the possibilities are endless.
Satisfaction
There’s something incredibly rewarding about building a piece of furniture with your own hands. From planning and measuring to cutting, assembling, and finally mounting your shelf, every step brings a sense of accomplishment. Each time you glance at your finished bookshelf, you’ll be reminded of your effort and creativity. It’s more than just a piece of furniture—it’s a project you can take pride in and even showcase to family and friends.
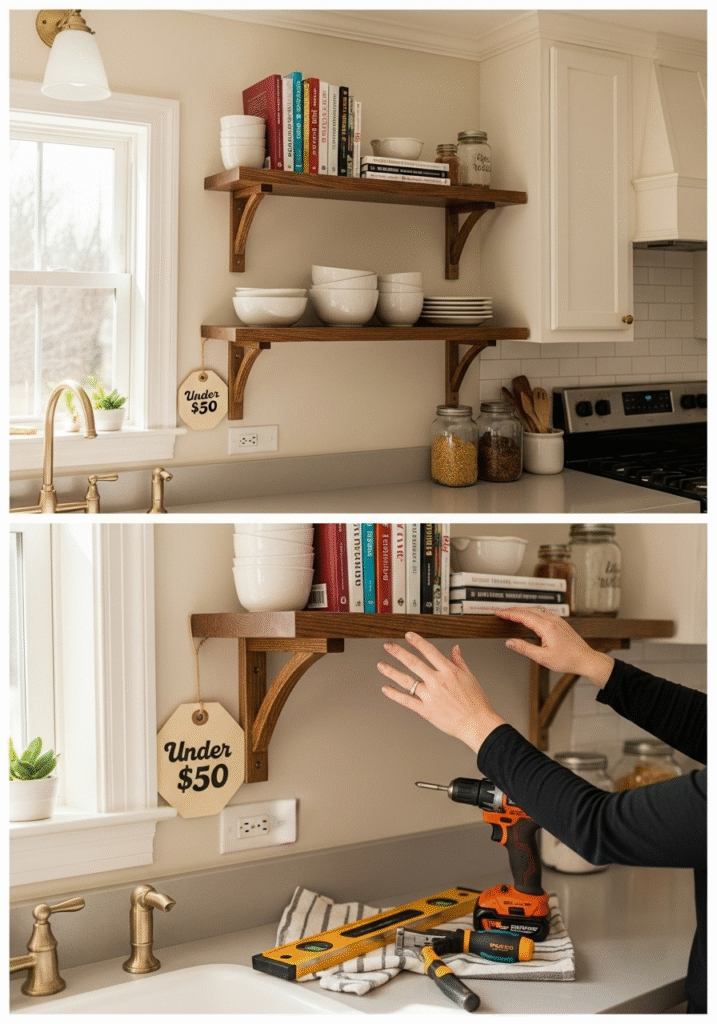
Cost Savings
High-quality, store-bought wall-mounted shelves can be surprisingly expensive, often costing hundreds of dollars—especially for custom sizes or premium materials. By building your own, you can create a beautiful, durable shelf for a fraction of the price. With some smart material choices and basic tools, many DIYers are able to complete their shelves for under $50. This makes it an affordable option for renters, homeowners, and anyone decorating on a budget.
In the end, a DIY wall-mounted bookshelf doesn’t just save space and money; it also gives you a piece of functional art that’s tailored to your style and space. It’s a project that pays off in both practicality and personal satisfaction.
Conclusion
Creating your own DIY wall-mounted bookshelf is more than just a weekend project—it’s an opportunity to transform your living space in a meaningful and personal way. With a few basic tools, some affordable materials, and a little bit of your time, you can build a bookshelf that’s both functional and beautiful. Not only does it help declutter your home by providing organized storage for books and decorative items, but it also serves as a stylish feature that reflects your unique taste and creativity.
This project is perfect for both beginners and experienced DIYers. It teaches valuable skills like measuring, cutting, finishing, and mounting, while giving you the satisfaction of seeing your work come to life. Plus, the flexibility to customize your shelf—choosing the size, shape, color, and style—means you’ll end up with a piece that fits seamlessly into your home décor and meets your storage needs perfectly.
And let’s not forget the cost savings. Instead of spending hundreds on a pre-made shelf, you can build your own for a fraction of the price, all while enjoying the rewarding experience of crafting something with your own hands.
So why wait? Gather your materials, grab your tools, and get started on building the bookshelf of your dreams. With each step, you’ll move closer to creating a space that’s more organized, stylish, and truly your own. This small DIY project can make a big impact—and you’ll enjoy its benefits for years to come.
