Introduction
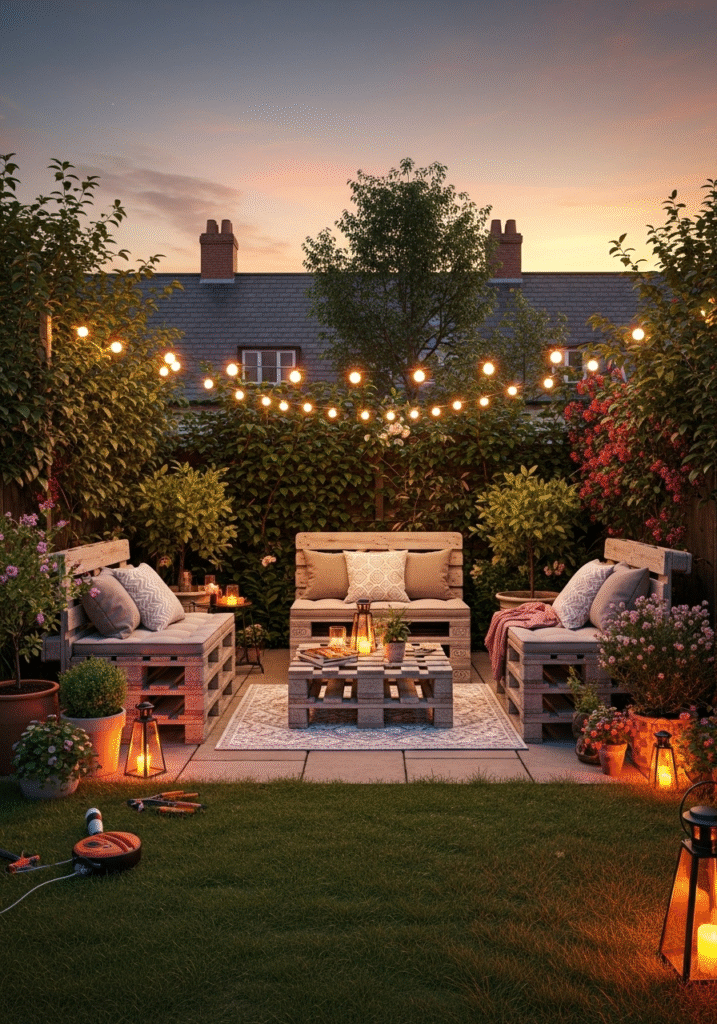
Looking for a budget-friendly and creative way to upgrade your outdoor space? Imagine transforming your garden into a cozy, stylish retreat using nothing more than reclaimed wooden pallets and a touch of DIY magic. In today’s world of sustainable living and personalized décor, pallet furniture has taken center stage among DIY enthusiasts and furniture lovers alike. It’s not only an affordable alternative to expensive outdoor sets, but also an eco-friendly option that adds rustic charm and character to your backyard.
In this comprehensive blog, we’ll explore how to create beautiful and functional pallet furniture for garden sitting—perfect for lounging, entertaining, or simply enjoying nature. Whether you’re a beginner or an experienced crafter, we’ll guide you through every step, from selecting the right pallets to designing, assembling, and finishing your custom outdoor pieces. You’ll discover inspiring ideas for pallet benches, coffee tables, garden sofas, and even swing seats.
We’ll also share important safety tips, creative design hacks, and maintenance advice to help your furniture last for seasons to come. With the right tools and a little imagination, you can turn your garden into a welcoming oasis that reflects your personal style—without breaking the bank.
Get ready to embrace the DIY spirit and bring your garden to life with sustainable, stylish pallet furniture!
1. Why Choose Pallet Furniture for Your Garden?
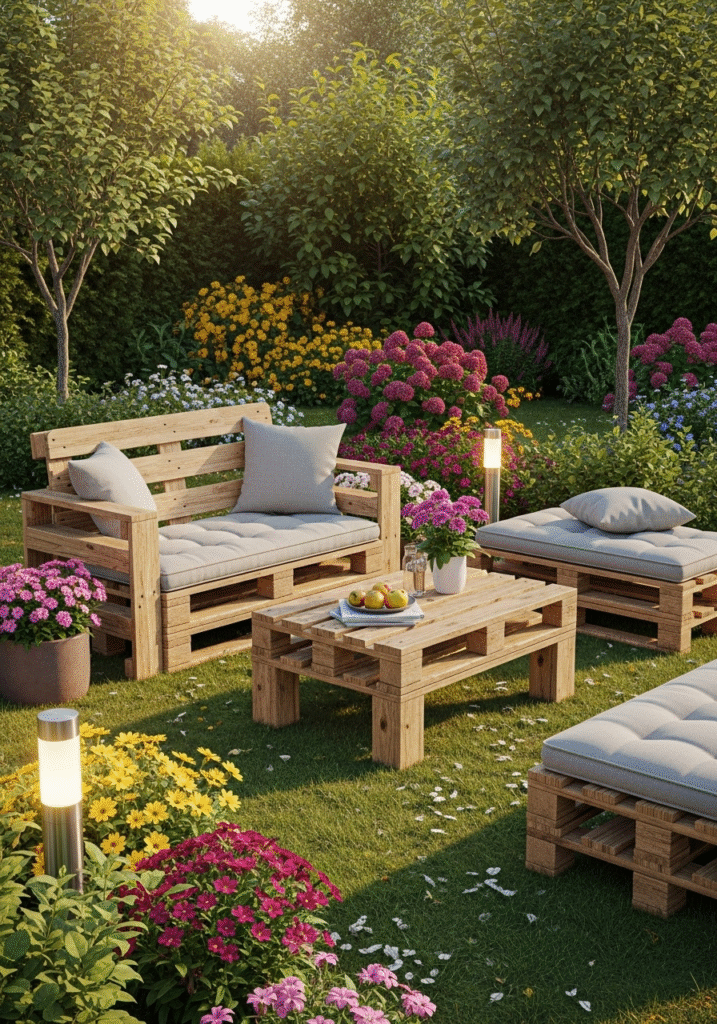
When it comes to creating a comfortable and stylish outdoor seating area, pallet furniture stands out as one of the most practical and rewarding choices. More and more homeowners and DIY lovers are turning to pallet wood for building garden furniture — and for good reason. Not only does it allow you to craft something beautiful with your own hands, but it also offers a wide range of benefits that make it both eco-conscious and budget-friendly.
One of the primary advantages of using pallets is their eco-friendly nature. Instead of letting old shipping pallets end up in landfills, you can repurpose them into functional and attractive furniture pieces. By reusing and recycling these materials, you actively contribute to reducing waste and supporting sustainable living.
Another compelling reason is cost-effectiveness. Wooden pallets are often available for free or at a very low cost from local warehouses, construction sites, or recycling centers. This makes pallet furniture an ideal option for those looking to decorate their garden on a tight budget, without compromising on style or comfort.
Additionally, pallet furniture is incredibly customizable. Whether you want a sleek modern bench, a cozy corner sofa, or a rustic coffee table, pallets offer a blank canvas that you can cut, paint, and assemble however you like. You can add cushions, paint them in vibrant colors, or leave them in their natural wooden state for a more earthy, rustic vibe.
Pallet designs also have a unique aesthetic appeal. Their raw, textured surfaces and natural tones bring a handcrafted charm that mass-produced furniture often lacks. They blend seamlessly with outdoor environments, especially in gardens filled with greenery, flowers, and natural materials.
In short, pallet furniture is the perfect choice for anyone who wants to enjoy a stylish, comfortable, and eco-friendly outdoor living space without breaking the bank. Whether you’re new to DIY or a seasoned pro, pallet projects are simple to start, endlessly creative, and incredibly rewarding.
2. Finding and Preparing Pallets
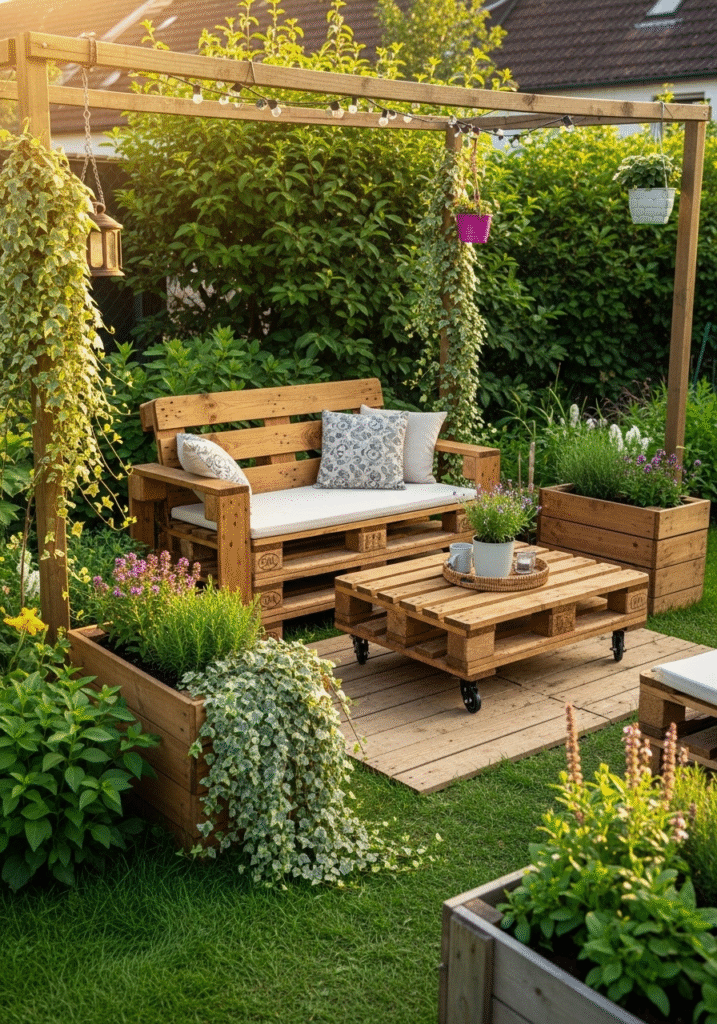
Before diving into your DIY garden furniture project, the first and most important step is sourcing the right pallets and preparing them properly. While pallets are often easy to find, not all of them are suitable for building safe, durable outdoor furniture. Taking the time to locate quality pallets and prepare them thoroughly will not only make your work easier but will also ensure that your finished product is safe, attractive, and long-lasting.
Where to Find Pallets
You can often find used pallets at a variety of local businesses and online platforms. Some of the best places to check include:
- Warehouses and storage facilities
- Construction sites (with permission)
- Hardware stores and garden centers
- Supermarkets and wholesale retailers
- Online marketplaces like Facebook Marketplace, Craigslist, or OLX
Many businesses are happy to give away pallets for free or sell them at a minimal cost, especially if they have a surplus they need to clear out.
Choosing the Right Pallets
Once you’ve located potential pallets, you’ll need to ensure they’re safe for furniture use—especially since your garden furniture will be exposed to people and the elements. Here are a few essential tips for selecting suitable pallets:
- Look for heat-treated (HT) pallets. These are marked with the letters “HT” and have been sanitized using heat rather than chemicals. Avoid chemically treated pallets, which can contain harmful substances that aren’t safe for handling or prolonged use.
- Inspect the wood condition. Choose pallets that are dry, clean, and free from mold, mildew, or rot. Avoid wood that looks overly dark, brittle, or water-damaged.
- Check for pest infestation. Examine the pallets closely for signs of insects or termites, such as tiny holes, sawdust, or visible bugs. Never use infested pallets, as they can damage your garden and other wooden furniture.
How to Prepare Pallets for Use
After selecting your pallets, the next step is proper preparation. This process is essential for safety and functionality, especially since garden furniture must endure exposure to sun, rain, and varying temperatures. Follow these key steps:
- Inspect and remove nails or staples.
Use a hammer or crowbar to carefully extract any nails, screws, or staples sticking out of the wood. These can cause injuries or interfere with your tools during construction. - Sand the surfaces thoroughly.
Pallets are usually rough and may contain splinters or uneven surfaces. Use a sander or sandpaper (start with 60-grit and finish with 120-grit) to smooth all the boards. Pay close attention to the edges and corners to prevent any accidental cuts or snags later. - Clean the pallets.
Wash the pallets using a mixture of warm water and mild soap or vinegar. Scrub with a brush to remove dirt, dust, and any surface contaminants. Rinse well and allow the wood to dry completely—preferably in a sunny, dry area. This step ensures your paint or wood treatment adheres properly later on.
3. Essential Tools and Materials
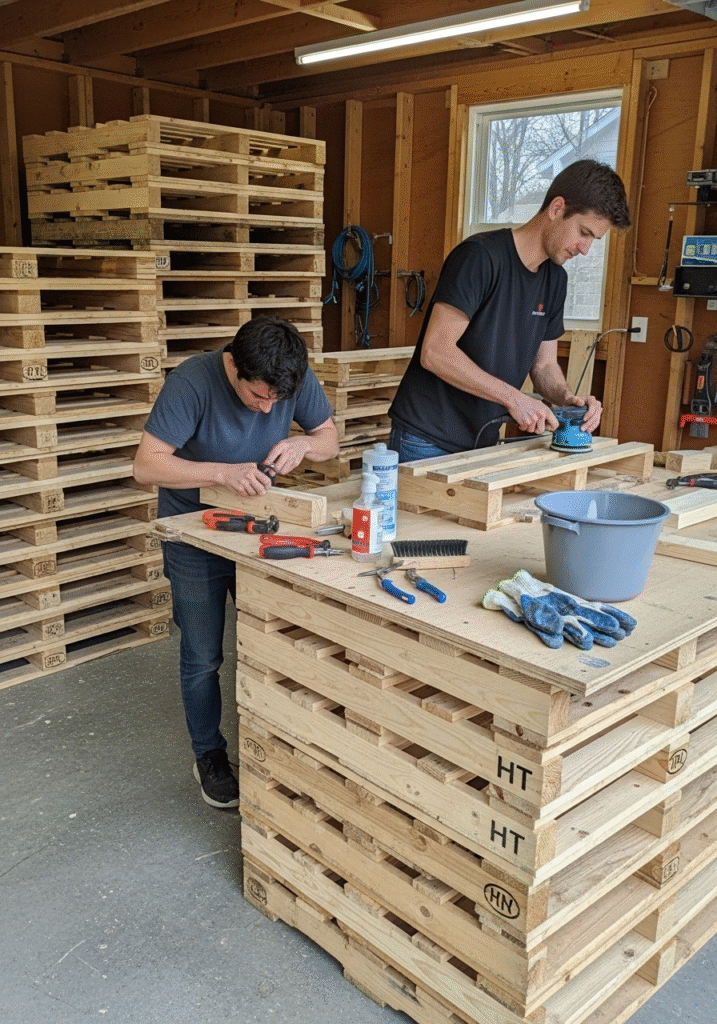
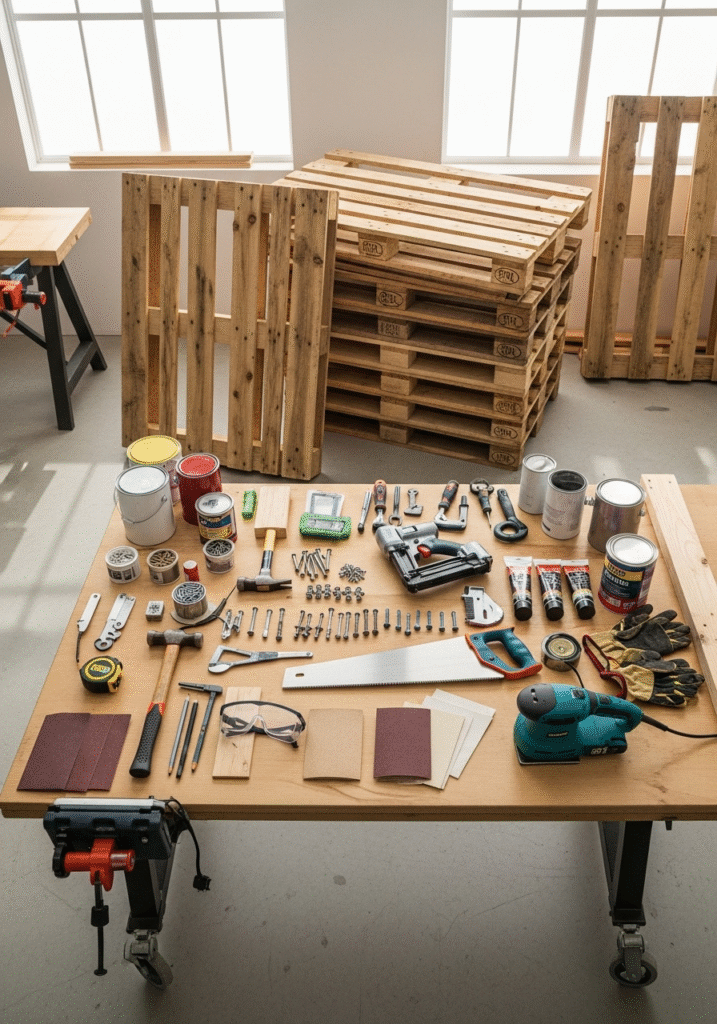
Before you begin crafting your pallet furniture, it’s crucial to have the right tools and materials on hand. A well-prepared DIY workspace not only makes the process smoother and faster but also ensures the final product is safe, sturdy, and visually appealing. Whether you’re building a simple bench or a full garden lounge set, the tools you use can make a big difference in both the quality and ease of construction.
Below is a comprehensive guide to the essential tools and materials you’ll need for your pallet furniture project.
Materials You Will Need
- Wooden Pallets
These are the foundation of your entire project. The number of pallets you need will depend on the type and size of furniture you plan to build. For example, a small garden table might require 1–2 pallets, while a full seating set may need 6–8 or more. Always choose clean, heat-treated (HT) pallets that are in good condition. - Nails and Hammer
A basic claw hammer will help you assemble parts or disassemble pallets if needed. Choose strong, rust-resistant nails to ensure durability, especially in outdoor environments. - Screws and a Drill/Screwdriver
Screws provide better holding power than nails and are essential for joints and structural support. A cordless electric drill with different bit sizes is ideal for pre-drilling holes and securing pieces tightly. - Saw (Hand or Electric)
You’ll need a saw to cut pallets down to size or shape. A hand saw works fine for small adjustments, but a circular saw or jigsaw can save time and provide cleaner cuts for larger projects. - Sandpaper or Electric Sander
Smoothing the wood is essential for both safety and aesthetics. Rough pallet wood can have splinters and uneven surfaces. Use coarse sandpaper (60-grit) followed by finer grits (120–220) for a polished finish. An electric sander will make the job much quicker and more consistent. - Paint or Wood Stain
Once your furniture is built, painting or staining gives it color and enhances the natural beauty of the wood. Choose exterior-grade paint or wood stain designed for outdoor use to resist fading, peeling, and moisture damage. - Weatherproof Sealant
To protect your furniture from rain, sun, and humidity, apply a weatherproof sealant as the final coat. This helps preserve the wood, prevents warping, and extends the lifespan of your furniture.
Essential DIY Tools and Safety Gear
- Measuring Tape
Precision is key to building stable, well-proportioned furniture. Always measure twice and cut once to avoid mistakes. - Pencil or Chalk
For marking cuts and design layouts on the wood. It’s a small but vital tool in any DIY toolkit. - Gloves
Work gloves protect your hands from splinters, cuts, and blisters during handling and sanding. - Safety Goggles
Always wear protective eyewear when cutting, drilling, or sanding to prevent injuries from flying debris or dust.
Optional But Helpful Tools
- Clamps – To hold wood pieces together while drilling or gluing.
- Level – To ensure your surfaces and angles are straight.
- Wood Glue – Useful for reinforcing joints in addition to nails or screws.
- Paintbrushes or Rollers – For applying stain, paint, or sealant evenly
4. Safety Precautions
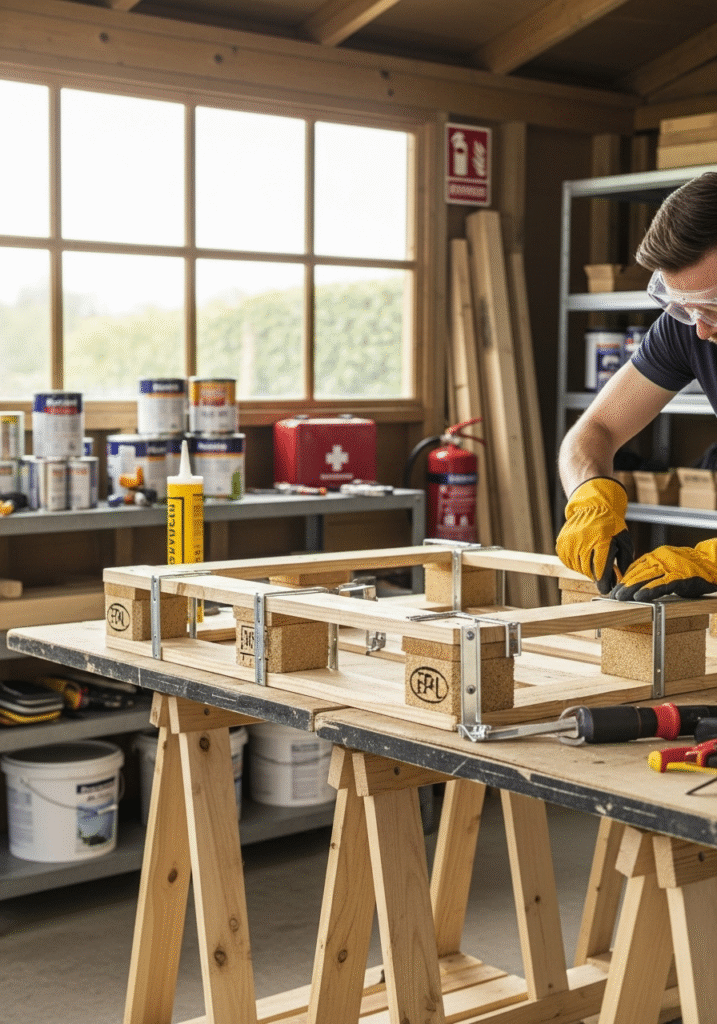
While building pallet furniture can be an enjoyable and fulfilling DIY project, safety should always be your top priority. Working with raw wooden materials, power tools, and chemical products can present certain risks—especially if you’re new to woodworking or handling pallets for the first time. Taking the proper safety precautions from the very beginning ensures not only your well-being during the construction process but also the long-term safety and durability of the furniture you create.
Here are some key safety guidelines you should follow when working on your pallet furniture for garden sitting:
1. Always Wear Gloves and Safety Goggles
Handling raw pallets involves dealing with rough wood, protruding nails, splinters, and dust. To protect yourself:
- Wear durable work gloves to avoid cuts, punctures, and blisters. They also offer a better grip when lifting or sanding heavy pieces.
- Use safety goggles when cutting, drilling, or sanding wood. Flying dust particles or wood chips can cause serious eye injuries if you’re not protected.
These basic pieces of personal protective equipment (PPE) are a must in any DIY project involving wood.
2. Use Treated or Weather-Resistant Wood for Outdoor Use
Pallet furniture placed in a garden setting is regularly exposed to the elements—sun, rain, humidity, and changing temperatures. Using untreated wood can result in:
- Rotting and warping
- Mold or mildew growth
- Infestation by insects or termites
To avoid this, always check if your pallets are heat-treated (marked “HT”)—which is safe and ideal for outdoor use. If not, consider treating the wood yourself with a weatherproof sealant or wood preservative before construction. Avoid chemically treated pallets (marked “MB” for methyl bromide), as they can release toxic substances that are unsafe for humans and pets.
3. Work in a Well-Ventilated Area
When applying paints, wood stains, or sealants, make sure you are working in an open or well-ventilated space. These products often contain strong fumes and volatile organic compounds (VOCs) that can be harmful if inhaled in large amounts. To protect your health:
- Work outdoors or near open windows/doors
- Wear a face mask or respirator if working indoors
- Allow your furniture to dry and cure outside before use
This precaution ensures you don’t breathe in harmful chemicals and also helps the finishes cure properly on your furniture.
4. Secure All Pallets and Furniture Joints Properly
One of the biggest safety risks comes from unstable or poorly assembled furniture. To prevent wobbling, collapsing, or tipping over:
- Use strong screws and brackets instead of just nails
- Ensure all joints are tight and flush
- Reinforce load-bearing parts, such as legs, corners, and seats
- Test weight-bearing capacity before using your furniture regularly
This is especially important if children or elderly people will be using the furniture. A well-built structure adds both security and peace of mind.
5. Keep Your Workspace Organized and Safe
Maintain a clean and clutter-free workspace. Tripping over tools or debris can lead to injuries or damage to your project. Always:
- Store tools away when not in use
- Keep electrical cords organized and untangled
- Dispose of scrap wood, nails, or chemical containers safely
5. Easy DIY Pallet Furniture Projects for Your Garden
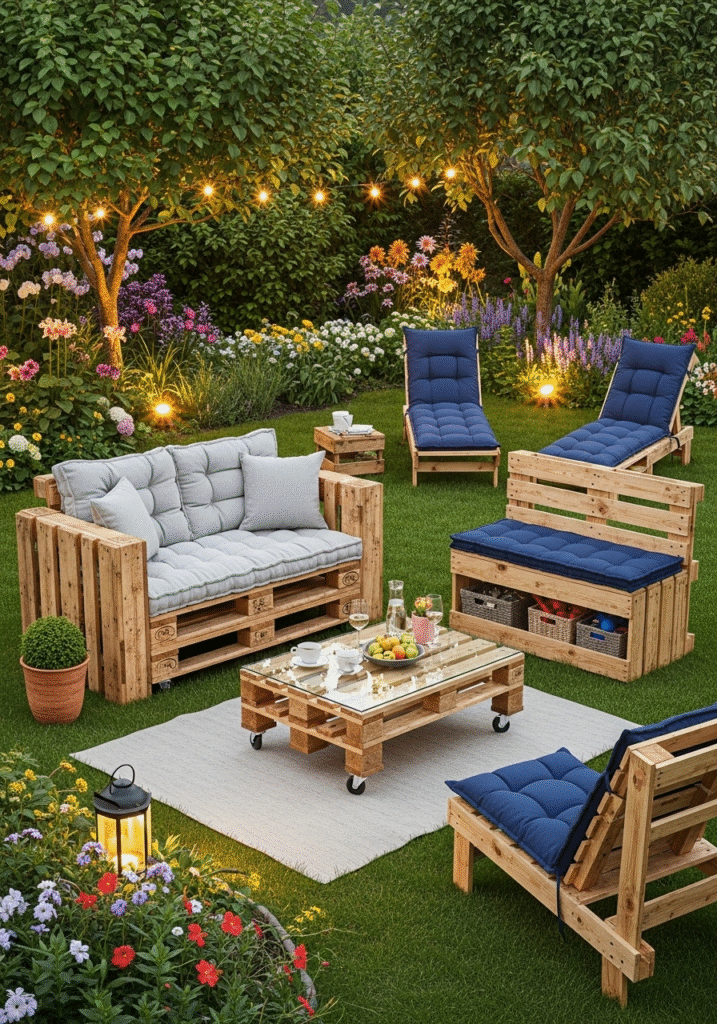
One of the most exciting parts of working with pallets is the endless range of creative possibilities. With just a few simple tools, reclaimed wooden pallets, and some imagination, you can build beautiful, functional pieces that enhance your garden’s look and feel. Whether you’re aiming to create a cozy reading nook, a casual gathering space, or a practical storage bench, there’s a DIY pallet furniture project suited for every type of garden.
Here are four beginner-friendly yet stylish pallet furniture projects that you can easily build over a weekend. Each one is designed with comfort, durability, and visual appeal in mind.
1. DIY Pallet Garden Sofa
A pallet sofa is a fantastic centerpiece for any garden lounge area. It’s ideal for relaxing, hosting guests, or enjoying a morning coffee surrounded by nature.
Materials Needed:
- 3 to 5 standard-sized pallets
- Outdoor cushions or foam seating pads
- Screws and drill
- Sandpaper or sander
- Weatherproof wood sealant or paint
Steps to Build:
- Create the base by stacking two pallets horizontally. You can adjust the height by adding or removing pallets depending on your seating preference.
- Attach the backrest by placing one pallet vertically along the back of the base. Make sure it’s properly aligned and centered.
- Secure the structure by drilling screws through the backrest into the base. Reinforce with brackets for added stability if needed.
- Sand the surfaces to ensure smoothness and safety, especially on the edges and corners.
- Add outdoor cushions for a comfortable and stylish finish. Waterproof or weather-resistant fabric is recommended for durability.
This sofa is not only affordable but also easily customizable with colors, cushions, or side armrests.
2. DIY Pallet Coffee Table
No garden seating area is complete without a coffee table. A pallet coffee table adds rustic charm while providing a surface for drinks, books, or potted plants.
Materials Needed:
- 2 pallets
- 4 caster wheels
- Paint or wood stain
- Optional: glass top or acrylic sheet for a modern touch
- Screws and drill
Steps to Build:
- Stack the two pallets one on top of the other to create the tabletop and additional thickness.
- Sand the surface and edges to smooth out rough areas and splinters.
- Paint or stain the wood depending on your garden theme—natural tones work well for rustic spaces, while bright colors can create a playful vibe.
- Attach caster wheels to the four corners of the bottom pallet for easy movement.
- Optional: Place a glass or acrylic sheet on top to give the table a sleek, finished look and make it easier to clean.
This table is durable, mobile, and perfectly complements any pallet seating arrangement.
3. DIY Pallet Bench with Built-In Storage
A storage bench is a clever way to combine seating and functionality. It’s ideal for storing garden tools, cushions, or children’s outdoor toys while also offering a comfortable place to sit.
Materials Needed:
- 3 pallets
- Hinges
- Screws and drill
- Outdoor cushions or upholstery
- Saw (if resizing is necessary)
Steps to Build:
- Use one pallet as the bench seat and another as the backrest. Position the backrest vertically and attach it securely to the seat.
- Cut the third pallet to fit underneath the seat as a storage compartment.
- Install hinges between the seat and the storage pallet so the top can open and close easily.
- Sand and paint the entire bench to protect it from outdoor weather.
- Add padding or cushions for comfort and visual appeal.
This multi-functional bench is perfect for small gardens where space-saving solutions are essential.
4. DIY Pallet Lounge Chairs
If you love reclining outdoors, pallet lounge chairs offer the ultimate relaxation. Their angled backrest and low-to-the-ground design make them perfect for sunbathing or reading in your garden.
Materials Needed:
- 2 to 3 pallets per chair
- Wood glue and screws
- Drill and saw
- Sandpaper or electric sander
- Outdoor cushions or covers
Steps to Build:
- Cut the pallets according to your desired dimensions for seat height and backrest angle.
- Assemble the seat and backrest using screws and wood glue. Angle the backrest slightly for ergonomic comfort.
- Attach sturdy legs made from pallet offcuts or thick wooden blocks.
- Reinforce joints with additional wood pieces or brackets for extra support.
- Sand, paint, and seal the chair for weather protection. Add cushions for comfort and style.
These lounge chairs are ideal for relaxing with a book or enjoying a sunset from your garden corner.
6. Finishing Touches: Sanding, Painting, and Weatherproofing
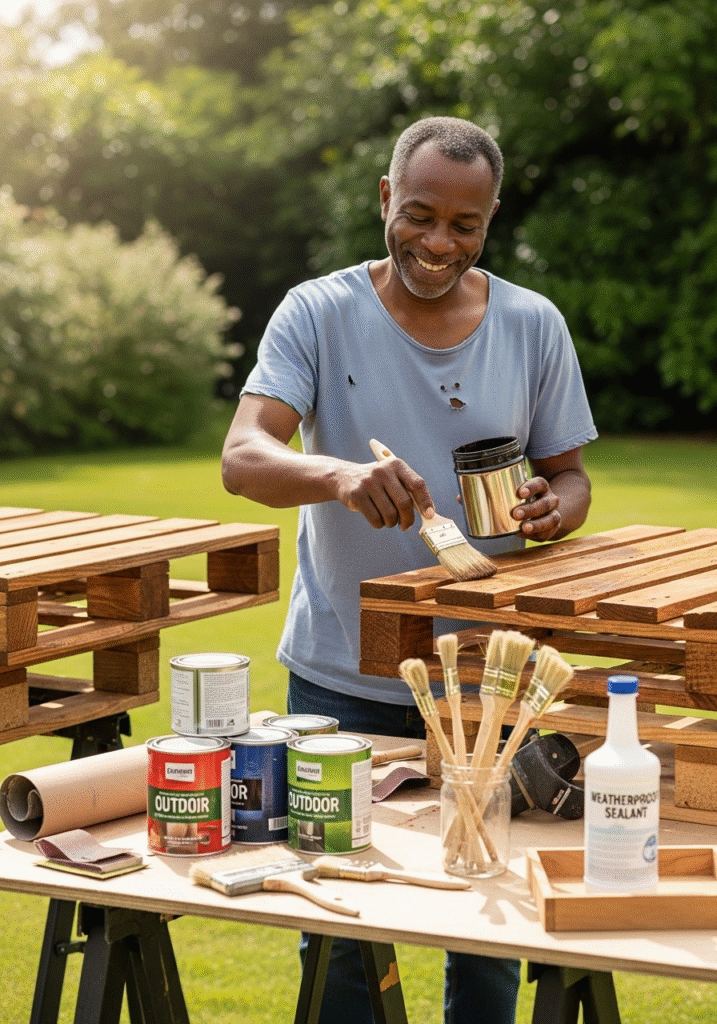
Once your pallet furniture has been built and assembled, it’s time to focus on the final steps that truly bring your creation to life: sanding, painting or staining, and weatherproofing. These finishing touches not only enhance the appearance of your furniture but also ensure that it remains safe, comfortable, and durable in an outdoor setting. Many DIY enthusiasts overlook this part of the process, but investing a little time here can dramatically increase the quality and lifespan of your garden pallet furniture.
Sanding: Safety Meets Smooth Style
Sanding is a critical first step before any paint or sealant is applied. Pallets are typically made from rough, untreated wood, which can have splinters, uneven surfaces, and sharp edges. Proper sanding transforms these raw boards into safe and comfortable furniture pieces.
Why sanding matters:
- Prevents splinters and rough spots, especially important if children will use the furniture
- Creates a smooth, professional look that’s more inviting and pleasant to the touch
- Improves paint and sealant adhesion, helping them last longer and apply evenly
How to sand properly:
- Begin with coarse-grit sandpaper (60–80 grit) to remove surface roughness, dirt, and minor flaws.
- Follow up with medium to fine-grit paper (120–220 grit) for a smoother finish.
- Focus on edges, corners, and seating surfaces where people will make contact.
- Use a hand sander for small areas or an electric orbital sander for large surfaces to save time and effort.
After sanding, wipe down the furniture with a dry cloth to remove dust and prepare it for the next step.
Painting or Staining: Add Personality and Protection
Once your furniture is smooth, you can enhance its appearance and character with paint or wood stain. This is your chance to match your new pieces to your garden’s theme—whether you prefer modern neutrals, rustic tones, or bright, playful colors.
Painting Tips:
- Use outdoor or exterior-grade wood paint that’s resistant to moisture and fading.
- Apply a primer first to ensure better coverage and adhesion.
- Choose light colors to reflect sunlight and keep seating cool, or dark shades for a bold, cozy look.
- Use a brush for detailed areas and a roller for larger surfaces.
Staining Tips:
- A wood stain allows the natural grain and texture of the wood to shine through.
- Use a deck stain or exterior wood stain designed for outdoor use.
- Apply evenly with a brush or cloth and wipe off excess for a consistent finish.
- Choose from tones like oak, walnut, cedar, or gray for a rustic effect.
Let the paint or stain dry completely, usually 24 to 48 hours, before moving on to sealing.
Weatherproofing: Protecting Against the Elements
Garden furniture is exposed to sun, rain, wind, and temperature changes, which can damage wood over time. Applying a quality weatherproof sealant is the final step to ensure your pallet furniture stands the test of time.
Benefits of weatherproofing:
- Shields wood from rain, humidity, and moisture, reducing the risk of warping or rotting
- Protects against UV rays, which can fade paint and weaken wood structure
- Helps maintain the furniture’s color and finish season after season
- Makes cleaning and maintenance easier
Types of Sealants:
- Clear waterproof sealant – Preserves the look of natural or stained wood
- Polyurethane or varnish – Adds a glossy, durable layer
- Oil-based sealers – Penetrate deeply into the wood for strong protection
Apply sealant with a brush in thin, even layers. Allow each coat to dry thoroughly (as per product instructions), and apply a second coat if needed for extra durability.
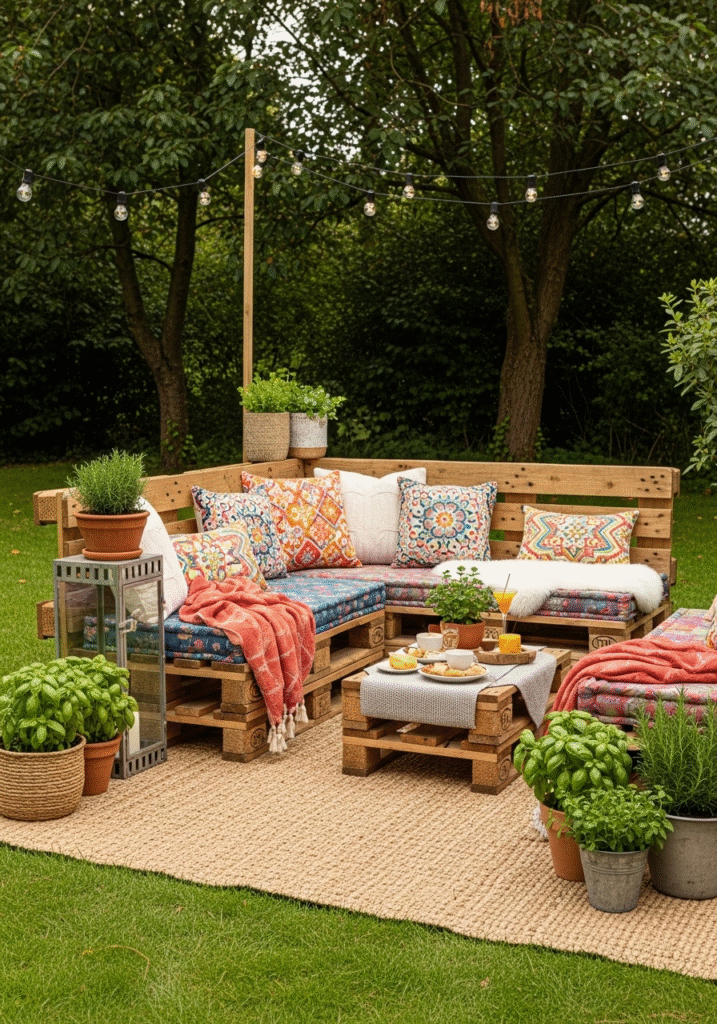
7. Garden Decor Tips to Match Your Pallet Furniture
Once your DIY pallet furniture is built and beautifully finished, the next step is to elevate your outdoor space with thoughtful décor that complements the rustic charm of your handmade pieces. The right decor can transform a basic garden seating area into a warm, inviting sanctuary—perfect for relaxing, entertaining, or simply enjoying nature.
Here are some creative and budget-friendly garden decor tips to enhance the beauty of your pallet furniture and create a cohesive, stylish outdoor living space.
1. Add String Lights or Lanterns for Ambiance
Lighting plays a powerful role in creating atmosphere—especially in outdoor spaces used during the evenings. Soft, warm lighting instantly turns your garden into a cozy retreat, ideal for late-night conversations or romantic dinners under the stars.
- String lights are one of the most popular and affordable options. You can drape them along fences, pergolas, or overhead across your seating area to create a magical, glowing canopy.
- Solar lanterns or LED-powered hanging lanterns can add charm without increasing electricity bills.
- Mason jar lights or fairy lights placed in glass containers on your pallet coffee table can act as centerpieces while providing gentle illumination.
These lighting elements not only enhance visibility after sunset but also add a cozy, intimate ambiance that pairs beautifully with the rustic look of pallet furniture.
2. Use Colorful Cushions and Throws
Since pallet furniture is typically made from raw or neutral-colored wood, adding bright and colorful cushions or soft throws is a great way to introduce personality, comfort, and seasonal flair.
- Choose outdoor cushions made from weather-resistant fabrics to withstand sun, rain, and humidity.
- Mix and match patterns and colors that reflect your personal style or seasonal theme—florals for spring, tropical prints for summer, warm tones for fall.
- Layering throws or lightweight blankets adds an extra touch of coziness for cooler evenings, while also making the space feel lived-in and inviting.
Cushions and textiles allow you to change the look of your furniture easily, keeping your garden space fresh and stylish year-round.
3. Incorporate Potted Plants and Mini Herb Gardens
No garden seating area is complete without the lush presence of greenery. Potted plants not only enhance the aesthetic appeal of your outdoor space but also bring life, color, and freshness to the environment.
- Use a mix of flowering plants, ferns, and succulents in decorative pots or upcycled containers to match the sustainable theme.
- Place planters on or around your pallet furniture—for example, a row of small pots along the backrest of a pallet sofa or a hanging basket near the seating area.
- Create a small herb garden nearby using vertical pallet planters or stacked crates. It’s both decorative and functional, especially if you enjoy cooking or entertaining outdoors.
The addition of greenery softens the structure of wood furniture and blends your seating area naturally into the garden setting.
4. Define the Seating Area with an Outdoor Rug
Just as rugs help define spaces indoors, an outdoor rug can anchor your garden furniture arrangement and add a cozy, finished feel to your patio or lawn.
- Choose a durable, weather-resistant rug made from synthetic fibers like polypropylene that can handle exposure to moisture and dirt.
- Select colors and patterns that complement your cushions and decor—natural tones like beige and gray for a calming effect, or bold prints to make a statement.
- Rugs also offer a soft underfoot experience, especially helpful if your seating area is on gravel, concrete, or wooden decking.
Using an outdoor rug not only improves comfort but also helps visually separate your pallet furniture space from the rest of the garden, creating a “room” effect in the open air.
8. Budget Breakdown
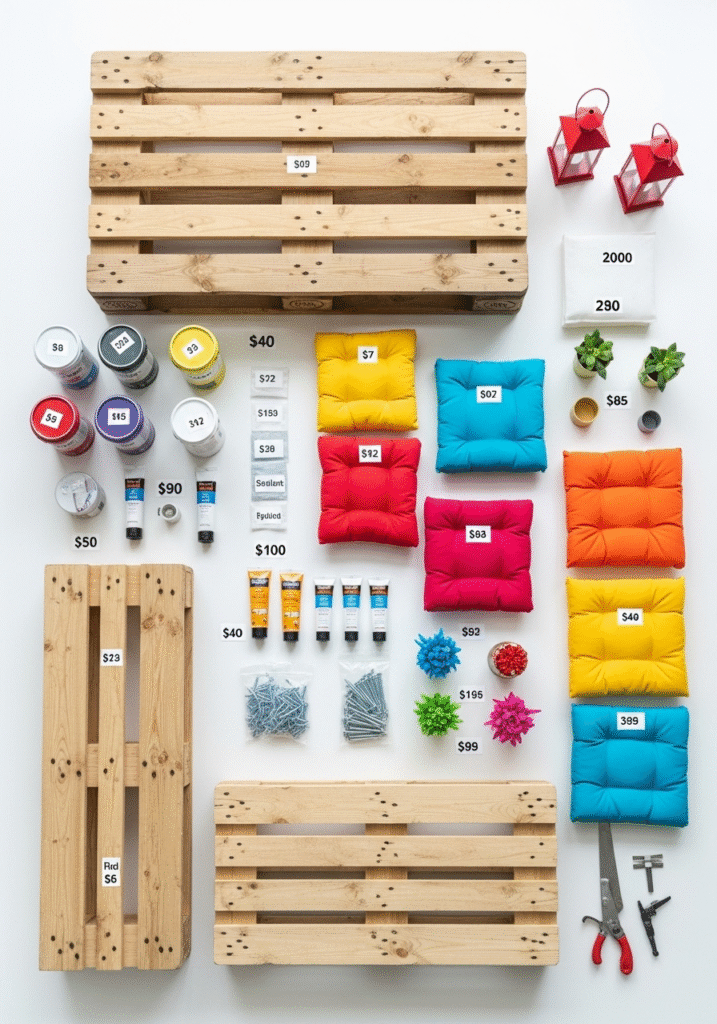
One of the biggest advantages of building pallet furniture is its cost-effectiveness. Compared to buying pre-made outdoor furniture, which can cost hundreds or even thousands of dollars, DIY pallet projects allow you to create custom pieces for a fraction of the price. Whether you’re furnishing a small balcony or designing an entire backyard lounge, you can tailor the project to suit your budget without sacrificing style or quality.
In this section, we break down the estimated costs associated with a basic DIY pallet garden furniture setup. Keep in mind that prices can vary depending on your location, the quality of materials, and whether you already have some tools or supplies on hand.
Budget Breakdown Overview
| Item | Estimated Cost (USD) |
|---|---|
| Pallets (3–10 pieces) | $0 – $50 |
| Paint or Stain | $10 – $30 |
| Screws/Nails | $5 – $10 |
| Sealant (Weatherproof) | $10 – $20 |
| Cushions/Accessories | $30 – $100 |
| Total Estimate | $55 – $210 |
1. Pallets – $0 to $50
Pallets can often be sourced for free from local businesses, warehouses, grocery stores, or construction sites. However, if you’re buying high-quality, heat-treated pallets, you may spend anywhere from $5 to $10 per pallet depending on size and condition. For a basic sofa and coffee table set, you’ll likely need 3 to 10 pallets, which could cost you up to $50 if purchased.
Tip: Always ask businesses if they’re giving away pallets before assuming you need to buy them.
2. Paint or Stain – $10 to $30
To personalize your furniture and match your garden’s aesthetic, you’ll need exterior-grade paint or wood stain. Prices vary based on brand, color, and quantity, but a small can of outdoor paint or stain typically costs between $10 and $30. One can is usually enough to cover several pallets, especially if applied in a single coat.
3. Screws/Nails – $5 to $10
Fastening your furniture securely is essential. A box of wood screws or galvanized nails is inexpensive, usually costing no more than $5 to $10. If you’re using a power drill, you may also want to invest in drill bits or accessories, but these are often reusable for future projects.
4. Weatherproof Sealant – $10 to $20
Protecting your furniture from rain, sun, and temperature changes is crucial for long-term durability. A can of weatherproof sealant or polyurethane coating ranges from $10 to $20, and typically covers an entire furniture set. This step helps prevent warping, cracking, or fading over time.
5. Cushions and Accessories – $30 to $100
While the pallets form the structure, cushions and accessories provide comfort and style. Depending on your choices—such as buying ready-made outdoor cushions, sewing your own covers, or upcycling old materials—the cost can vary widely. Basic cushion sets might cost around $30, while premium, weather-resistant cushion sets can go up to $100 or more.
You can also include optional accessories in this range, like:
- Outdoor rugs
- Throw pillows
- Lanterns or solar lights
- Small potted plants
Total Estimated Cost: $55 – $210
Even at the higher end of the range, building your own pallet furniture is significantly more affordable than buying a pre-made outdoor seating set, which often costs $300 or more. With smart sourcing, upcycling, and a bit of creativity, you can complete an entire garden setup for as little as $55.
The flexibility of DIY allows you to start small—perhaps with a single bench or table—and expand as your budget allows. Plus, the satisfaction of creating something with your own hands adds incredible value beyond dollars and cents.
9. Maintenance Tips for Longevity
DIY pallet furniture is not only charming and affordable, but it can also be incredibly durable—if properly maintained. Because garden furniture is exposed to the elements all year round, taking proactive steps to protect and care for your pallet pieces is essential for extending their lifespan and preserving their appearance.
Fortunately, maintaining pallet furniture doesn’t require a lot of time or effort. With a few simple habits and seasonal care practices, your outdoor seating, tables, and decorative elements can continue looking great and functioning well for many years to come.
Here are some essential maintenance tips to help your pallet furniture withstand the test of time:
1. Reapply Weatherproofing Sealant Annually
One of the most important steps in pallet furniture maintenance is keeping it protected from moisture, UV rays, and temperature fluctuations. Even if you’ve applied a sealant during the finishing stage, reapplying it every 12 months is highly recommended—especially if your furniture is left outdoors year-round.
- Use a clear waterproof wood sealer, exterior polyurethane, or a deck protectant.
- Reapply sealant after thoroughly cleaning and lightly sanding the surface.
- Allow the sealant to dry completely before using the furniture again.
This annual treatment helps prevent issues like cracking, warping, rot, and fading, which are common problems in untreated wood furniture exposed to harsh weather conditions.
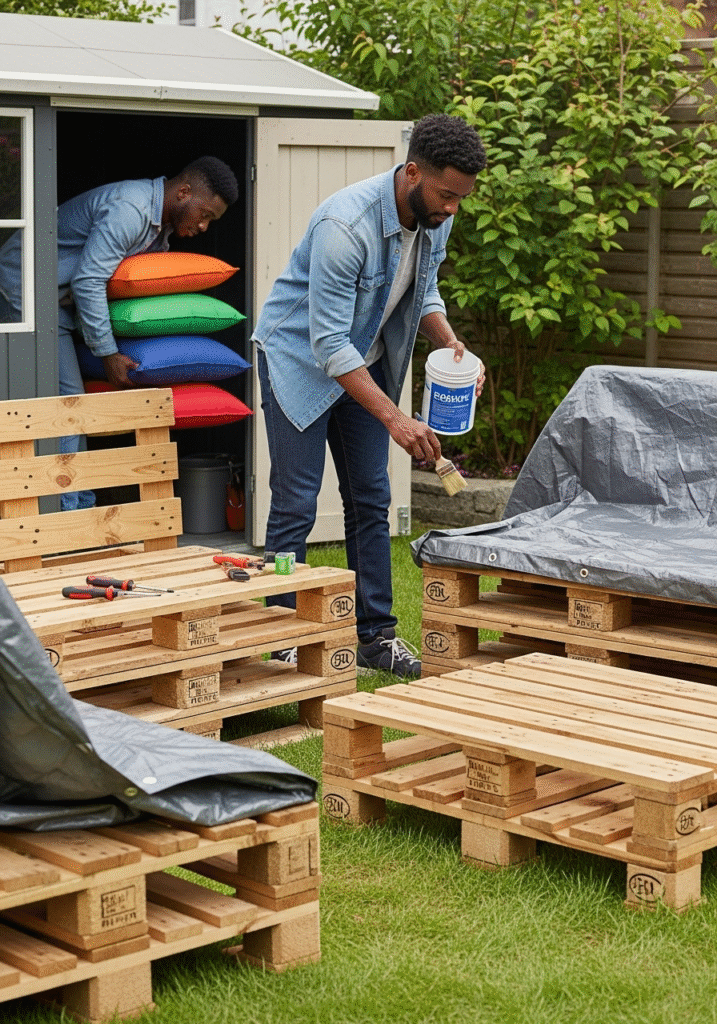
2. Cover Furniture During Heavy Rain or Snow
While pallet furniture can be weather-resistant, it’s not 100% waterproof—especially if it has cushions or paint that might degrade in prolonged wet conditions. Using protective covers is a simple yet highly effective way to shield your furniture from extreme elements.
- Invest in heavy-duty, waterproof furniture covers that fit over your sofas, benches, or tables.
- Use tarps or plastic sheeting as a temporary solution if needed.
- During heavy rain, snowfall, or frost, always cover or store furniture to prevent damage.
This added layer of protection will keep both the wood and any accessories in top condition and reduce the frequency of repairs or refinishing.
3. Store Cushions Indoors When Not in Use
While many outdoor cushions are designed to be water-resistant, leaving them exposed can lead to fading, mildew, and fabric breakdown over time. The best way to preserve your cushions is to store them in a dry indoor space when they’re not in use.
- Use storage benches, deck boxes, or an indoor closet to keep cushions clean and dry.
- If storage space is limited, consider using vacuum-sealed bags or waterproof cushion bags.
- Regularly clean cushion covers according to the manufacturer’s instructions to avoid mold or musty odors.
By taking this small step, you can dramatically increase the lifespan of your cushions and keep your outdoor area looking fresh and inviting.
4. Tighten Loose Screws, Bolts, and Joints
Over time, furniture joints can loosen due to temperature changes, frequent use, and movement. Periodically inspecting and tightening screws, nails, or bolts is essential for ensuring structural integrity and safety.
- Check your furniture every few months, especially after extreme weather or heavy use.
- Use a screwdriver or wrench to tighten any loose fasteners.
- Replace rusted or damaged screws with galvanized or stainless-steel hardware for better durability.
Neglecting this step can lead to wobbly furniture, misaligned frames, or even breakage, so make it a regular part of your outdoor maintenance routine.
Bonus Tip: Clean Regularly
Dust, pollen, and debris can accumulate on your pallet furniture, especially during spring and summer. Clean your furniture periodically using:
- A mild soap and water solution
- A soft brush or sponge
- A garden hose for rinsing, followed by air drying
Regular cleaning keeps your furniture looking fresh and helps prevent the buildup of mold or stains that can damage the wood and cushions.
Final Thoughts on Maintenance
A little maintenance goes a long way. With just a few simple habits, you can protect your DIY pallet furniture from the harsh elements and daily wear and tear. These care tips not only ensure that your furniture remains strong and functional but also help it retain its rustic beauty season after season.
By reapplying sealant, using covers, storing accessories properly, and performing regular checkups, you can enjoy your handmade garden retreat for many years to come—with minimal effort and maximum satisfaction.
10. Final Thoughts
Building your own pallet furniture for the garden is more than just a weekend project—it’s a rewarding journey into the world of DIY craftsmanship, creative expression, and sustainable living. With just a few basic tools, some reclaimed wood, and a little inspiration, you can create stunning, comfortable, and functional outdoor pieces that reflect your personal style and values.
What makes pallet furniture so special is its unique combination of affordability, versatility, and eco-friendliness. In a world where mass-produced furniture can be costly and often lacks character, DIY pallet projects offer an opportunity to repurpose discarded materials into something meaningful and beautiful. By reusing old pallets, you’re not only saving money but also reducing waste and making a positive impact on the environment.
This type of furniture allows for full creative control—you can build exactly what you need, whether it’s a cozy garden bench, a rustic coffee table, or an entire lounge set complete with lighting and decor. From minimalistic designs to more elaborate pieces, the possibilities are endless, and every project can be tailored to suit your space, budget, and taste.
Moreover, pallet furniture creates a warm, inviting atmosphere perfect for relaxation and connection. Whether you’re enjoying a peaceful morning with a cup of tea, hosting a backyard barbecue, or watching the stars with loved ones, your garden becomes more than just an outdoor area—it becomes a personal retreat, a reflection of your creativity, and a space filled with comfort and charm.
And the best part? You don’t need to be a professional carpenter. With patience, passion, and a bit of guidance, anyone can turn simple pallets into lasting pieces of outdoor furniture. Each cut, nail, and brushstroke becomes part of a project that not only enhances your living space but also fills you with a sense of accomplishment.
Your Outdoor Oasis Awaits
So go ahead—gather your pallets, grab your tools, and bring your vision to life. With every piece you build, you’re not just decorating a garden—you’re crafting an experience, creating memories, and embracing a lifestyle that values both creativity and sustainability.
DIY pallet furniture is proof that you don’t need a big budget to make a big impact. With a little effort and a lot of heart, you can transform your outdoor space into the cozy garden oasis you’ve always dreamed of—and enjoy it for years to come.
