Inspect and Replace HVAC Filters
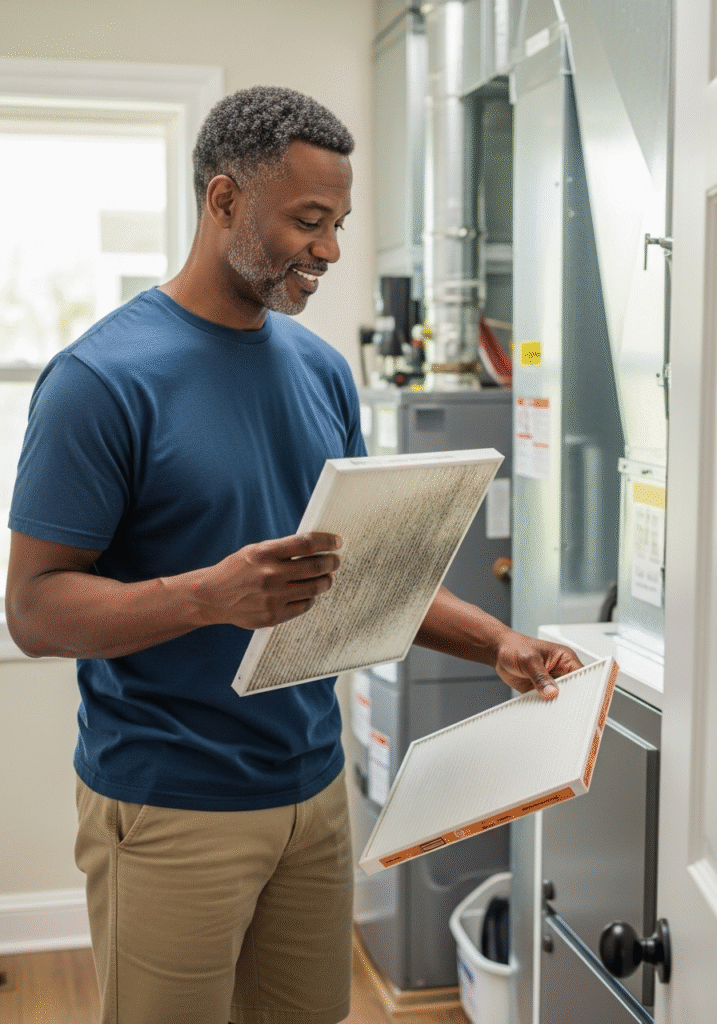
Regularly inspecting and replacing your HVAC (Heating, Ventilation, and Air Conditioning) or furnace filters is one of the most important steps in maintaining a healthy and energy-efficient home. Over time, these filters collect dust, pollen, pet dander, and other airborne particles, which can clog the system and hinder airflow. When airflow is restricted, your HVAC system has to work harder to maintain the desired temperature, which increases energy consumption and can lead to higher utility bills.
Ideally, you should check your filters every 1–3 months, depending on the type of filter, the presence of pets, or if someone in the household suffers from allergies or respiratory conditions. Some filters are disposable and should be replaced, while others are reusable and can be cleaned with water or a vacuum.
Replacing or cleaning the filter not only improves the overall efficiency of your HVAC system but also enhances indoor air quality by reducing the circulation of pollutants. This simple maintenance task can extend the life of your HVAC unit, reduce the risk of breakdowns, and create a more comfortable living environment.
By making filter maintenance a regular habit, you’re ensuring better airflow, cleaner air, and potentially significant savings on your energy bills throughout the year.
Test Smoke and Carbon Monoxide Detectors
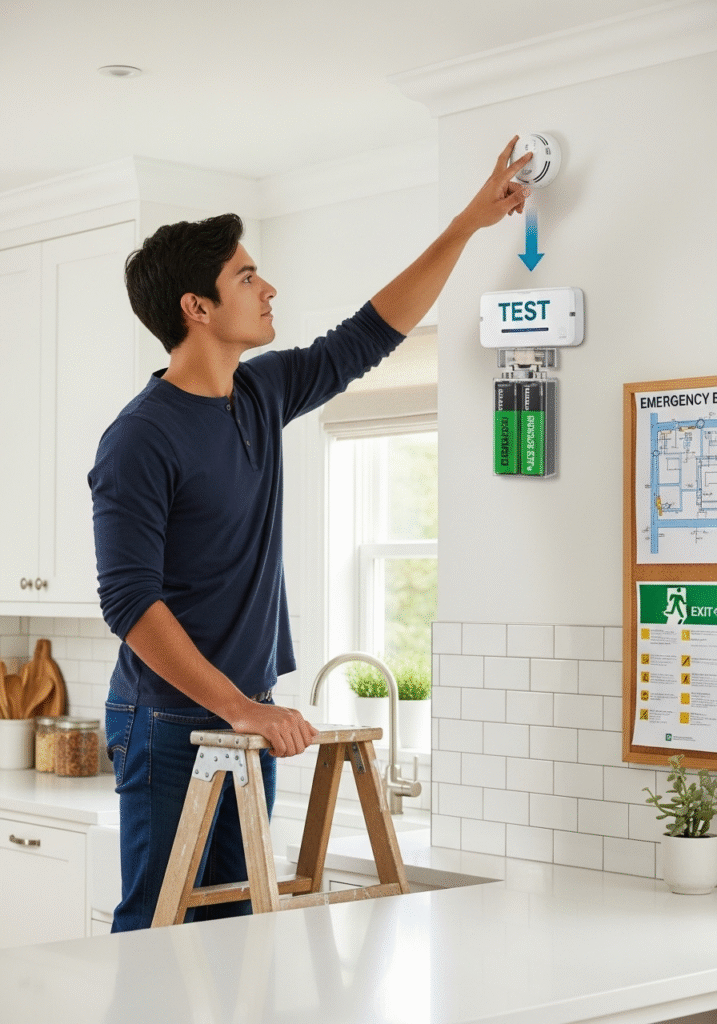
Your smoke and carbon monoxide (CO) detectors are essential safety devices that can save lives by providing early warnings in the event of a fire or a dangerous gas leak. To ensure they function properly when you need them most, it’s crucial to test them regularly—ideally once a month.
Start by pressing the test button on each unit. A loud, piercing sound should emit from the device; if the sound is weak or nonexistent, it’s a clear sign that the batteries need to be replaced or the unit may need servicing. Even if the detectors appear to be working, it’s best practice to replace the batteries at least once a year, or more frequently if your model requires it.
In addition to testing and replacing batteries, take time to clean around each detector using a soft cloth or vacuum attachment. Dust, cobwebs, and debris can accumulate and interfere with the sensors, potentially causing false alarms or preventing the detector from responding to real threats.
Most smoke detectors have a lifespan of 8–10 years, and carbon monoxide detectors typically last 5–7 years. Check the manufacturer’s label for the expiration date and replace the units when they reach the end of their service life.
Regularly testing and maintaining your smoke and CO detectors is a simple task that plays a vital role in protecting your home and family. Don’t overlook this important safety measure—make it a routine part of your home maintenance checklist.
Check Fire Extinguishers
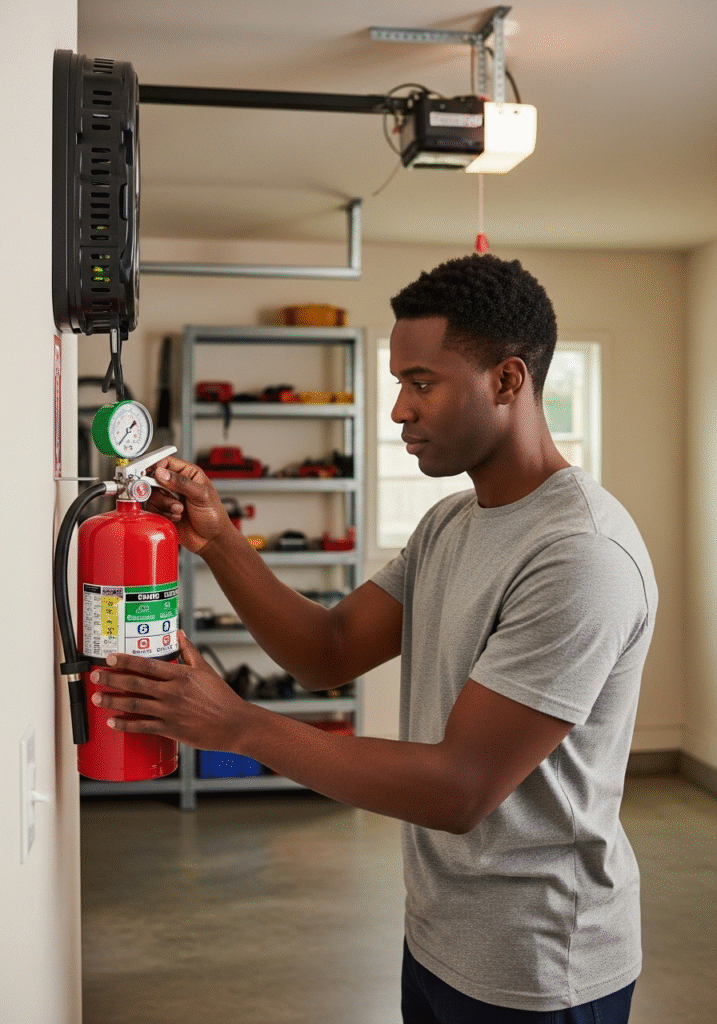
Fire extinguishers are a critical part of your home’s emergency preparedness plan, and they must be maintained properly to be effective in the event of a fire. A quick monthly inspection can make a significant difference in ensuring you’re ready to act when every second counts.
Begin by ensuring that your fire extinguisher is easily accessible and not blocked by furniture, tools, or other household items. In an emergency, you should be able to grab it quickly without any obstructions.
Next, check the pressure gauge on the extinguisher. The needle should be in the green zone, which indicates that the unit is properly charged and ready for use. If the needle is outside the green zone—whether too high or too low—the extinguisher may not function correctly and should be serviced or replaced immediately.
Inspect the exterior of the extinguisher for any signs of wear, rust, corrosion, or physical damage. Make sure the nozzle or hose is clear and unobstructed. Also, ensure the locking pin is in place and that the tamper seal is intact. Any missing components or damage can compromise the unit’s reliability.
It’s also a good idea to review the instructions on the label and refresh your memory on how to use the extinguisher, typically following the PASS method: Pull the pin, Aim at the base of the fire, Squeeze the handle, and Sweep side to side.
Remember that fire extinguishers have a shelf life—typically 5 to 15 years depending on the model and type. If your unit is older, has no pressure, or has been used (even partially), it’s time to replace or recharge it.
Regularly checking your fire extinguisher ensures it’s in proper working order and gives you peace of mind knowing you’re prepared to handle a small fire before it becomes a major hazard.
Clean Kitchen Sink Disposal
A clean and fresh-smelling kitchen sink disposal not only improves your kitchen environment but also helps your disposal system function efficiently and last longer. Over time, food particles, grease, and grime can accumulate in the disposal, leading to unpleasant odors, sluggish performance, and even clogs if not properly maintained.
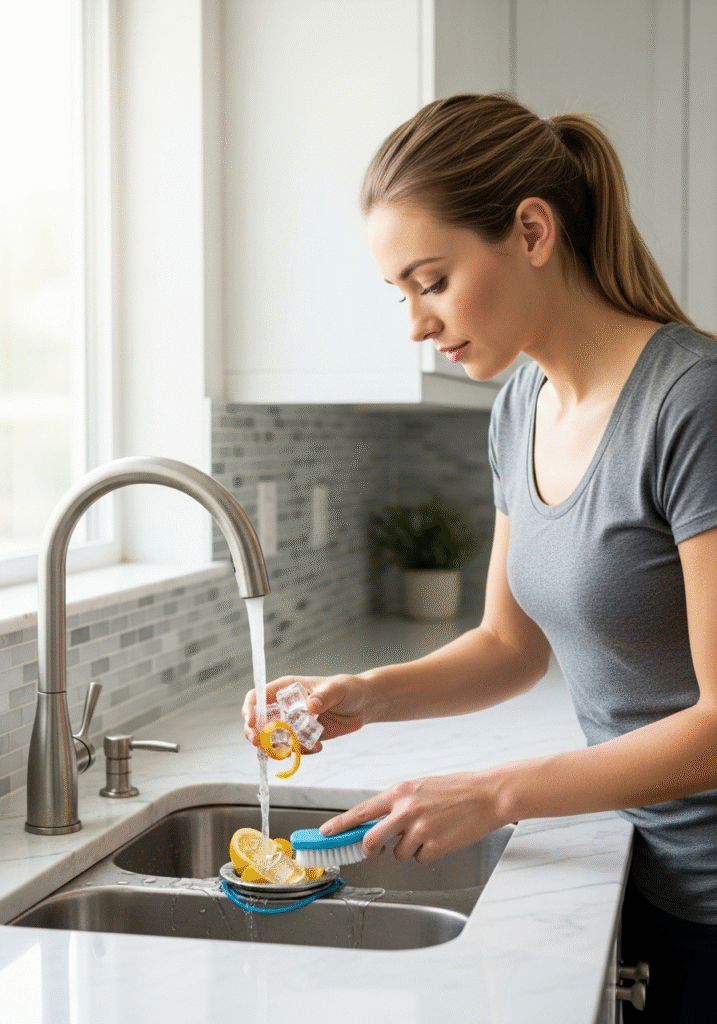
To clean your disposal effectively, start by placing a handful of ice cubes and a few small citrus peels—such as lemon, lime, or orange—into the disposal. The ice helps to dislodge food buildup and sharpen the disposal blades, while the citrus peels release natural oils that deodorize the unit and leave a fresh scent behind.
Turn on the cold water at full flow, then activate the garbage disposal while the ice and citrus are inside. Let it run until the grinding noise subsides and everything is flushed through the system. Using cold water is important, as it solidifies any lingering grease or fat, making it easier to grind and rinse away.
Next, unplug the disposal (or turn off power at the breaker for safety), and use a long-handled brush or an old toothbrush to scrub under the rubber splash guard flaps. These flaps often trap food debris and bacteria, which can be a major source of bad smells. Be thorough but gentle, and rinse with water when finished.
For deeper cleaning, you can also sprinkle baking soda into the disposal followed by white vinegar. Let it fizz and sit for 5–10 minutes, then rinse with hot water. This natural combination helps break down residue and neutralize odors without harsh chemicals.
Regularly cleaning your kitchen sink disposal—ideally once a week or as needed—keeps it running smoothly, minimizes odors, and helps prevent blockages, contributing to a cleaner and more pleasant kitchen space.
Inspect Plumbing for Leaks
Checking your home’s plumbing for leaks is an essential maintenance task that can help prevent costly water damage, mold growth, and higher utility bills. Regular inspections can identify small issues before they turn into major problems, saving you time, money, and stress in the long run.
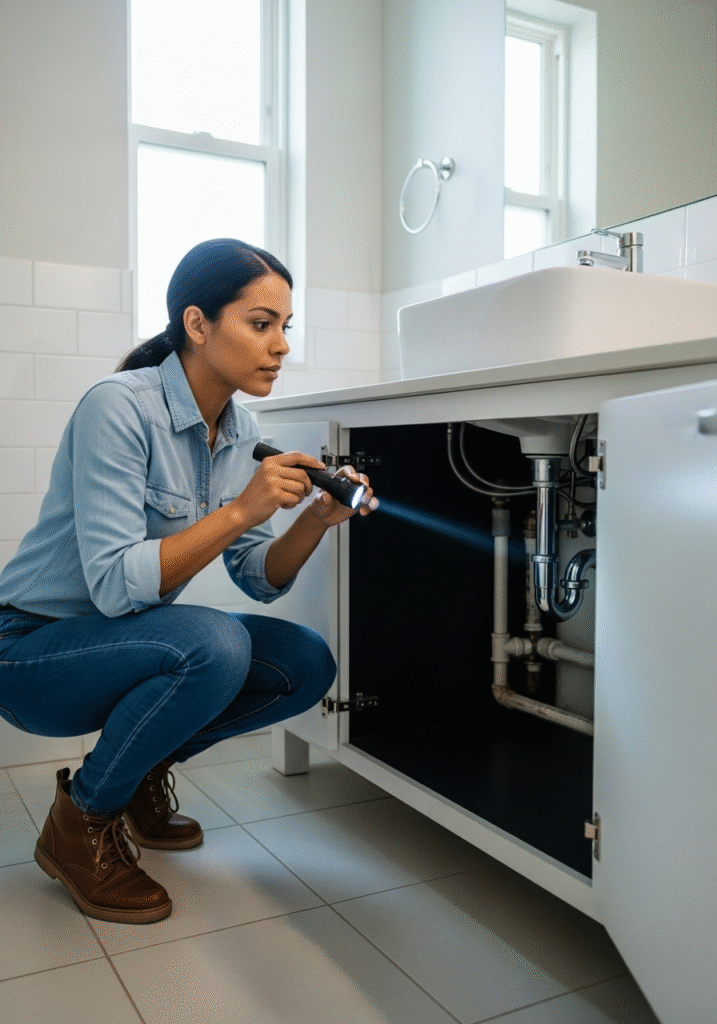
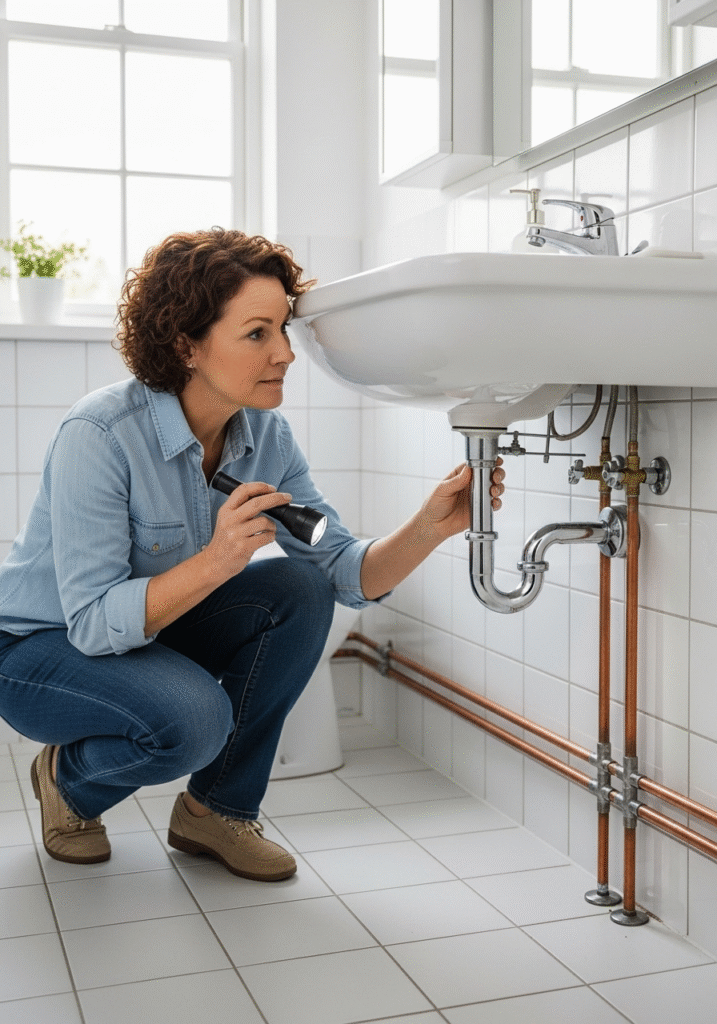
Start by examining all visible pipes and plumbing fixtures, especially in areas like under sinks, behind toilets, and around bathtubs or showers. Look for any signs of moisture accumulation, water stains, or damp spots. If you spot these, they could indicate a hidden leak that may be affecting your plumbing system.
Pay special attention to the areas where water supply pipes meet fixtures, such as faucets, toilets, and washing machines. These are common locations for leaks due to worn-out seals or loose connections. Tighten any loose fittings using an adjustable wrench, but be careful not to overtighten, as this could cause damage to the plumbing.
Next, check for any unusual odors, such as musty or moldy smells, which can indicate water leakage behind walls or under flooring. Mold and mildew thrive in damp environments, and they can quickly spread if left unchecked, potentially leading to health issues and expensive repairs. If you notice signs of mold or persistent smells, it’s important to address the issue immediately.
Inspect around toilets, as these can often develop leaks at the base or between the tank and the bowl. A leaking toilet can waste a significant amount of water and lead to hidden water damage, especially if not caught early. If you find water pooling around the base or hear a continuous running sound, it may be time to replace the wax seal or tighten the connections.
If you detect any significant leaks, or if you’re unable to fix the issue yourself, it’s best to call a licensed plumber to assess and repair the situation. Professional plumbing inspections and repairs can prevent further damage and ensure your system is functioning properly.
By taking the time to inspect your plumbing regularly, you can ensure a leak-free home, prevent potential water damage, and conserve water, all while protecting your home’s value and maintaining a comfortable living environment.
Examine Grout and Caulking in Bathrooms
Checking your home’s plumbing for leaks is an essential maintenance task that can help prevent costly water damage, mold growth, and higher utility bills. Regular inspections can identify small issues before they turn into major problems, saving you time, money, and stress in the long run.
Start by examining all visible pipes and plumbing fixtures, especially in areas like under sinks, behind toilets, and around bathtubs or showers. Look for any signs of moisture accumulation, water stains, or damp spots. If you spot these, they could indicate a hidden leak that may be affecting your plumbing system.
Pay special attention to the areas where water supply pipes meet fixtures, such as faucets, toilets, and washing machines. These are common locations for leaks due to worn-out seals or loose connections. Tighten any loose fittings using an adjustable wrench, but be careful not to overtighten, as this could cause damage to the plumbing.
Next, check for any unusual odors, such as musty or moldy smells, which can indicate water leakage behind walls or under flooring. Mold and mildew thrive in damp environments, and they can quickly spread if left unchecked, potentially leading to health issues and expensive repairs. If you notice signs of mold or persistent smells, it’s important to address the issue immediately.
Inspect around toilets, as these can often develop leaks at the base or between the tank and the bowl. A leaking toilet can waste a significant amount of water and lead to hidden water damage, especially if not caught early. If you find water pooling around the base or hear a continuous running sound, it may be time to replace the wax seal or tighten the connections.
If you detect any significant leaks, or if you’re unable to fix the issue yourself, it’s best to call a licensed plumber to assess and repair the situation. Professional plumbing inspections and repairs can prevent further damage and ensure your system is functioning properly.
By taking the time to inspect your plumbing regularly, you can ensure a leak-free home, prevent potential water damage, and conserve water, all while protecting your home’s value and maintaining a comfortable living environment.
Check and Clean Range Hood Filter
Checking your home’s plumbing for leaks is an essential maintenance task that can help prevent costly water damage, mold growth, and higher utility bills. Regular inspections can identify small issues before they turn into major problems, saving you time, money, and stress in the long run.
Start by examining all visible pipes and plumbing fixtures, especially in areas like under sinks, behind toilets, and around bathtubs or showers. Look for any signs of moisture accumulation, water stains, or damp spots. If you spot these, they could indicate a hidden leak that may be affecting your plumbing system.
Pay special attention to the areas where water supply pipes meet fixtures, such as faucets, toilets, and washing machines. These are common locations for leaks due to worn-out seals or loose connections. Tighten any loose fittings using an adjustable wrench, but be careful not to overtighten, as this could cause damage to the plumbing.
Next, check for any unusual odors, such as musty or moldy smells, which can indicate water leakage behind walls or under flooring. Mold and mildew thrive in damp environments, and they can quickly spread if left unchecked, potentially leading to health issues and expensive repairs. If you notice signs of mold or persistent smells, it’s important to address the issue immediately.
Inspect around toilets, as these can often develop leaks at the base or between the tank and the bowl. A leaking toilet can waste a significant amount of water and lead to hidden water damage, especially if not caught early. If you find water pooling around the base or hear a continuous running sound, it may be time to replace the wax seal or tighten the connections.
If you detect any significant leaks, or if you’re unable to fix the issue yourself, it’s best to call a licensed plumber to assess and repair the situation. Professional plumbing inspections and repairs can prevent further damage and ensure your system is functioning properly.
By taking the time to inspect your plumbing regularly, you can ensure a leak-free home, prevent potential water damage, and conserve water, all while protecting your home’s value and maintaining a comfortable living environment.
Wipe Down Doors, Baseboards, and Switchplates
Maintaining the cleanliness of your home’s doors, baseboards, and switchplates is an often overlooked but crucial part of your regular cleaning routine. These surfaces not only accumulate dust, dirt, and grime over time but also serve as high-touch areas that can harbor bacteria and allergens, affecting the overall cleanliness and air quality of your home.
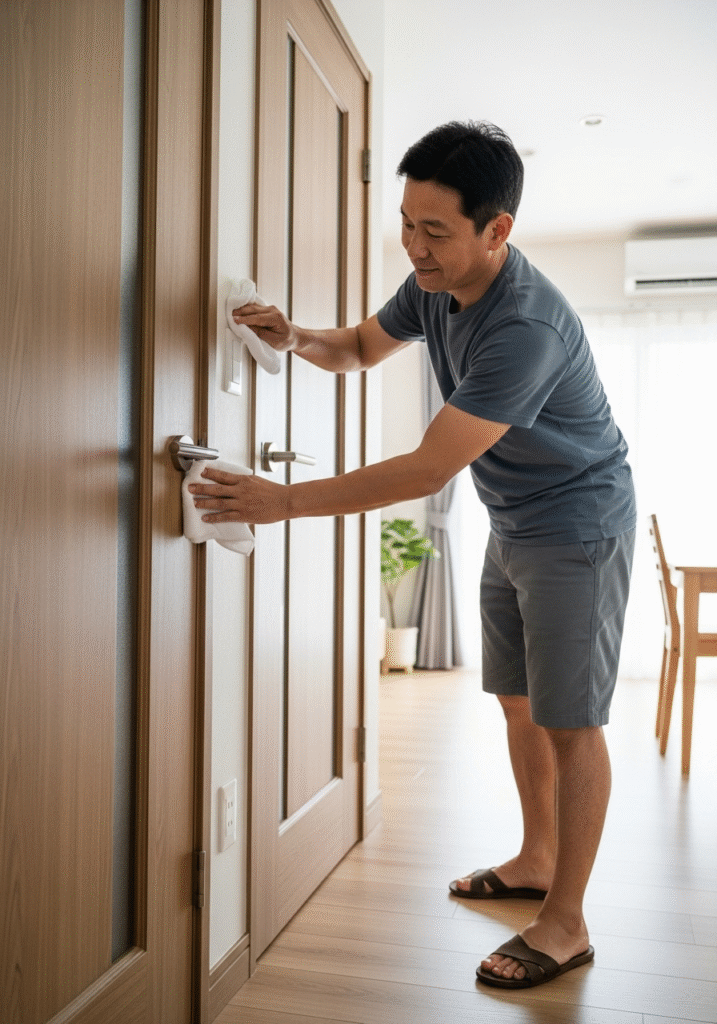
Start by gently wiping down doors, especially around handles and knobs, where fingerprints, smudges, and oils can accumulate. Pay attention to both sides of the door, as the one facing the hallway or common areas tends to attract more dirt and dust. Use a damp microfiber cloth for this task, as it captures dirt effectively without leaving behind lint or streaks. For stubborn spots, you can lightly dampen the cloth with a mixture of warm water and mild dish soap.
Next, move on to baseboards. These are often one of the dirtiest areas in a room, as they tend to trap dust, pet hair, and dirt, which can accumulate quickly over time. Use a microfiber cloth, or a soft-bristled brush, to gently wipe the baseboards along the floor. For stubborn dirt, especially in corners or areas with heavy foot traffic, a damp cloth with a bit of mild cleaning solution or vinegar can help break down grime. Be mindful of the material of your baseboards (wood, painted, or vinyl) to avoid any damage from harsh chemicals.
Switchplates, another common area for dirt and grime buildup, should also be cleaned regularly. These areas are frequently touched by hands, so they can gather oils, dirt, and germs. Simply use a damp cloth to wipe the switchplates, making sure to get into the crevices where dust and debris can settle. For added hygiene, you can disinfect the surface with a disinfecting wipe or a solution of water and rubbing alcohol, especially in high-traffic areas like kitchens and bathrooms.
Don’t forget to inspect for any visible damage. If you notice any cracked or chipped baseboards or switchplates, consider replacing them to maintain the overall appearance of your home. Similarly, check door frames for any peeling paint or discoloration that could indicate water damage or wear over time.
Regularly wiping down these surfaces not only helps to keep your home looking fresh and clean but also promotes a healthier environment by removing allergens, dust, and germs. It’s a simple yet effective way to elevate the overall cleanliness of your living space, creating a more comfortable and aesthetically pleasing home.
Test Garage Door Auto-Reverse Feature
The auto-reverse feature on your garage door opener is a critical safety mechanism that can prevent accidents and injuries. This feature is designed to detect any obstruction in the door’s path and automatically reverse its direction to avoid trapping or crushing objects, pets, or people. Regular testing of this feature ensures it’s functioning properly, keeping your family and property safe.
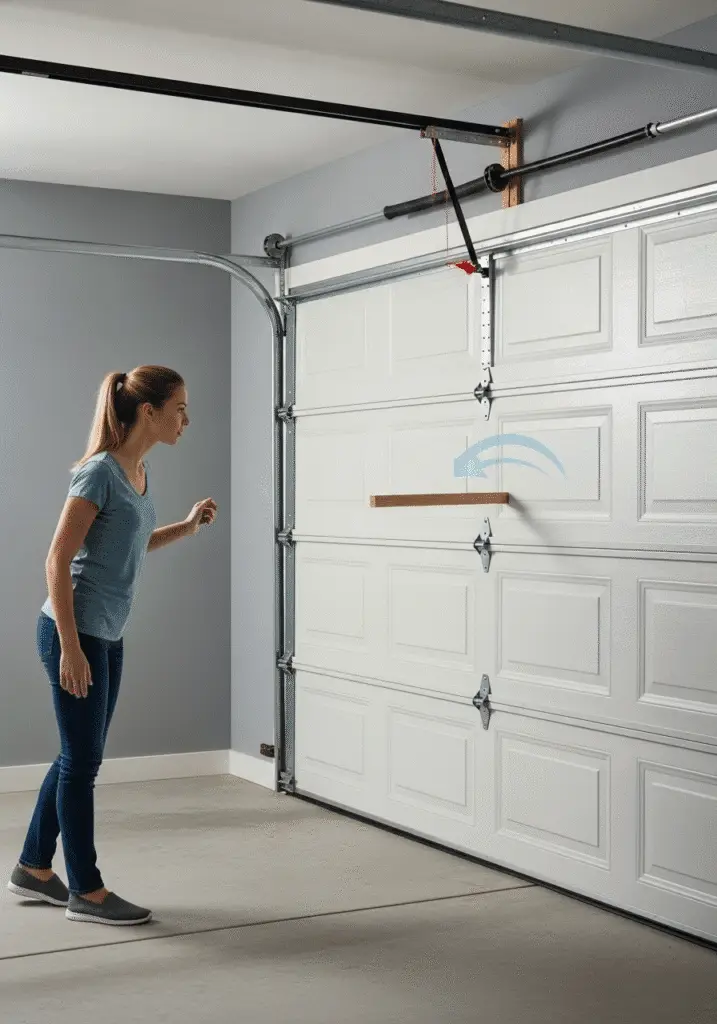
To test the auto-reverse function, start by placing a small, non-perishable object—such as a piece of wood or a brick—on the ground in the path of the door. The object should be placed directly in the door’s line of travel, roughly in the center of the opening. You can also use something that’s about the same height as a small child or pet, ensuring that the feature is sensitive enough to react to real-world scenarios.
Next, close the garage door by using your remote control or the wall-mounted opener. As the door comes down, watch carefully to see if it detects the obstruction. When the door makes contact with the object, it should reverse automatically and begin to open again. If the door continues to close without reversing, this indicates that the auto-reverse feature is malfunctioning and needs attention.
It’s important to test the auto-reverse function at least once a month to ensure it’s working properly. Over time, the sensors can become dirty, misaligned, or obstructed, which can interfere with their ability to detect obstacles. If the door fails to reverse when it should, it may be necessary to clean the sensors with a soft cloth, realign them, or, if needed, call a professional to repair or replace the sensors.
The auto-reverse feature is especially important for households with children or pets. Without it, the garage door could pose a significant safety hazard, potentially causing injury or even death. In fact, it’s been a mandated safety feature for all garage doors built after 1993 by the U.S. Consumer Product Safety Commission (CPSC).
By routinely testing this function and ensuring that it’s in good working order, you’re not only maintaining your garage door’s safety standards but also protecting your loved ones and pets from potential harm.
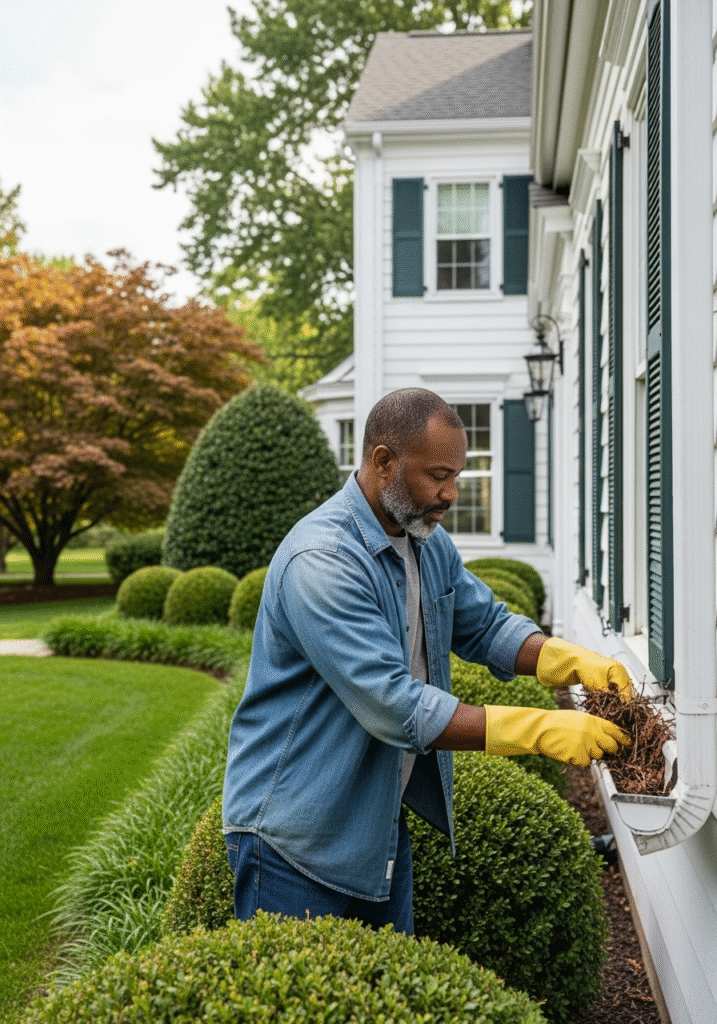
Inspect Exterior Drains and Gutters
Regularly inspecting and maintaining your home’s exterior drains and gutters is a crucial aspect of property upkeep, especially in preventing water damage. Blocked or clogged gutters and drains can lead to a host of issues, including foundation problems, flooding, and landscape erosion. This simple yet essential task will not only protect your home from costly repairs but also ensure proper water flow around your property.
Start by inspecting the gutters and downspouts. These are designed to collect rainwater from the roof and direct it safely away from your home’s foundation. Over time, however, leaves, twigs, dirt, and other debris can accumulate, clogging the system and impeding water flow. In the fall, for example, gutters are particularly susceptible to leaf buildup, which can cause water to overflow and pool near the foundation.
To begin, use a ladder to safely access the gutters. Start at the farthest end of the gutter system and work your way toward the downspout. Use your hands, a scoop, or a small gardening trowel to remove any visible debris. Be sure to wear gloves to protect your hands from sharp edges or mold buildup. If necessary, you can also use a hose to flush out any remaining dirt or small particles. This will help ensure that water flows freely through the entire system.
Next, examine the downspouts. These vertical pipes direct water from the gutters to the ground, and it’s important to check that they are clear and unobstructed. You can use a plumber’s snake or a pressure washer to clear any blockages in the downspouts. Afterward, test the water flow by running a hose through the gutters and watching for water to flow smoothly out of the downspout.
Check that the downspouts are directing water away from the foundation, ideally at least 3–5 feet away. If water is pouring directly onto the foundation or pooling around the base of your home, this could lead to basement flooding or structural issues. You can install downspout extenders to help direct the water farther away from the foundation.
In addition to gutters and downspouts, inspect exterior drains around your yard, particularly in areas prone to pooling water, such as the driveway, around the basement, or near the foundation. Make sure these drains are free of debris and that the grates are securely in place. If necessary, clear any leaves, dirt, or trash that may be blocking the flow of water.
In colder climates, it’s especially important to inspect gutters before the winter months. Ice dams, formed when snow on the roof melts and refreezes in the gutters, can cause significant damage to the roofing, gutters, and even the interior of your home. Keeping gutters clear of debris will help minimize the risk of ice dam formation.
Lastly, examine the gutters themselves for any signs of damage, such as cracks, rust, or loose fasteners. If the gutters are sagging or pulling away from the roof, they may need to be re-secured or replaced.
By regularly inspecting and maintaining your exterior drains and gutters, you can ensure that rainwater is properly channeled away from your home, reducing the risk of water damage, flooding, and foundation issues. This simple maintenance step can save you significant repair costs and protect the integrity of your home for years to come.
