Maintaining clean, stain-free walls is essential for preserving the beauty and hygiene of your home. Our comprehensive guide on how to remove wall stains effectively offers expert tips and proven methods for tackling a wide variety of common blemishes. Whether you’re dealing with stubborn grease splatters in the kitchen, crayon or marker doodles left behind by creative kids, unsightly water stains, or the persistent growth of mold and mildew, we’ve got you covered with practical, easy-to-follow solutions. Learn which household ingredients, like baking soda, vinegar, or dish soap, can be used safely on different wall surfaces — from painted drywall to wallpaper and tiles — without causing damage. We also share preventative tips to help protect your walls from future stains and guidance on when to opt for professional cleaning. With our expert advice, you’ll be equipped to restore the freshness and appeal of your living spaces, ensuring your walls remain as spotless and vibrant as the day they were finished.
Introduction
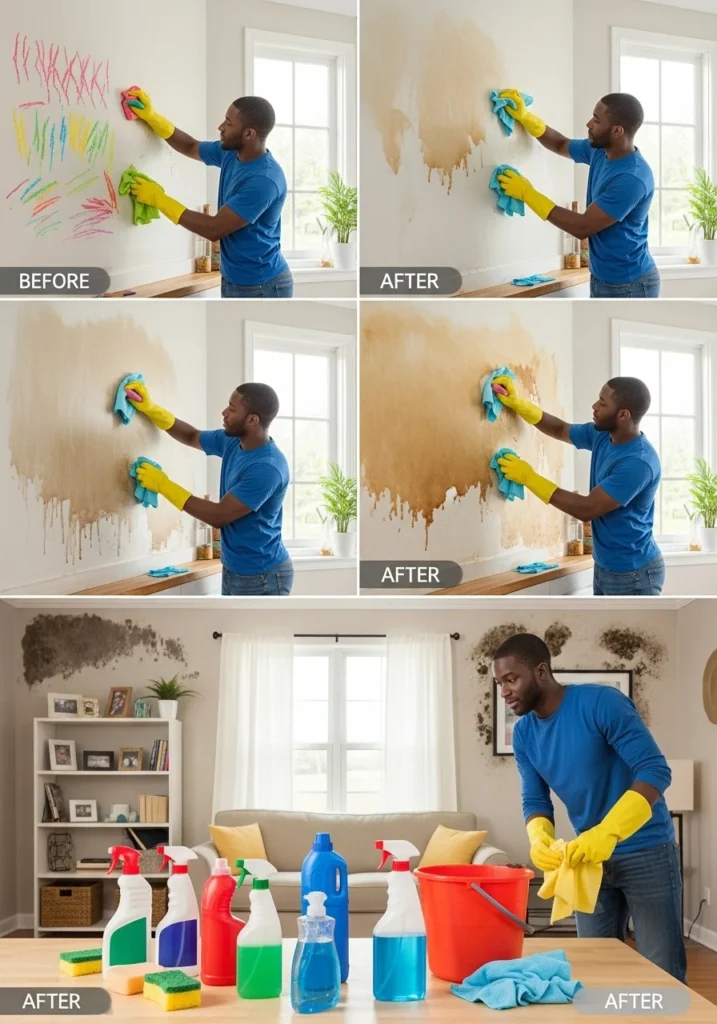
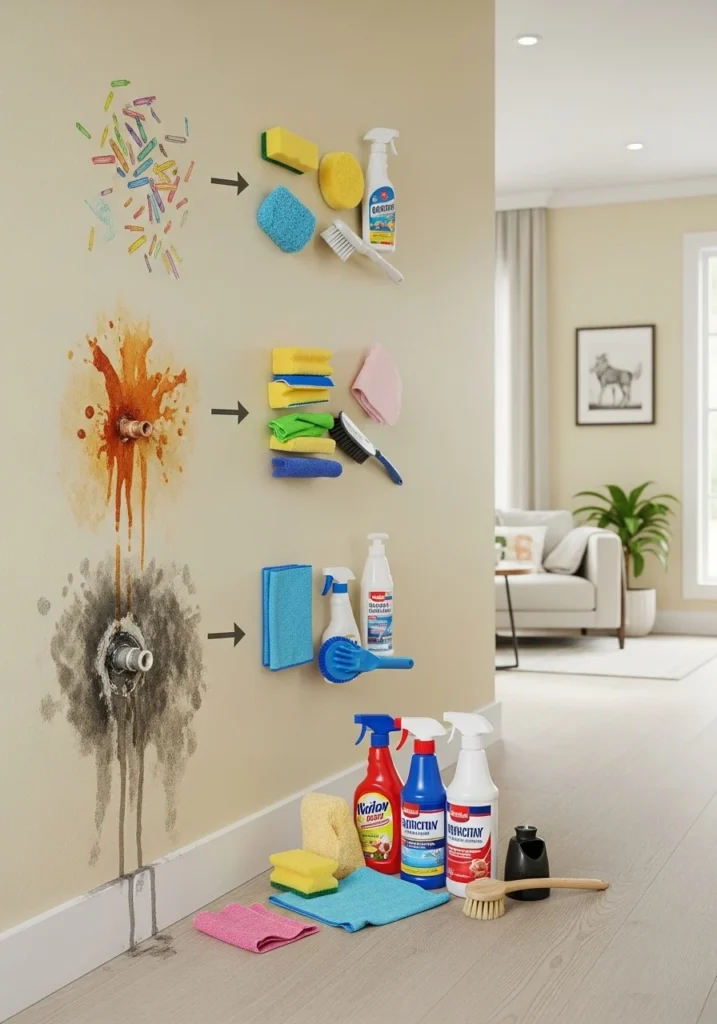
Walls play a crucial role in defining the appearance and atmosphere of any space, yet they are often subjected to various types of stains that can diminish the overall look and feel of your home. Whether it’s accidental grease splatters in the kitchen, crayon and marker drawings from playful children, water stains caused by leaks, or the unsightly presence of mold and mildew, wall stains are a common and sometimes frustrating challenge for homeowners. Each type of stain presents its own set of difficulties, and the cleaning approach must be carefully tailored to the specific material of the wall — be it painted drywall, wallpaper, tiles, or wood paneling — to avoid causing further damage.
In this comprehensive guide, we’ll walk you through the most effective strategies for tackling a wide variety of wall stains using both DIY solutions and specialized cleaning products. You’ll learn how to properly assess the type of stain, select the appropriate cleaning agents, and apply the right techniques to safely and efficiently restore your walls to their original, pristine condition. Additionally, we’ll provide preventive tips to help you protect your walls from future staining, ensuring they stay clean, bright, and well-maintained for years to come. Whether you’re preparing for a deep clean or addressing an unexpected mess, this guide will equip you with the knowledge and confidence to keep your walls spotless and your home looking its best.
Essential Cleaning Supplies
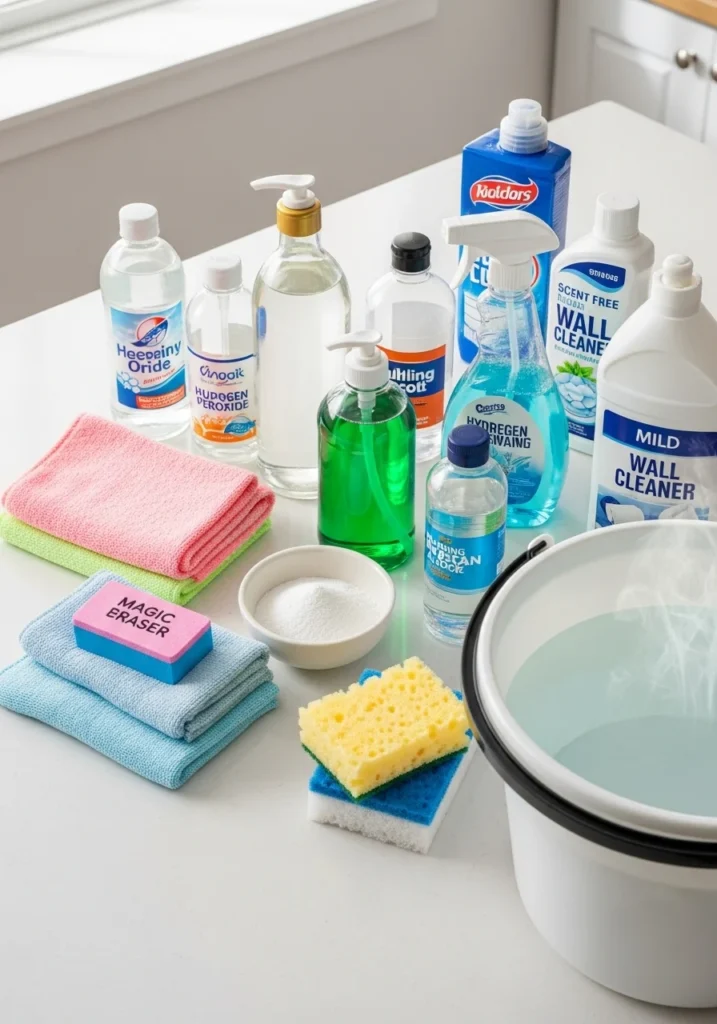
Before beginning any cleaning project, it’s important to gather all the necessary supplies. Having the right tools and products at your disposal not only makes the job easier but also ensures that you can tackle a wide variety of stains and surfaces without causing damage. Here’s a comprehensive list of essential cleaning supplies you should have on hand when preparing to clean your walls or other household surfaces:
- Soft Microfiber Cloths: These cloths are ideal for dusting and wiping down surfaces without scratching or leaving lint behind. Their soft texture makes them perfect for delicate surfaces like painted walls, wallpaper, or finished wood. Microfiber also traps dust and dirt effectively, reducing the need for harsh scrubbing.
- Magic Eraser or Melamine Foam Sponge: A magic eraser is a powerful tool for removing stubborn marks such as scuffs, crayon, fingerprints, and grease. The fine texture of melamine foam acts like a gentle abrasive that lifts stains without damaging most wall finishes. Always test in an inconspicuous area first to ensure compatibility.
- Baking Soda: This natural, non-toxic cleaning agent works well as a mild abrasive for scrubbing away stains without scratching surfaces. Baking soda can also help neutralize odors and is often combined with water or vinegar to create an effective cleaning paste.
- Vinegar: White vinegar is a versatile and eco-friendly cleaner that can dissolve grime, grease, and mineral deposits. It’s especially useful for cutting through buildup on walls and other surfaces. Diluted vinegar solutions are safe for most painted finishes but should be avoided on natural stone or certain delicate materials.
- Dish Soap: A gentle dishwashing liquid mixed with warm water creates a mild yet effective cleaning solution for everyday dirt and smudges. It helps break down grease and residue on walls without stripping paint or finish.
- Hydrogen Peroxide: This disinfecting agent is great for tackling mold, mildew, and tough stains. It also works well for sanitizing surfaces and is less harsh than bleach. Hydrogen peroxide can help brighten white walls and remove organic stains.
- Rubbing Alcohol: Perfect for removing ink stains, marker scribbles, and sticky residues, rubbing alcohol evaporates quickly and doesn’t leave moisture behind. It should be used sparingly and tested on a small patch first to avoid discoloration.
- Spray Bottle: A spray bottle is essential for mixing and applying homemade cleaning solutions such as diluted vinegar or soapy water. It allows for even distribution across walls and makes it easier to control how much liquid you apply.
- Sponge: A standard sponge is useful for applying cleaning solutions, scrubbing stains, and rinsing walls. Opt for a non-abrasive sponge to avoid damaging the wall surface.
- Bucket of Warm Water: Warm water is necessary for diluting cleaners, rinsing sponges, and wiping down walls. It helps dissolve dirt more effectively than cold water and is a basic yet vital part of any cleaning setup.
- Mild Detergent: A gentle, all-purpose detergent can be used for cleaning walls that are particularly grimy. Mild detergents are safe for painted walls, wood paneling, and other surfaces that might react poorly to stronger chemicals.
- Commercial Wall Cleaners (Optional): For particularly tough stains or specialized wall materials, commercial wall cleaning products are available. These are formulated to target specific stains like smoke, grease, or crayon without damaging the surface. However, they should be used according to the manufacturer’s instructions.
General Tips for Wall Cleaning
Cleaning walls may seem straightforward, but to preserve the integrity of your paint, wallpaper, or finish, it’s essential to approach the task with care and attention. Walls can be surprisingly delicate, and improper cleaning techniques can lead to unwanted damage such as discoloration, paint removal, or streaking. To ensure that your walls remain in excellent condition while being refreshed and cleaned, keep the following general tips in mind:
1. Test a Small, Hidden Area First
Before applying any cleaning solution broadly across your walls, it’s crucial to test the product on a small, inconspicuous section. This precaution helps you ensure that the cleaner won’t cause discoloration, fading, or deterioration of the surface. Different wall finishes — whether matte, satin, gloss, or wallpaper — can react differently to various cleaners, especially those containing strong chemicals or abrasives.
Choose an area behind a piece of furniture, a door, or in a lower corner where any adverse effects won’t be visible. Apply a small amount of your chosen cleaning solution and gently wipe with a soft cloth. Wait until the area dries completely to assess any changes in texture, color, or sheen. If there’s no damage, you can proceed with confidence to clean the more visible parts of the wall.
2. Use Gentle Motions When Cleaning
Walls, particularly those with paint or wallpaper, can be sensitive to vigorous scrubbing or harsh tools. Always use soft, gentle motions when cleaning to avoid stripping paint, scratching surfaces, or tearing wallpaper. Using circular or light back-and-forth strokes is usually sufficient to lift dirt, dust, or stains without damaging the finish.
Additionally, starting from the top of the wall and working your way downward helps prevent drips from running over already-cleaned areas, minimizing streaks or water marks. For stubborn stains, opt for mild cleaning solutions and apply them gradually rather than resorting to heavy pressure.
Gentleness is especially important for older walls, textured surfaces, or areas with decorative finishes, as they are more prone to wear and tear during cleaning.
3. Dry the Area Thoroughly After Cleaning
After cleaning a section of the wall, it’s important to dry it properly using a clean, soft cloth — preferably microfiber, which is absorbent and gentle on surfaces. Drying helps prevent water spots, streaks, or moisture damage, especially in areas with high humidity or poor ventilation.
Leaving walls damp can also lead to issues such as mold growth, particularly on porous surfaces like drywall or wallpaper. By ensuring the wall is dry, you help preserve its appearance and structural integrity. Additionally, drying allows you to better assess whether the stain has been fully removed or if further cleaning is necessary.
Bonus Tips:
- Dust First: Always dust the walls before using any liquid cleaner to prevent creating a muddy mess.
- Use Minimal Water: Excessive moisture can seep into paint, drywall, or wallpaper, causing bubbling, peeling, or warping.
- Ventilate the Room: Keep windows open or use fans to speed up the drying process and prevent lingering dampness.
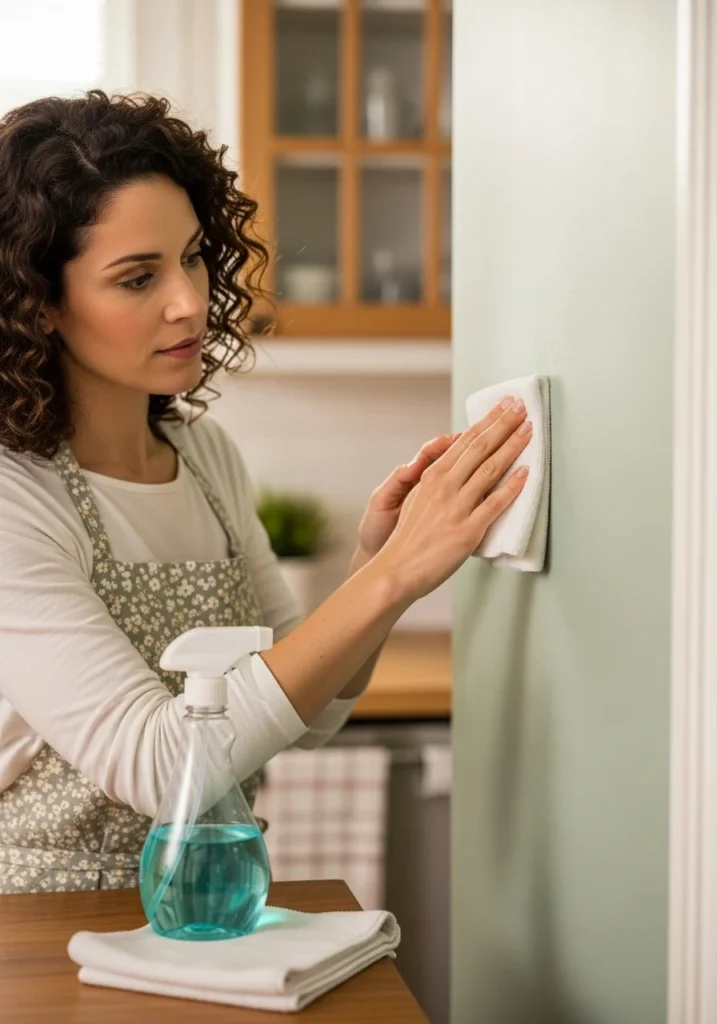
How to Remove Different Types of Wall Stains
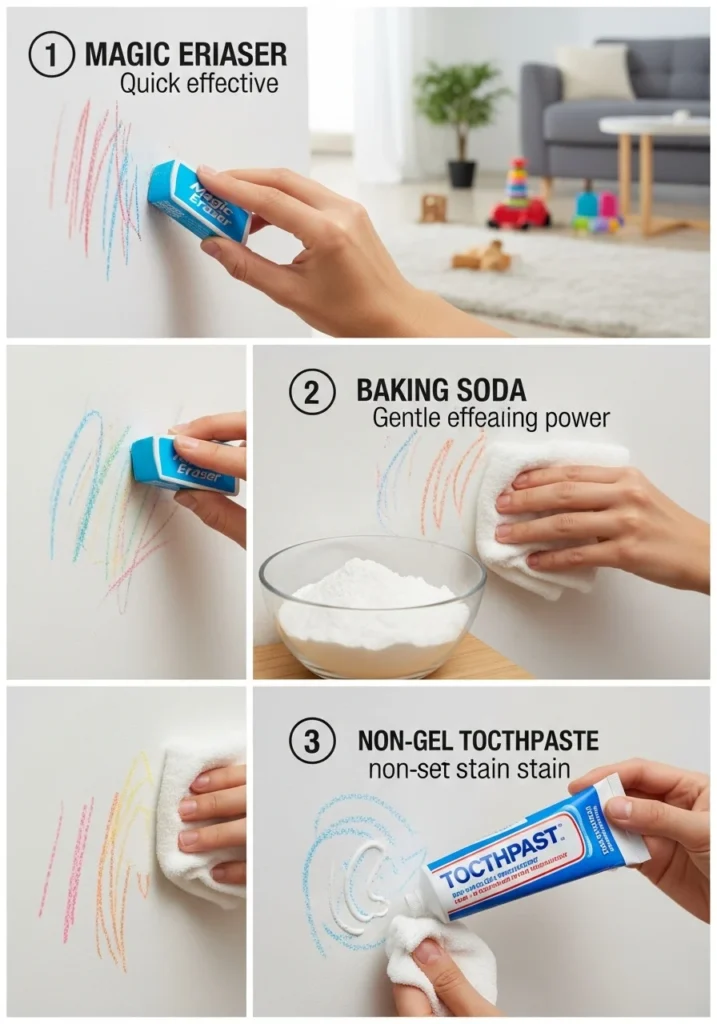
Crayon marks on walls are a common issue, especially in households with young children. While they can seem like a nightmare for maintaining clean walls, the good news is that crayon is made from wax and pigment, which can be effectively removed with the right techniques — without damaging your paint or wallpaper. The key is to use gentle yet effective methods that lift the waxy residue and pigment without compromising the wall surface. Here are three reliable methods for removing crayon marks from walls:
Method 1: Using a Magic Eraser
One of the simplest and most effective ways to tackle crayon stains is with a Magic Eraser, which is made from melamine foam. This material acts like a micro-abrasive, effectively lifting away crayon marks with minimal effort.
- How to Use: Lightly dampen the Magic Eraser with water and gently rub it over the crayon marks using circular motions. Avoid applying too much pressure to prevent removing or dulling the paint underneath.
- Best For: This method is particularly effective on painted walls with a durable finish, such as semi-gloss or satin paint, which can withstand light abrasion.
- Caution: Always test on a hidden spot first, especially on matte or flat paint finishes, as the eraser’s abrasiveness can cause discoloration or leave a slightly dull patch.
Method 2: Baking Soda Paste
Baking soda is a natural, gentle abrasive that can effectively remove crayon without damaging most wall surfaces. When mixed with water to form a paste, it can lift the waxy residue while being safe for both painted walls and wallpaper.
- How to Use: Mix a small amount of baking soda with water until it forms a thick paste. Apply the paste directly onto the crayon marks using a soft cloth or sponge. Gently rub the area in a circular motion until the marks begin to fade. Once clean, wipe the area with a damp cloth to remove any remaining paste, then dry with a soft towel.
- Best For: Painted walls, especially those with tougher finishes, as well as some types of wallpaper that are washable or moisture-resistant.
- Bonus Tip: Baking soda also helps neutralize any lingering odors, leaving the wall fresh as well as clean.
Method 3: Toothpaste (Non-Gel)
Another household staple that can help remove crayon stains is non-gel toothpaste. Toothpaste often contains mild abrasives and gentle cleaning agents that can break down waxy residues without harsh chemicals.
- How to Use: Apply a small amount of non-gel toothpaste directly onto a soft, damp cloth or sponge. Rub the crayon marks gently in small, circular motions. Once the marks are gone, rinse the area with a clean, damp cloth to remove any toothpaste residue, and then dry the wall thoroughly.
- Best For: This method works well on painted walls, tile, and some types of washable wallpaper. It’s an easy, safe option for quick spot cleaning.
- Tip: Avoid using gel-based or colored toothpaste, as these may contain dyes or additives that could stain the wall.
Final Advice
Regardless of the method you choose, it’s essential to:
- Test a Small Area First: Always check the cleaning method on a hidden portion of the wall to ensure it won’t cause damage or discoloration.
- Use Soft Cloths: Soft, non-abrasive cloths or sponges help protect the wall finish while cleaning.
- Dry Thoroughly: After removing the crayon marks, make sure to dry the cleaned area completely to avoid streaks, watermarks, or moisture-related damage.
Preventive Measures
Keeping your walls clean and stain-free is much easier when you implement a few simple preventive strategies. Instead of waiting until walls are heavily soiled or stained, adopting regular maintenance habits and making thoughtful choices about your home’s environment and finishes can extend the life and appearance of your walls. Here are some key preventive measures that can help keep your walls looking fresh, clean, and well-maintained over time:
1. Wash Walls Regularly
One of the most effective ways to prevent stubborn dirt, grime, and stains from accumulating is by cleaning your walls periodically. Dust, airborne particles, and fingerprints can gradually build up, especially in high-traffic areas like hallways, kitchens, and children’s playrooms. By dusting or wiping down your walls every few months, you prevent this buildup from becoming ingrained or more difficult to remove later.
- How to Do It: Use a soft microfiber cloth, dust mop, or vacuum with a brush attachment to gently remove surface dust. For a deeper clean, wipe walls with a mild soap and water solution, then dry thoroughly with a soft towel.
- Frequency: For most households, dusting walls every 2-3 months is sufficient, while deeper cleaning can be done once or twice a year, or more often in homes with pets or smokers.
2. Use Washable or Scrubbable Paint
Choosing the right paint finish is a smart long-term investment for wall maintenance. Not all paints are created equal when it comes to washability and resistance to stains. Finishes like satin, semi-gloss, or eggshell are much easier to clean than flat or matte paints, which can absorb stains and be more susceptible to damage when scrubbed.
- Benefits of Washable Paint: These paints are designed to withstand frequent cleaning without fading or losing their finish. They are especially ideal for kitchens, bathrooms, children’s rooms, and other spaces prone to spills and marks.
- Additional Tip: Many paint manufacturers now offer specialized stain-resistant or scrubbable paints, which make it easier to clean up everything from crayons to greasy fingerprints without repainting.
3. Avoid Smoking Indoors
Cigarette smoke is notorious for causing yellowing and discoloration on walls and ceilings over time. Smoke particles cling to surfaces, leading to stains that can be difficult to remove and may require repainting. The odor can also permeate walls and other surfaces, creating a persistent and unpleasant smell.
- Preventive Action: Designate outdoor areas for smoking or create a well-ventilated space away from main living areas. This not only protects your walls but also contributes to a healthier indoor environment for everyone in the home.
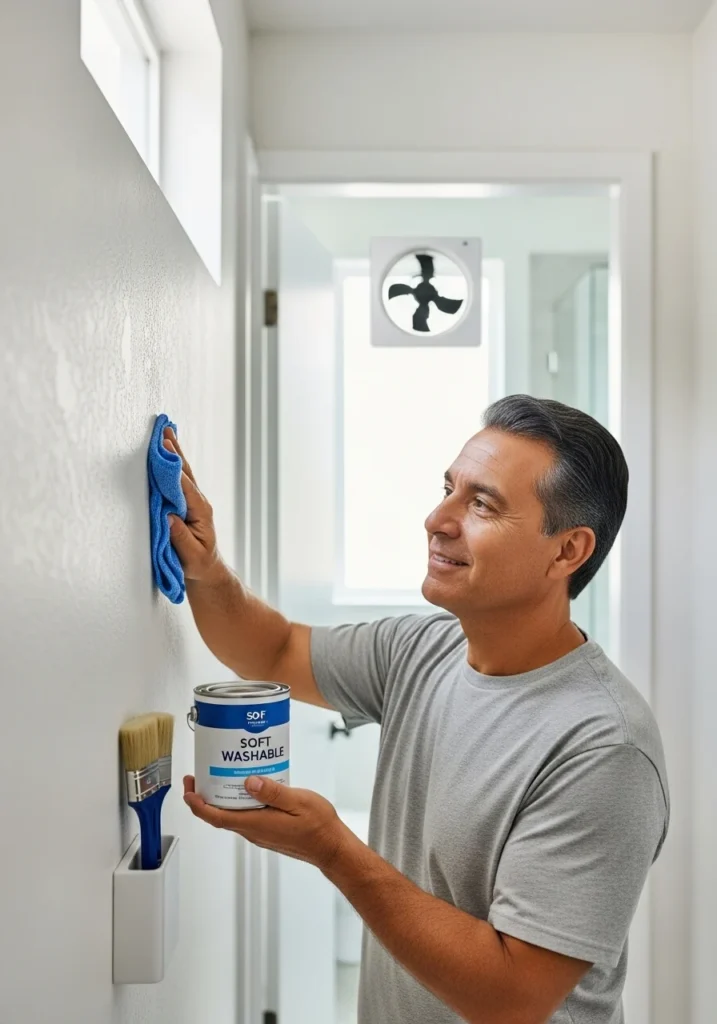
4. Install Exhaust Fans in Kitchens and Bathrooms
Kitchens and bathrooms are particularly prone to moisture, grease, and humidity, all of which can lead to wall stains, mold growth, and surface deterioration. Installing exhaust fans in these spaces can greatly reduce the risk of these issues by improving ventilation and removing excess moisture and airborne grease particles.
- In Kitchens: An efficient range hood or exhaust fan helps capture and vent out cooking fumes, steam, and grease, preventing them from settling on walls and ceilings.
- In Bathrooms: Exhaust fans help manage humidity from hot showers, reducing the risk of mildew, mold, and peeling paint on bathroom walls.
Bonus Preventive Tips
- Use Wall Protectors: In areas prone to contact, such as near furniture or light switches, consider installing wall guards, chair rails, or clear protective films.
- Maintain Good Ventilation: Proper airflow throughout the home helps prevent moisture buildup, reducing the chance of mold and mildew on walls.
- Promptly Address Spills and Marks: Quickly cleaning up any spills, splashes, or marks prevents them from becoming permanent stains.
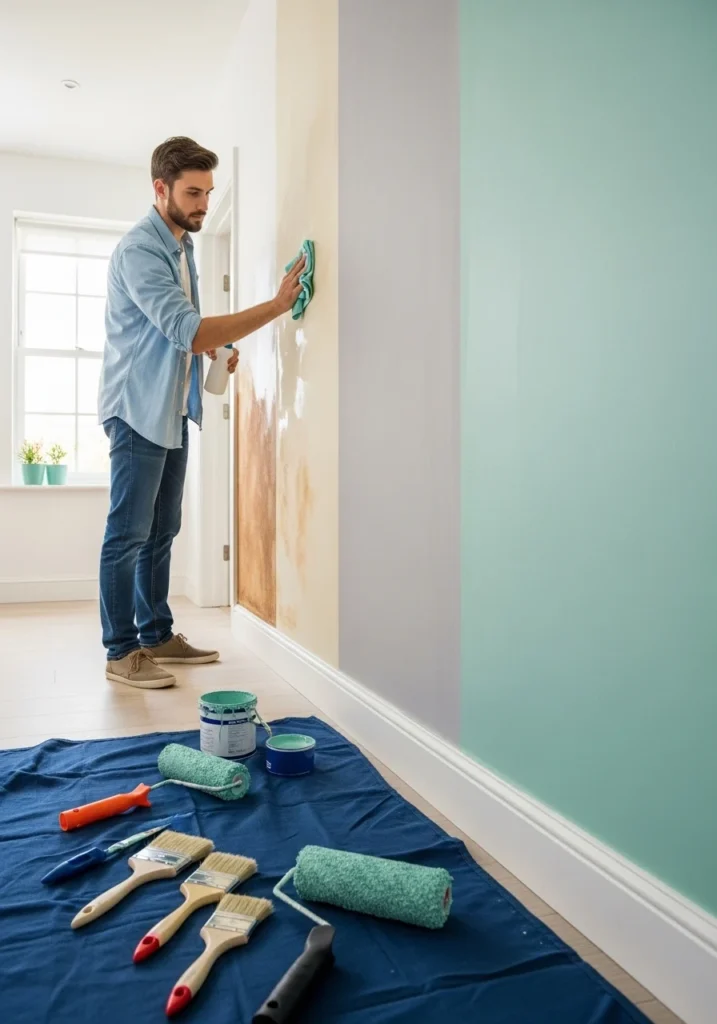
When to Repaint Your Walls
While regular cleaning and maintenance can keep walls looking fresh, there comes a point when stains, discoloration, or surface wear become too extensive to clean effectively. In such cases, repainting your walls may be the best solution to restore their appearance and refresh your living space. Whether the paint has been damaged during cleaning, stained beyond repair, or simply faded over time, a fresh coat of paint can rejuvenate a room and offer an opportunity to upgrade to more durable, low-maintenance finishes.
Signs It’s Time to Repaint
- Persistent stains that won’t come off despite multiple cleaning attempts.
- Paint that has become dull, faded, or discolored due to sunlight, smoke, or aging.
- Peeling, cracking, or bubbling paint, often caused by moisture, improper cleaning, or poor previous paint jobs.
- Scuffed or scratched walls, especially in high-traffic areas like hallways or children’s rooms.
- A desire to update or refresh the look of a space with new colors or finishes.
Tips for Repainting
If you’ve decided to repaint your walls, proper preparation is key to achieving a smooth, long-lasting finish. Here are essential steps and tips to ensure the best results:
1. Clean the Walls Thoroughly Before Repainting
Before applying any paint, it’s crucial to clean the walls completely to remove dust, grease, stains, and residues from previous cleaning solutions. Painting over dirty or greasy walls can prevent the new paint from adhering properly, leading to uneven coverage, peeling, or blotches.
- How to Clean: Use a mild detergent mixed with warm water and a soft sponge to wash the walls. Pay special attention to areas prone to buildup, such as kitchens and around light switches. After washing, rinse with clean water and let the walls dry fully.
- Bonus Tip: For walls exposed to grease or nicotine stains, use a degreasing cleaner to ensure the surface is clean and free of contaminants.
2. Prime the Walls to Cover Residual Stains
Priming is an often-overlooked but critical step in repainting, especially if the walls have residual stains, dark colors, or patched areas. A high-quality primer creates a uniform surface, helps block stains from bleeding through the new paint, and improves the adhesion of the topcoat.
- Stain-Blocking Primer: For walls with stubborn stains from smoke, water damage, or crayon marks, choose a stain-blocking primer. These specialized primers seal in discoloration and create a clean base for painting.
- Benefits of Priming: Priming also helps to even out surface textures, ensuring a smooth and professional-looking finish once the final paint is applied.
3. Use Durable, Washable Paint for High-Traffic Areas
When selecting paint for your walls, especially in high-traffic or stain-prone areas like kitchens, bathrooms, hallways, and children’s rooms, opt for durable, washable paint finishes. These paints are specifically formulated to withstand frequent cleaning without losing color or texture.
- Recommended Finishes: Satin, semi-gloss, and eggshell finishes strike a balance between aesthetics and functionality. They are easier to wipe down and more resistant to stains compared to flat or matte paints.
- Stain-Resistant Options: Some premium paints come with added stain-resistant or scrubbable properties, allowing you to easily clean marks, smudges, and spills without damaging the wall surface.
Conclusion
Walls are an essential part of every home’s aesthetic, providing a backdrop to daily life and contributing to the overall atmosphere of your space. However, it’s inevitable that walls will accumulate stains over time — whether from crayon marks left by playful children, grease splatters from cooking, moisture-induced mold, or unsightly water stains from leaks. Fortunately, these common wall stains are not permanent problems. With the right cleaning techniques, tools, and maintenance habits, you can effectively tackle a wide range of stains and preserve the pristine look of your walls.
Understanding the correct method for each type of stain is crucial. For example, simple solutions like baking soda paste, vinegar sprays, or household items such as Magic Erasers can work wonders on everyday marks. More stubborn stains like mold or water damage might require specialized cleaners or additional steps like priming and repainting. Regardless of the type of wall surface — whether painted, wallpapered, or textured — there is typically a safe and effective cleaning solution available.
Beyond just removing stains, the key to maintaining beautiful walls lies in regular upkeep and preventive care. Simple habits like dusting your walls, using washable paint finishes, installing exhaust fans in moisture-prone areas, and avoiding indoor smoking can significantly reduce the chances of long-term damage. These proactive steps help extend the life of your wall finishes and keep your home looking fresh and inviting.
In some cases, despite your best efforts, stains may prove too stubborn or the paint may suffer damage during cleaning. When this happens, repainting your walls with high-quality, washable, and stain-resistant paints offers a lasting solution that not only restores beauty but also enhances durability for the future.
Ultimately, by following the comprehensive strategies outlined in this guide — from initial cleaning to long-term prevention — you can confidently care for your walls without needing professional intervention. Not only does this save time and money, but it also empowers you to maintain a clean, healthy, and visually appealing home environment. With a little effort and the right approach, your walls can remain vibrant and stain-free, contributing to the overall comfort and elegance of your living space for many years to come.
Ask ChatGPTWalls are an essential part of every home’s aesthetic, providing a backdrop to daily life and contributing to the overall atmosphere of your space. However, it’s inevitable that walls will accumulate stains over time — whether from crayon marks left by playful children, grease splatters from cooking, moisture-induced mold, or unsightly water stains from leaks. Fortunately, these common wall stains are not permanent problems. With the right cleaning techniques, tools, and maintenance habits, you can effectively tackle a wide range of stains and preserve the pristine look of your walls.
Understanding the correct method for each type of stain is crucial. For example, simple solutions like baking soda paste, vinegar sprays, or household items such as Magic Erasers can work wonders on everyday marks. More stubborn stains like mold or water damage might require specialized cleaners or additional steps like priming and repainting. Regardless of the type of wall surface — whether painted, wallpapered, or textured — there is typically a safe and effective cleaning solution available.
Beyond just removing stains, the key to maintaining beautiful walls lies in regular upkeep and preventive care. Simple habits like dusting your walls, using washable paint finishes, installing exhaust fans in moisture-prone areas, and avoiding indoor smoking can significantly reduce the chances of long-term damage. These proactive steps help extend the life of your wall finishes and keep your home looking fresh and inviting.
In some cases, despite your best efforts, stains may prove too stubborn or the paint may suffer damage during cleaning. When this happens, repainting your walls with high-quality, washable, and stain-resistant paints offers a lasting solution that not only restores beauty but also enhances durability for the future.
Ultimately, by following the comprehensive strategies outlined in this guide — from initial cleaning to long-term prevention — you can confidently care for your walls without needing professional intervention. Not only does this save time and money, but it also empowers you to maintain a clean, healthy, and visually appealing home environment. With a little effort and the right approach, your walls can remain vibrant and stain-free, contributing to the overall comfort and elegance of your living space for many years to come
