Introduction
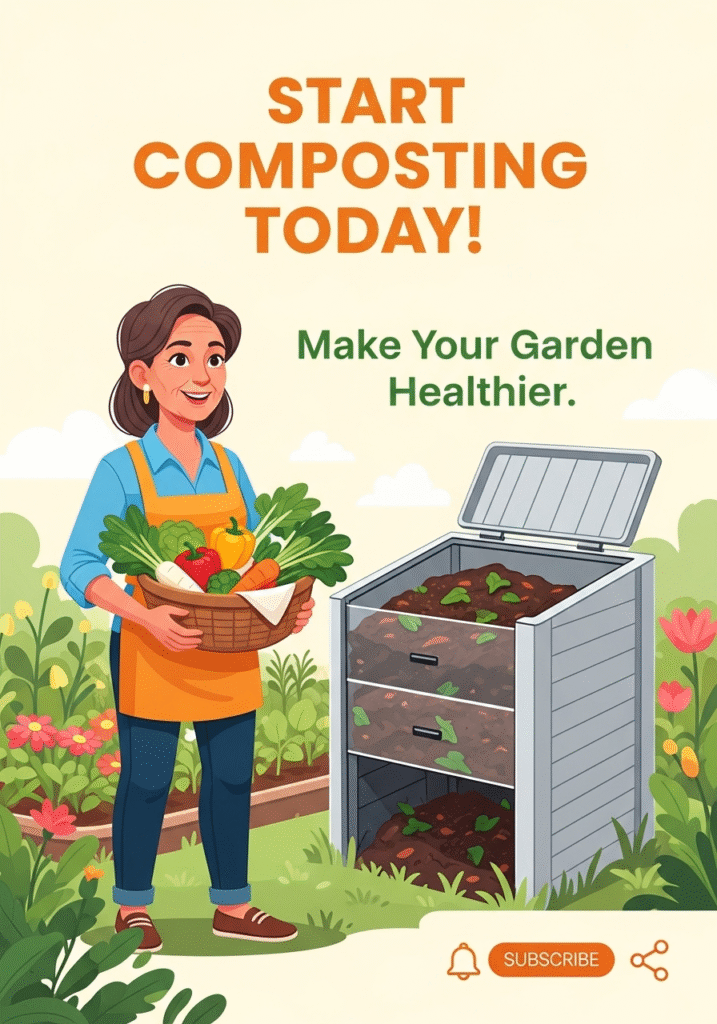
Composting is the natural process of recycling organic materials like food scraps, yard waste, and other biodegradable items into nutrient-rich soil. This process involves the decomposition of organic matter by microorganisms, fungi, and other decomposers. It’s an easy yet impactful way to reduce waste and enrich the soil in your garden, making it one of the most effective and eco-friendly gardening practices.
Why Organic Compost is Crucial for Sustainable Gardening
Organic compost is at the heart of sustainable gardening. By recycling organic waste into rich, fertile compost, gardeners can reduce reliance on chemical fertilizers that harm the environment. Organic compost helps improve soil structure, retain moisture, and promote healthy plant growth, all while preventing harmful runoff into local ecosystems. Composting also helps divert waste from landfills, contributing to waste reduction and lowering your carbon footprint.
The Benefits of Homemade Compost: Cost-Effective, Eco-Friendly, and Nutrient-Rich Soil
Homemade composting offers several advantages, starting with its cost-effectiveness. Instead of purchasing expensive store-bought compost or fertilizers, you can create your own right at home using kitchen scraps and yard waste. Beyond saving money, homemade compost is also more eco-friendly, reducing waste and promoting a circular economy.
Perhaps most importantly, homemade compost is packed with the nutrients your plants need to thrive. Unlike synthetic fertilizers, which often provide only a few key nutrients, organic compost contains a wide range of essential elements that improve soil health over time, making your garden more resilient and sustainable.
What is Organic Compost?
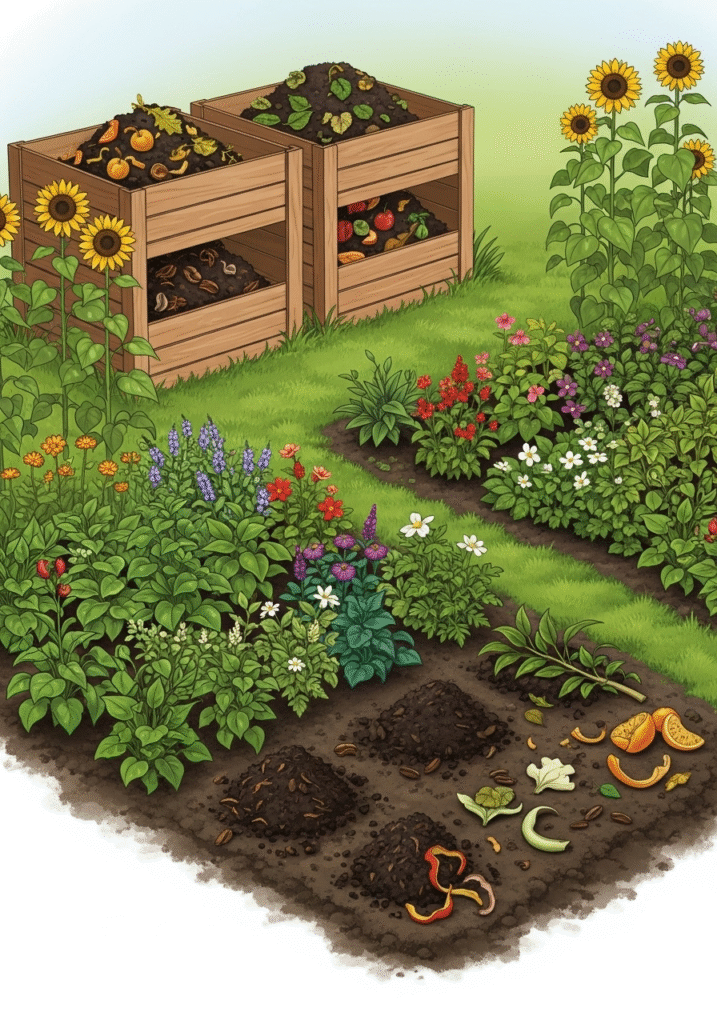
Organic compost is a natural, nutrient-rich material created by the decomposition of organic matter such as food scraps, plant residues, grass clippings, and other biodegradable materials. Through a process known as composting, microorganisms like bacteria, fungi, and worms break down these materials into humus, a dark, crumbly substance packed with essential nutrients for plant growth. Organic compost enriches the soil, enhances its texture, and improves its ability to retain moisture, making it a key ingredient in sustainable gardening.
Organic Compost vs. Chemical Fertilizers: Why Organic is Better for Your Plants and the Environment
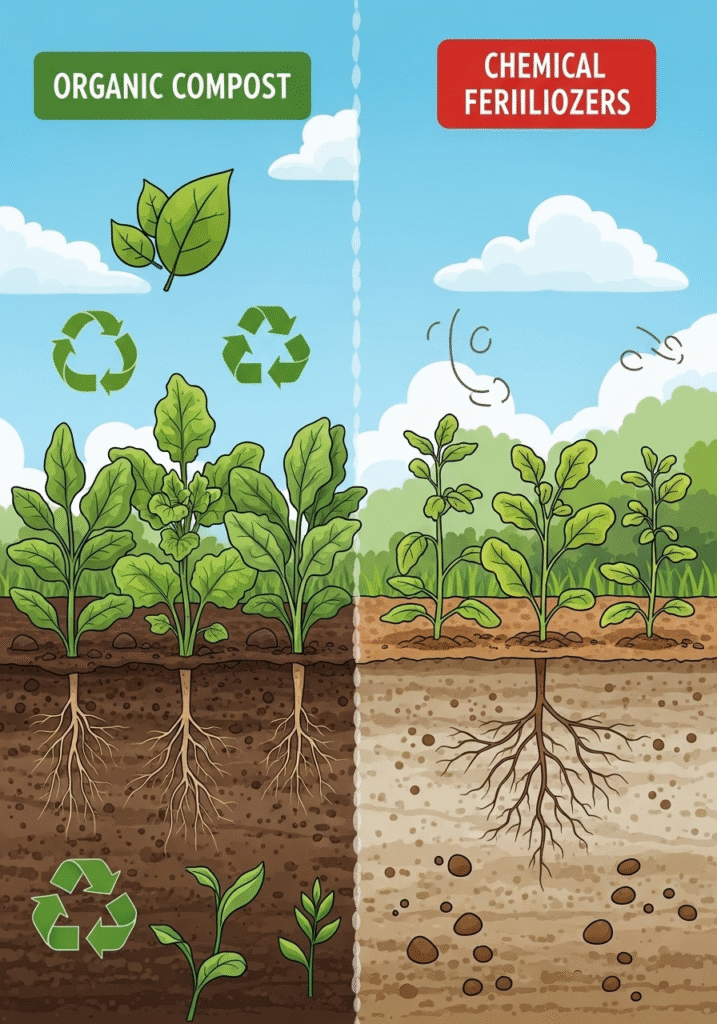
While chemical fertilizers are synthetic products designed to provide quick nutrients to plants, they often come with harmful side effects. Here’s how organic compost differs from chemical fertilizers and why it’s a better choice for your garden and the environment:
- Nutrient-Rich and Slow-Release: Organic compost provides a balanced, slow-release form of nutrients, unlike chemical fertilizers that often deliver a burst of nutrients. This slow release ensures plants receive nourishment over time, helping them grow stronger and healthier.
- Improves Soil Structure: Organic compost enhances the structure of your soil, increasing its ability to hold water, air, and nutrients. Over time, this leads to improved soil quality, unlike chemical fertilizers, which can degrade soil health and lead to compaction.
- Supports Soil Microorganisms: Healthy soil is teeming with beneficial microorganisms that break down organic matter and promote plant health. Organic compost supports these vital microbes, while chemical fertilizers can disrupt the delicate balance of soil organisms, potentially harming long-term soil health.
- Eco-Friendly and Sustainable: Composting reduces the need for chemical fertilizers, which are often derived from non-renewable resources and can contribute to soil and water pollution. By choosing organic compost, you’re making an eco-friendly choice that reduces waste, lowers carbon footprints, and prevents harmful runoff.
- No Harmful Chemicals: Chemical fertilizers can contain salts and other toxic substances that can damage plant roots, contaminate water sources, and harm beneficial insects. Organic compost, on the other hand, is free from these harmful chemicals, making it safer for both your plants and the surrounding ecosystem.
- Supports Long-Term Plant Health: Overuse of chemical fertilizers can lead to soil nutrient imbalances and plant stress. In contrast, organic compost builds healthy soil ecosystems that nourish plants continuously, leading to stronger, more resilient growth over the long term.
Why Make Compost at Home?
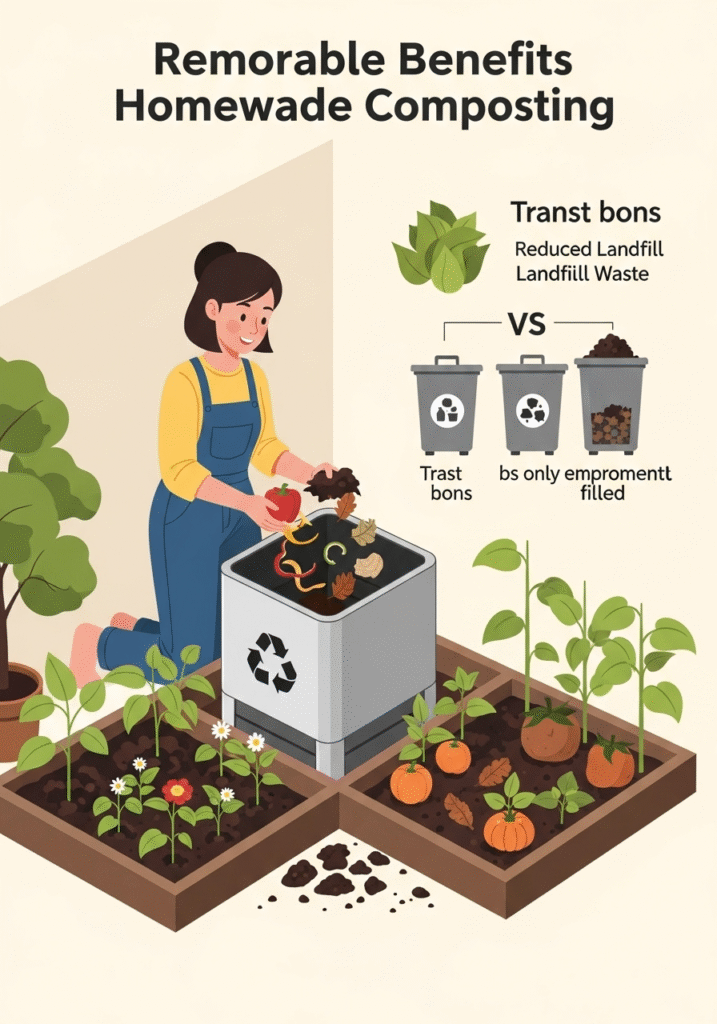
Composting at home is one of the simplest and most impactful ways to contribute to a greener planet while reaping huge benefits for your garden. By transforming your kitchen and garden waste into nutrient-rich compost, you can save money, reduce waste, and create healthier soil for your plants. Here’s why making compost at home is a game changer for both your garden and the environment.
Cost-Effective: Turn Everyday Waste into Garden Gold
One of the biggest advantages of homemade compost is how affordable it is. Instead of spending money on store-bought fertilizers or soil conditioners, you can create your own rich, organic compost for free using materials you already have—like vegetable peels, coffee grounds, eggshells, and garden trimmings. Homemade compost eliminates the need for expensive chemical fertilizers and soil enhancers, making it an economical choice for gardeners of all levels. It’s not just saving money; it’s about turning waste into wealth.
Reduces Waste: A Sustainable Solution for Your Household
Did you know that organic waste makes up a large portion of household garbage sent to landfills? By composting at home, you can divert kitchen scraps and garden waste away from landfills, where they would otherwise produce methane—a potent greenhouse gas. This small step dramatically reduces your household’s carbon footprint and supports a circular system where waste becomes a resource. Composting at home helps you live more sustainably and contributes to healthier local ecosystems.
Improves Soil Health: Boost Your Garden’s Growth Naturally
Homemade compost is rich in essential nutrients like nitrogen, phosphorus, and potassium, which plants need to thrive. Beyond nutrients, compost improves soil structure, allowing it to hold more water and air while supporting beneficial microorganisms that keep your garden’s ecosystem balanced. Healthy soil leads to stronger plants, increased resistance to pests and diseases, and more abundant harvests. Unlike synthetic fertilizers that can degrade soil over time, compost works with nature to build long-term soil fertility.
A Beginner-Friendly Way to Go Green
Even if you’re new to gardening, composting is easy to start. With a little knowledge and the right setup, you can create a simple compost system in your backyard, balcony, or even indoors with a compost bin. It’s a rewarding process that connects you to nature and helps you see the positive impact of your actions every time you feed your garden with your own homemade compost.
Materials Needed for Composting at Home:
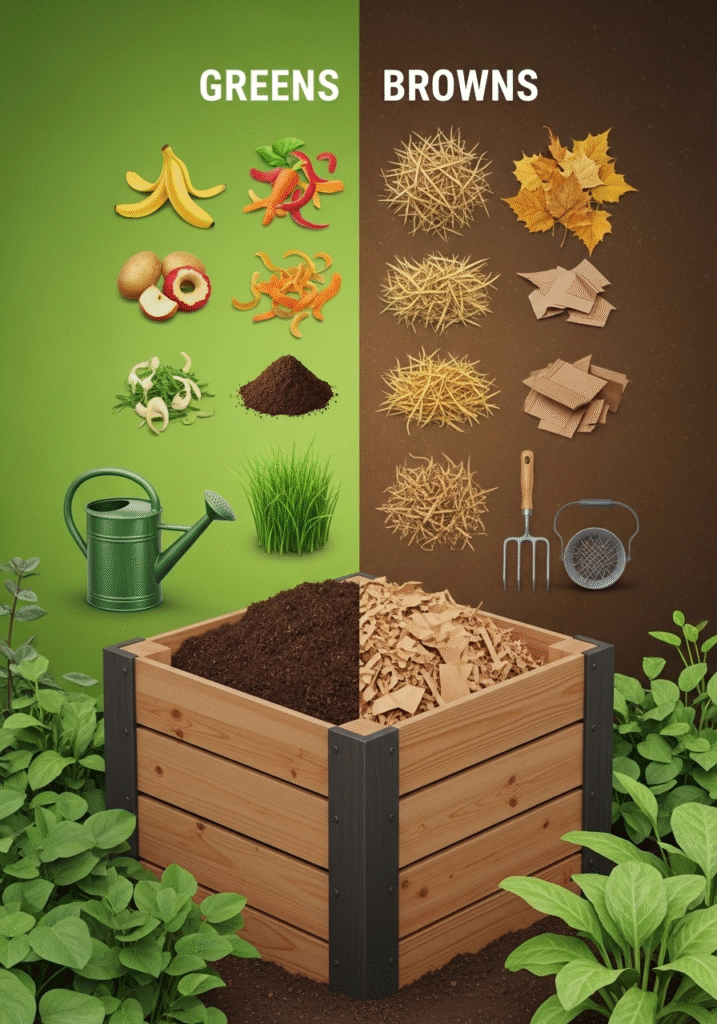
Starting your own compost pile or bin at home is easy when you know what materials to use. Composting works best when you create the right balance of “greens” and “browns” while ensuring proper moisture and airflow. Together, these elements create the perfect environment for microorganisms to break down organic matter into rich, nutrient-dense compost. Here’s a detailed guide on the key materials and why they’re important for effective composting.
Greens (Nitrogen-Rich Materials): The Fuel for Microbial Activity
“Greens” are materials high in nitrogen, which provide essential proteins to feed the microorganisms responsible for breaking down organic matter. These materials are typically moist and soft.
✅ Examples of greens:
- Fruit and vegetable scraps (apple cores, banana peels, carrot tops, etc.)
- Coffee grounds and filters
- Tea bags (check if they’re compostable)
- Fresh grass clippings
- Plant trimmings and green leaves
Including enough greens ensures that your compost pile heats up properly, speeding up the decomposition process. But remember—too many greens can lead to excess moisture and odor, so balance is key.
Browns (Carbon-Rich Materials): The Structure and Energy Source
“Browns” are materials rich in carbon, providing energy for microorganisms and adding structure to the compost pile. They help aerate the pile and prevent it from becoming too wet or compacted.
✅ Examples of browns:
- Dry leaves and pine needles
- Straw or hay
- Shredded newspaper and paper towels (uncoated, no glossy ink)
- Cardboard (cut into small pieces for faster decomposition)
- Wood chips or sawdust (in small amounts)
Browns are typically dry and bulky. Adding enough browns helps absorb excess moisture from greens and keeps odors at bay.
Water: Keeping the Moisture Just Right
Water is a critical ingredient in composting because microorganisms need moisture to survive and work effectively. The compost pile should be as damp as a wrung-out sponge—not too wet, not too dry.
💡 Tip: If your pile feels too dry, sprinkle it with water. If it’s too wet and soggy, add more browns like shredded paper or dry leaves to absorb the excess moisture.
Air: Oxygen for a Healthy Compost Pile
Composting is an aerobic process, meaning it needs oxygen. Regularly turning or aerating your compost pile ensures proper airflow, prevents foul odors, and helps the materials break down evenly.
💡 Tip: Use a pitchfork, compost aerator, or simply mix the pile every 1–2 weeks to keep it oxygenated. For small indoor compost bins, occasional stirring is enough.
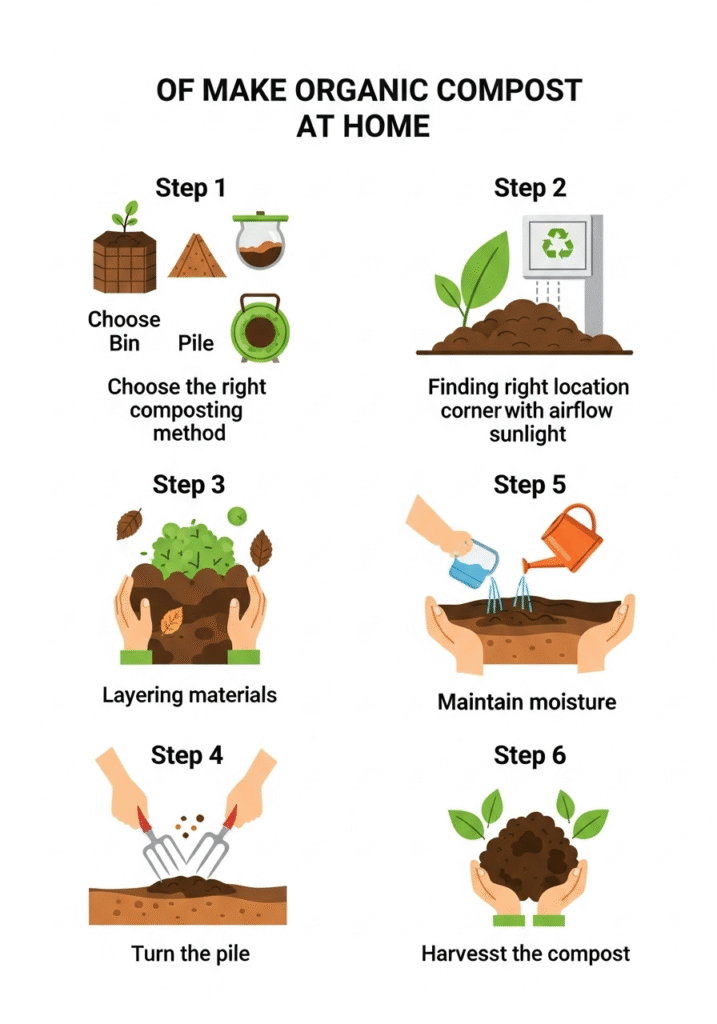
Step-by-Step Guide on How to Make Organic Compost at Home:
Composting at home is a simple yet powerful way to recycle kitchen and garden waste into nutrient-rich soil. Whether you’re a beginner or looking to refine your technique, this step-by-step guide will help you create high-quality organic compost right in your backyard or even in a small space. Let’s break down the process for easy and successful homemade composting.
Step 1: Choosing the Right Composting Method
Before you begin, select a composting method that suits your space, lifestyle, and needs:
- Traditional Compost Bin: Perfect for most backyards; keeps your compost neat and contained.
- Compost Pile: Great for larger outdoor spaces; simply pile your materials directly on the ground.
- Compost Tumbler: A convenient option for small spaces or those who want faster results; easy to turn and manage.
💡 Tip: For apartment dwellers, consider a worm composting (vermicomposting) bin or a small indoor compost bin.
Step 2: Finding the Right Location
Choose a location that helps your compost thrive:
Place it in a well-drained area to avoid waterlogging.
Ensure there’s good airflow around the bin or pile for proper aeration.
Pick a partially shaded spot—too much sun can dry it out, while too little can slow decomposition.
💡 If you’re composting indoors, make sure your bin is in a ventilated area and away from direct heat sources.
Step 3: Layering Materials
A good compost pile needs the right balance of “greens” (nitrogen-rich materials) and “browns” (carbon-rich materials):
- Start with a layer of coarse browns (e.g., dry leaves, shredded cardboard) at the bottom for airflow.
- Add a layer of greens (e.g., fruit and vegetable scraps, grass clippings).
- Continue alternating layers of greens and browns, aiming for a 2:1 ratio of browns to greens to avoid odors and maintain balance.
- Chop or shred larger items to help them decompose faster.
💡 Avoid adding meat, dairy, or oily foods—they can attract pests and cause bad smells.
Step 4: Turning the Pile
To keep your compost aerated and speed up decomposition:
🔄 Turn or mix your compost pile every 1–2 weeks using a pitchfork or shovel.
🔄 For a compost tumbler, simply rotate it regularly according to the manufacturer’s instructions.
This process helps oxygen reach the microorganisms breaking down the material and prevents the pile from becoming compacted or smelly.
Step 5: Maintaining Moisture
Your compost pile should feel like a wrung-out sponge—moist but not soggy:
💧 If it’s too dry, sprinkle some water over the pile.
💨 If it’s too wet and slimy, add more browns like shredded newspaper or dry leaves to absorb the excess moisture.
Consistent moisture levels are crucial for healthy microbial activity.
Step 6: Harvesting the Compost
After about 2–6 months (depending on your method and materials), your compost will be ready to use when:
✔️ It’s dark brown and crumbly
✔️ It has a pleasant, earthy smell
✔️ You no longer recognize the original materials
Sift out any large pieces that haven’t decomposed, and return them to the pile for further breakdown. The finished compost can now be used to enrich your garden soil, potted plants, or lawn.
Common Composting Mistakes to Avoid:
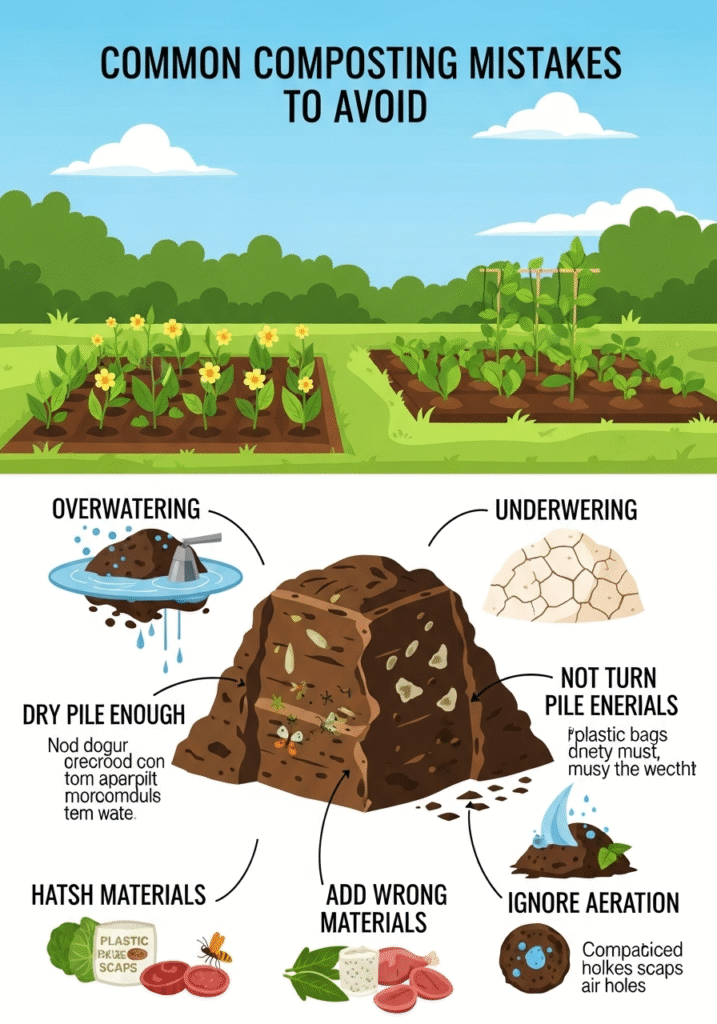
Composting at home is rewarding and eco-friendly, but like any natural process, it requires the right balance and care. Beginners often run into common pitfalls that can slow down decomposition, create foul odors, or even ruin an entire compost pile. Knowing what mistakes to avoid will help you produce rich, healthy compost faster and with less hassle. Here’s a detailed guide to the most frequent composting mistakes and how to fix them.
1. Over-Watering or Under-Watering
🌱 Why it’s a problem: Compost needs the right level of moisture for microorganisms to thrive. Too much water can make the pile soggy and anaerobic (lacking oxygen), causing bad odors and slow decomposition. Too little water, on the other hand, dries out the microbes and halts the breakdown process.
💡 How to avoid it:
- Check the moisture level by squeezing a handful of compost—it should feel like a damp sponge.
- If it’s too wet, add more browns (dry leaves, shredded cardboard) to absorb excess moisture.
- If it’s too dry, sprinkle water evenly over the pile as you turn it.
2. Not Turning the Pile Enough
🌱 Why it’s a problem: Turning the compost pile introduces oxygen, which is vital for aerobic microorganisms to break down materials efficiently. Without proper aeration, the pile can become compacted and smelly, leading to slow or incomplete composting.
💡 How to avoid it:
- Turn your pile every 1–2 weeks to keep it loose and oxygenated.
- Use a pitchfork, shovel, or compost aerator for traditional piles. For compost tumblers, rotate them according to the manufacturer’s instructions.
- Regular turning also helps distribute moisture and heat evenly throughout the pile.
3. Adding Wrong Materials
🌱 Why it’s a problem: Not everything biodegradable belongs in your compost pile. Some materials attract pests, release unpleasant odors, or introduce toxins that harm your soil and plants.
❌ Avoid adding:
- Meat, dairy, and oily foods (they attract rodents and cause bad smells)
- Diseased plants or invasive weeds (they can spread in your garden)
- Pet waste (may contain harmful pathogens)
- Treated wood or chemically printed paper (they may contain toxins)
✅ Stick to:
- Fruit and vegetable scraps, coffee grounds, tea bags (greens)
- Dry leaves, straw, shredded paper, and cardboard (browns)
4. Ignoring Aeration
🌱 Why it’s a problem: Composting is an aerobic process, meaning it requires oxygen to break down materials effectively. Poor airflow leads to anaerobic conditions, causing the pile to rot instead of decompose properly.
💡 How to avoid it:
- Start with a layer of coarse materials like small twigs or straw to create natural airflow at the bottom of your pile.
- Avoid compacting the pile too much—keep it loose and fluffy.
- Turn or mix the pile regularly to ensure oxygen reaches all parts.
How Long Does it Take to Make Compost at Home?
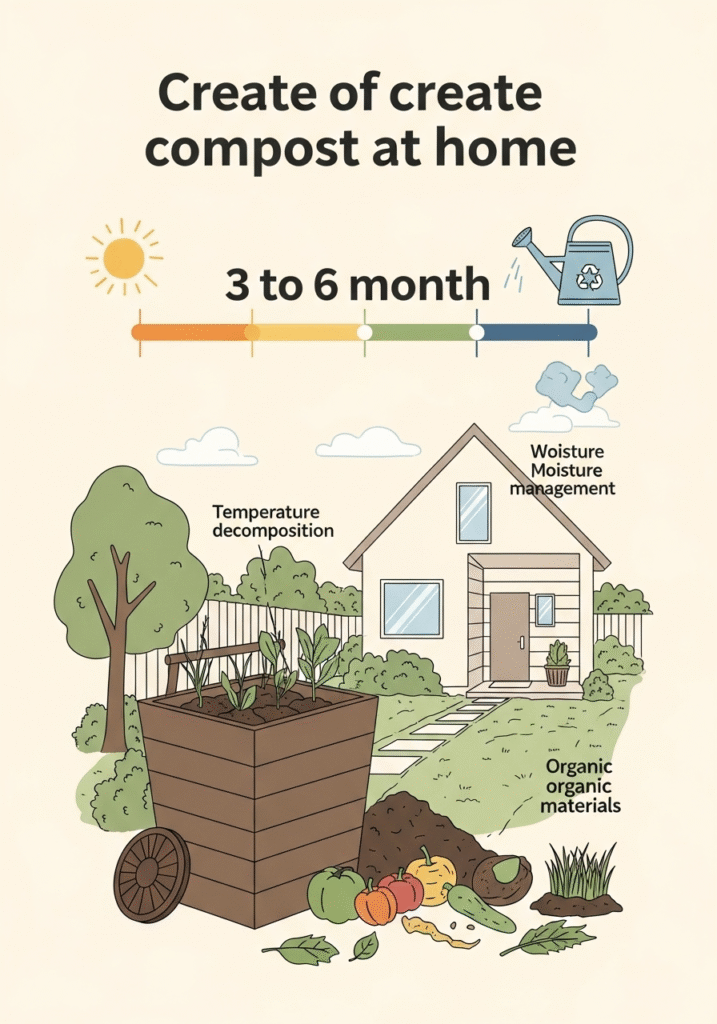
One of the most common questions for beginners is: “How long will it take before I can use my compost?” The answer depends on several factors, but in general, a well-maintained compost pile or bin can produce rich, usable compost in as little as 3 to 6 months. Understanding what affects the decomposition process can help you manage your compost more effectively and even speed it up.
⏳ Typical Timeframe for Composting
Under ideal conditions, composting at home usually takes 3 to 6 months. However, the timeframe can vary widely depending on your composting method and how actively you manage your pile:
- Active (Hot) Composting: With frequent turning, proper moisture, and a balanced mix of greens and browns, you can produce finished compost in as little as 2 to 3 months.
- Passive (Cold) Composting: If you let the pile sit with minimal maintenance, it may take 6 months to 1 year or longer to fully break down.
🔥 Factors Affecting Compost Decomposition
Several key factors influence how quickly your compost turns into “black gold”:
1. Temperature
- Higher temperatures (inside the pile) accelerate microbial activity. A hot compost pile (around 130–160°F or 55–70°C) breaks down materials faster.
- You can achieve this by maintaining a large enough pile (at least 3×3 feet) and balancing greens and browns properly.
2. Moisture
- Compost microbes need moisture to thrive.
- Aim for a pile that feels like a damp sponge—not too dry, not soggy. Overly wet piles slow decomposition and may smell bad, while dry piles stop breaking down.
3. Material Size
- Smaller pieces decompose more quickly. Chop or shred large items (like branches or cardboard) before adding them to the pile.
4. Aeration
- Regularly turning or mixing the compost pile keeps oxygen flowing, preventing anaerobic conditions that slow down decomposition.
5. Material Balance
- A proper ratio of greens (nitrogen) to browns (carbon) is crucial. Too many greens can make the pile wet and smelly, while too many browns can dry it out and slow the process. The ideal ratio is roughly 2 parts browns to 1 part greens.
🌱 How to Tell When Compost is Ready
Finished compost will have:
✔️ A dark brown, crumbly texture
✔️ A pleasant, earthy smell (like forest soil)
✔️ No recognizable food or garden scraps
Any large pieces that haven’t fully broken down can be sifted out and returned to the pile for further composting.
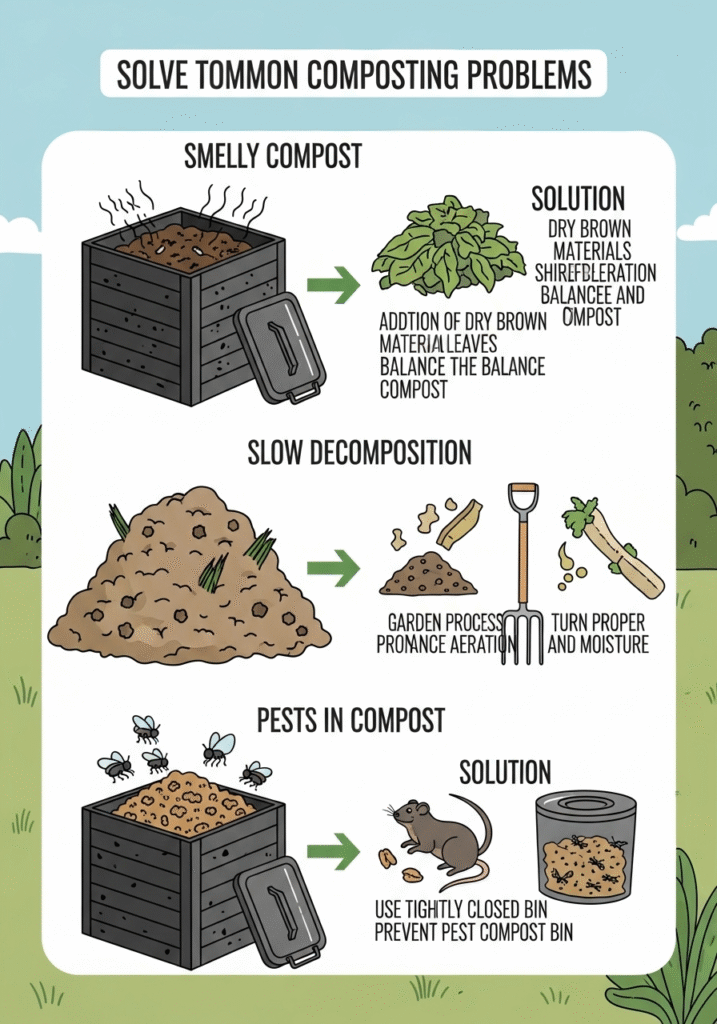
Troubleshooting Common Composting Problems:
Even with the best intentions, composting at home doesn’t always go smoothly. Bad smells, slow decomposition, or unwanted pests can frustrate beginners and discourage them from continuing. The good news? These are all common composting problems with simple solutions. By understanding what causes these issues and how to fix them, you can keep your compost pile healthy and productive.
🌬️ Smelly Compost: Causes and Fixes
Why it happens:
A foul odor coming from your compost pile usually means there’s too much moisture or not enough oxygen, leading to anaerobic conditions. Excess nitrogen (too many “greens”) can also cause a strong ammonia-like smell.
💡 How to fix it:
- Turn or aerate the pile to introduce oxygen and break up compacted areas.
- Add more “browns” (dry leaves, shredded newspaper, cardboard) to absorb excess moisture and balance the nitrogen levels.
- Avoid adding wet, smelly materials like dairy, meat, or oily foods.
🌱 Prevention Tip: Maintain the right moisture level (like a wrung-out sponge) and turn the pile regularly.
🐢 Slow Decomposition: Why Your Compost Isn’t Breaking Down
Why it happens:
Several factors can slow down decomposition:
- Imbalance of greens and browns (too much carbon dries the pile, too much nitrogen makes it soggy).
- Large, chunky materials that take longer to break down.
- Lack of aeration or moisture.
- Cold weather slowing microbial activity.
💡 How to speed it up:
- Chop or shred large items (like branches, corn cobs, or cardboard) before adding them.
- Turn the pile more frequently to keep it aerated and evenly heated.
- Ensure a proper mix of greens (nitrogen) and browns (carbon) with a 2:1 ratio.
- Check moisture—add water if it’s dry, or more browns if it’s too wet.
🌱 Quick Tip: For faster compost, try a smaller, hotter pile or use a compost tumbler.
🐭 Pests in Compost: Keeping Your Pile Pest-Free
Why it happens:
Rodents, flies, or other pests are usually drawn to food scraps, especially if meat, dairy, or oily foods are added. Open piles without covers can also invite critters.
💡 How to prevent pests:
- Avoid composting meat, fish, dairy, oils, and cooked foods.
- Always cover fresh food scraps with a layer of browns like dry leaves or soil.
- Use a closed compost bin with a tight lid or a rodent-proof design if pests are a problem in your area.
- Bury food scraps deeper in the pile to discourage flies and animals.
🌱 Pro Tip: Keep your compost pile tidy and avoid leaving food scraps exposed.
Summary of Quick Fixes for Common Compost Problems
| Problem | Cause | Solution |
|---|---|---|
| Smelly compost | Too wet, not enough air, too many greens | Add browns, aerate, avoid wet food scraps |
| Slow decomposition | Poor balance, lack of aeration, cold | Turn pile, chop materials, check moisture |
| Pests in compost | Attracting animals with wrong materials | Avoid meat/dairy, cover scraps, use closed bin |
Uses of Homemade Organic Compost:
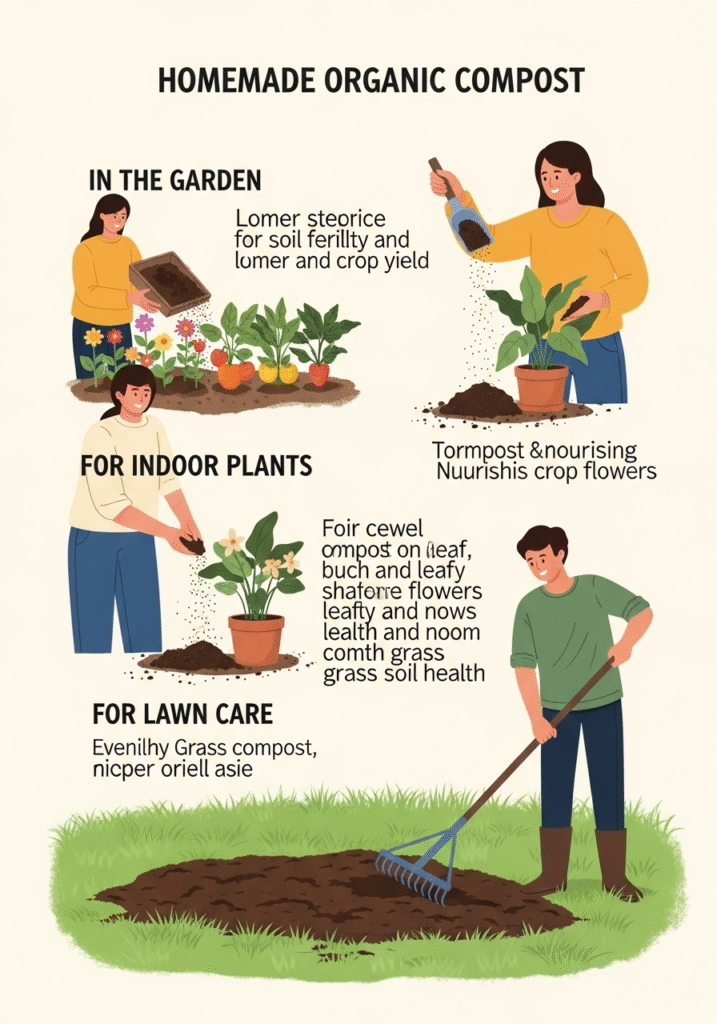
Homemade organic compost is one of the most valuable resources for any gardener or plant lover. Often called “black gold” for its incredible ability to enrich soil, compost isn’t just for outdoor gardens—it has a wide range of uses that can benefit your entire home landscape, from vegetable patches to houseplants to lush green lawns. Let’s explore the many ways you can use your nutrient-rich, eco-friendly homemade compost effectively.
🌱 1. In the Garden: Enriching Soil and Boosting Plant Growth
Why use compost in your garden?
Homemade organic compost improves soil structure, increases water retention, and supplies essential nutrients for strong, healthy plants. It helps sandy soils hold moisture and nutrients while loosening clay soils for better drainage and root growth.
💡 How to use it:
- Mix compost into your garden beds before planting to create a nutrient-rich foundation for vegetables, flowers, and herbs.
- Top-dress around growing plants as a mulch to retain moisture and suppress weeds.
- Blend compost with garden soil to improve seed-starting beds or raised planters.
🌸 Result: Your plants grow healthier, produce more flowers and fruits, and are naturally more resistant to pests and diseases.
🪴 2. For Indoor Plants: A Natural Fertilizer for Houseplants
Why use compost indoors?
Indoor plants often suffer from nutrient-poor potting soil. Adding homemade compost revitalizes their growing medium and provides a steady supply of organic nutrients.
💡 How to use it:
- Mix compost with potting soil at a ratio of about 1 part compost to 3 parts potting mix when repotting.
- Sprinkle a thin layer of compost on top of the existing soil as a natural fertilizer (called top-dressing).
- Use compost tea (a liquid fertilizer made by steeping compost in water) for watering houseplants to promote healthy foliage and root systems.
🌿 Result: Your houseplants will thrive with vibrant leaves, better growth, and improved resilience.
🌾 3. For Lawn Care: Creating a Lush, Green Lawn
Why use compost on your lawn?
Lawns can become compacted and depleted over time. Compost acts as a natural conditioner and slow-release fertilizer, helping to build healthier soil beneath your turf.
💡 How to use it:
- Spread a thin layer (about ¼–½ inch) of sifted compost evenly across your lawn as a top-dressing in spring or fall.
- Aerate your lawn first for even better absorption.
- Use compost when establishing new turf or repairing bare patches to encourage strong root development.
🌱 Result: A greener, thicker, and more drought-resistant lawn without the need for chemical fertilizers.
🌎 Bonus Uses: Beyond the Garden
- 🌻 Mulching: Apply compost as mulch around trees, shrubs, and garden beds to lock in moisture and suppress weeds.
- 🍅 Vegetable Gardens: Boost crop yields naturally by incorporating compost into rows or planting holes.
- 🌿 Erosion Control: Apply compost to slopes or bare soil areas to prevent erosion and encourage new plant growth.
- 🌼 Flower Beds: Enrich ornamental flower beds to keep blooms vibrant and long-lasting.
CONCLUSION
As we’ve explored, making organic compost at home is one of the simplest yet most impactful steps you can take toward sustainable living. By transforming everyday kitchen scraps and garden waste into nutrient-rich compost, you’re not only reducing landfill waste but also enriching your soil naturally, promoting healthier plants, and creating a thriving ecosystem right in your backyard.
🌱 Recap of Key Points
- Organic composting is an eco-friendly way to recycle organic waste and return essential nutrients to the soil.
- It’s cost-effective and reduces your reliance on chemical fertilizers while improving soil health and plant growth.
- With a few simple steps—balancing greens and browns, aerating the pile, and maintaining moisture—you can create high-quality compost in as little as 3–6 months.
- Homemade compost has versatile uses, from enriching garden beds and lawns to revitalizing houseplants.
🌸 Start Composting Today
Composting doesn’t have to be complicated. Whether you’re in a small apartment with a compost bin or have a spacious yard for a compost pile, there’s a method for everyone. Take that first step today and watch how your food scraps and garden clippings transform into “black gold” for your plants. Your garden—and the planet—will thank you.
📣 Join the Composting Movement
🌿 Ready to grow healthier plants and create a greener world? Start composting today!
💌 Subscribe to our newsletter for more gardening tips, eco-friendly practices, and step-by-step guides to make your garden thrive.
📸 Share your composting success stories with us on social media using #MyCompostJourney—we’d love to feature your lush gardens and thriving houseplants!
