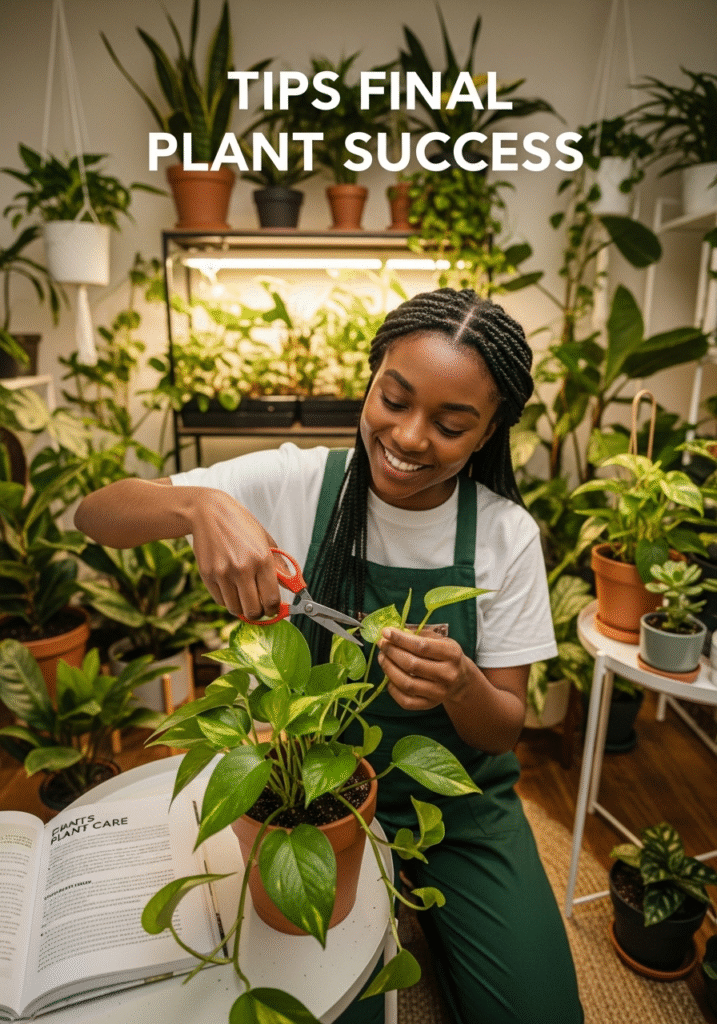
Indoor plants do much more than just enhance your home’s décor—they’re living, breathing additions that purify the air, reduce stress, boost productivity, and bring the calming essence of nature into your living space. Whether you’re a beginner with a budding green thumb or someone looking to take your plant care skills to the next level, this comprehensive guide is here to help you succeed.
Growing houseplants doesn’t have to be intimidating. With a bit of knowledge and the right approach, anyone can cultivate a lush, healthy indoor jungle. This guide covers all the essentials—from selecting the best plants for your lifestyle and space to understanding their unique needs like light, water, humidity, and soil. We’ll walk you through tips on potting and repotting, preventing pests and diseases, and even how to propagate your plants to expand your collection.
Whether you live in a sunlit apartment or a cozy room with limited light, there’s a perfect plant for your environment. Our aim is to empower you with the confidence and know-how to keep your indoor plants not only alive but thriving. Let’s get growing!
1. Benefits of Growing Indoor Plants
Indoor plants offer a wide range of benefits that go well beyond their aesthetic charm. While they certainly add life and vibrancy to any room, these green companions also contribute significantly to your physical and mental well-being. Whether you’re decorating a cozy apartment or enhancing a home office, incorporating houseplants into your space can have a profound impact on your quality of life.
Air Purification:
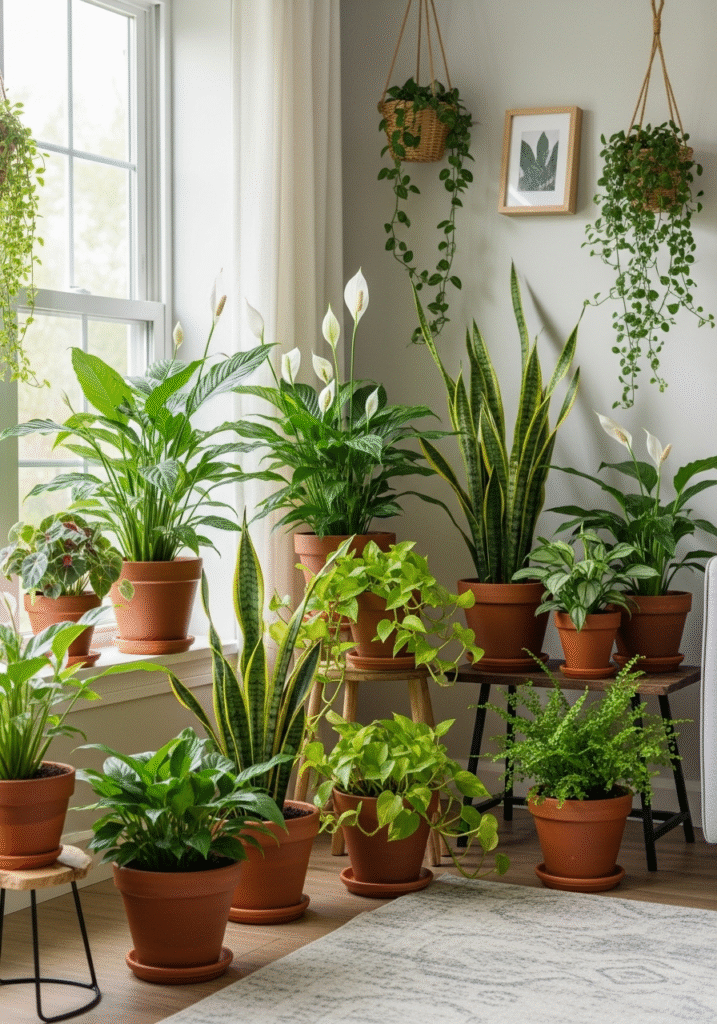
One of the most well-known advantages of indoor plants is their ability to clean the air. Certain species—such as peace lilies, snake plants (Sansevieria), spider plants, and pothos—are particularly effective at filtering harmful toxins like formaldehyde, benzene, and carbon monoxide from the air. By improving air quality, these plants help create a healthier indoor environment, especially in spaces with limited ventilation.
Stress Relief and Mood Enhancement:
Spending time around plants has been shown to reduce anxiety, lower blood pressure, and improve overall emotional well-being. The presence of greenery in your home creates a soothing atmosphere, which can lead to a calmer mind and a more balanced mood. Even the act of caring for plants can be therapeutic, offering a sense of responsibility and a mindful escape from the stresses of daily life.
Humidity Regulation:
Many houseplants naturally release moisture through a process called transpiration. This can help increase humidity levels in indoor environments, especially during dry winter months or in air-conditioned spaces. Improved humidity can alleviate symptoms like dry skin, respiratory irritation, and even prevent the spread of airborne viruses, making your living space more comfortable and healthier.
Boosted Focus and Productivity:
Research has shown that the presence of plants in workspaces and study areas can improve concentration, memory retention, and cognitive performance. The natural greenery helps reduce mental fatigue and creates a more stimulating and enjoyable environment. Whether placed on a desk or a nearby shelf, a small plant can make a big difference in your daily productivity.
From better air quality to emotional wellness, the benefits of indoor plants are both immediate and long-term. They make your home more beautiful and your life more balanced—one leaf at a time.
2. Best Indoor Plants for Beginners
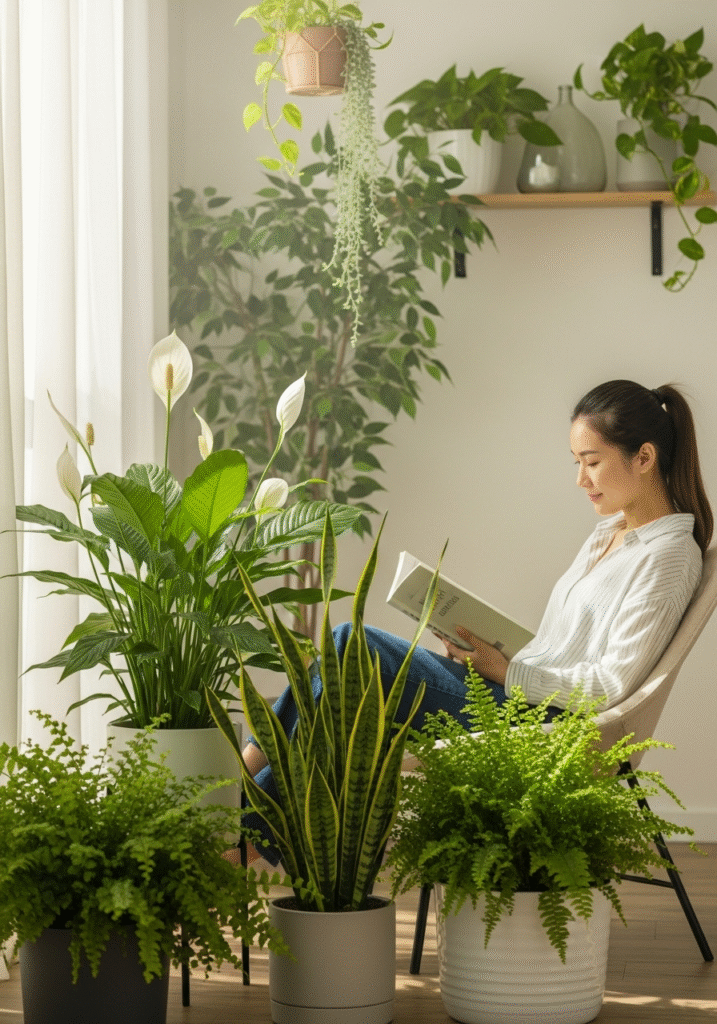
If you’re just starting your indoor plant journey, choosing the right plants can make all the difference. As a beginner, it’s important to start with varieties that are resilient, low-maintenance, and tolerant of the occasional forgetful watering or less-than-ideal lighting conditions. The following indoor plants are well-known for being hardy and forgiving—perfect for building your confidence and success as a new plant parent.
Snake Plant (Sansevieria):
Often called “mother-in-law’s tongue,” the snake plant is a true champion for beginners. Known for its striking upright leaves and architectural appearance, it thrives on neglect. Snake plants require minimal watering (only once every couple of weeks) and can tolerate low light, making them ideal for almost any room in your home. They’re also known for their air-purifying qualities, removing toxins such as formaldehyde and benzene.
Pothos (Epipremnum aureum):
This trailing vine is as easy to care for as it is beautiful. Pothos are highly adaptable and can flourish in both bright, indirect light and low-light environments. They grow quickly, even with minimal care, and their heart-shaped leaves add a lively touch to bookshelves, hanging planters, or countertops. You can also easily propagate pothos by placing cuttings in water, allowing you to grow more plants effortlessly.
ZZ Plant (Zamioculcas zamiifolia):
The ZZ plant is almost indestructible, making it a favorite for busy individuals or those prone to forgetfulness. Its waxy, dark green leaves are not only attractive but also capable of surviving in very low light and with infrequent watering. It’s highly drought-tolerant and rarely suffers from pests or diseases, making it one of the most reliable indoor plants you can own.
Spider Plant (Chlorophytum comosum):
Spider plants are cheerful, adaptable, and perfect for hanging baskets or shelves. They grow quickly and produce “pups” or baby plants that you can replant or share with friends. Spider plants tolerate a range of lighting conditions, although they prefer bright, indirect light. They’re also non-toxic to pets, which is a huge plus for animal lovers.
Peace Lily (Spathiphyllum):
With its elegant white blooms and glossy leaves, the peace lily adds a touch of sophistication to any space. It prefers low to medium light and only needs watering about once a week, making it quite manageable. Beyond its beauty, the peace lily is also known for its ability to filter indoor air pollutants. Just keep in mind that while it’s a hardy plant, it can be mildly toxic to pets if ingested.
3. Choosing the Right Location
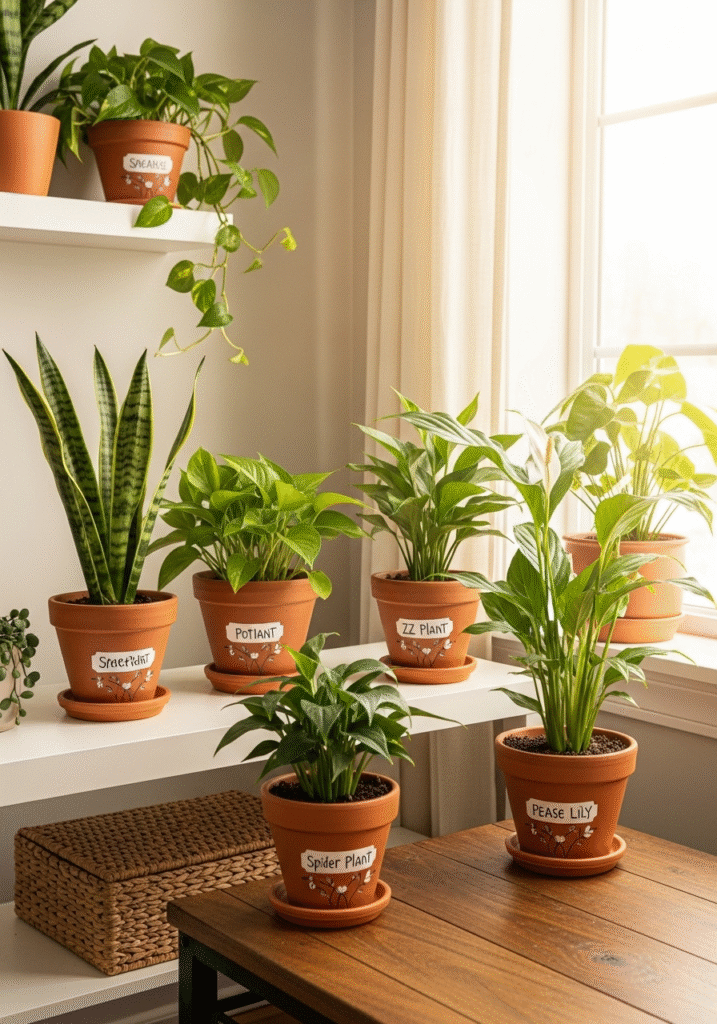
Selecting the ideal spot for your indoor plants is one of the most important steps in ensuring their health and longevity. While plants are adaptable to some extent, placing them in the wrong environment can lead to poor growth, drooping leaves, or even plant death. To keep your greenery thriving, it’s essential to understand how three key environmental factors—light, temperature, and humidity—impact your plant’s well-being.
Light Levels:
Light is perhaps the most critical factor in plant care. Different plants have different light requirements, and understanding the type of light your space receives can help you match plants accordingly. South-facing windows typically offer bright, direct sunlight for most of the day—ideal for sun-loving species like succulents or fiddle-leaf figs. East- or west-facing windows provide bright but indirect light, perfect for pothos, peace lilies, or snake plants. North-facing rooms usually receive the least light, making them best suited for low-light plants like ZZ plants or cast iron plants. For spaces with minimal natural light, consider supplementing with grow lights to keep your plants healthy year-round.
Temperature:
Most common houseplants prefer a stable indoor temperature between 65°F and 75°F (18°C to 24°C). Sudden temperature swings—such as drafts from open windows or heat from radiators—can stress plants and affect their growth. Avoid placing plants near heating or cooling vents, space heaters, or drafty doors. While some hardier plants can tolerate cooler or warmer conditions, consistent room temperature is ideal for most indoor species.
Humidity:
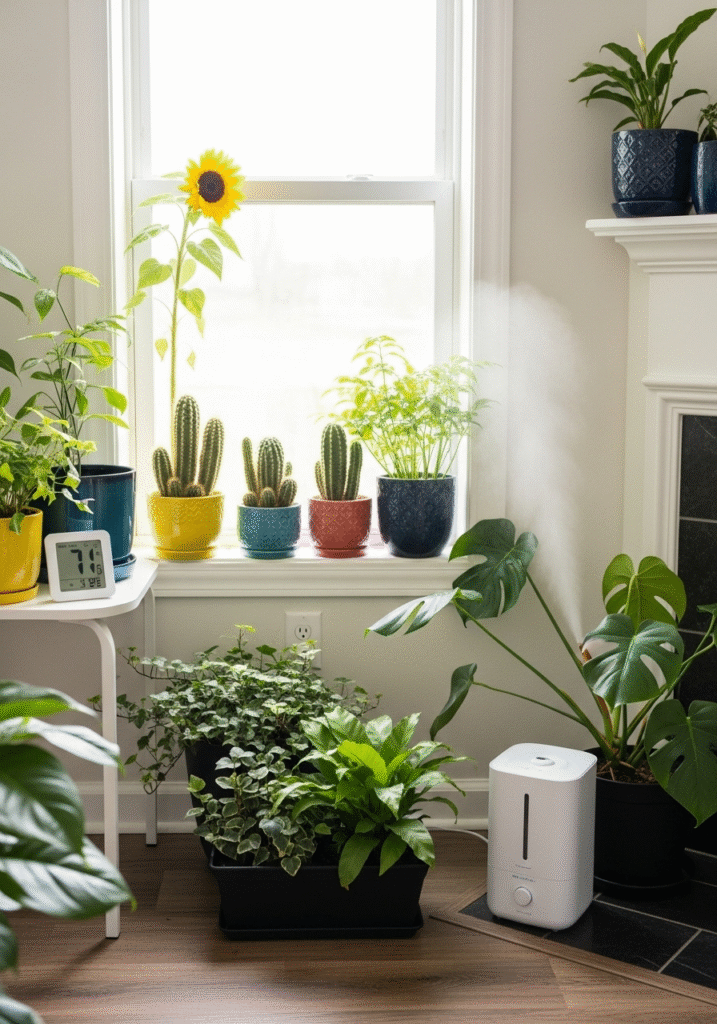
Humidity plays a vital role, especially for tropical houseplants that originate from rainforest environments. Plants like ferns, calatheas, and orchids thrive in high humidity conditions, which can be difficult to maintain indoors—particularly during the winter months when indoor air tends to be dry. If your home has low humidity, consider placing a humidifier near your plants, grouping plants together to create a microclimate, or using a pebble tray filled with water. Misting plants with a spray bottle can offer a short-term boost, but it’s not always enough on its own. Monitoring humidity levels with a hygrometer can help you understand what your plants are experiencing and make necessary adjustments.
4. Essential Tools and Supplies
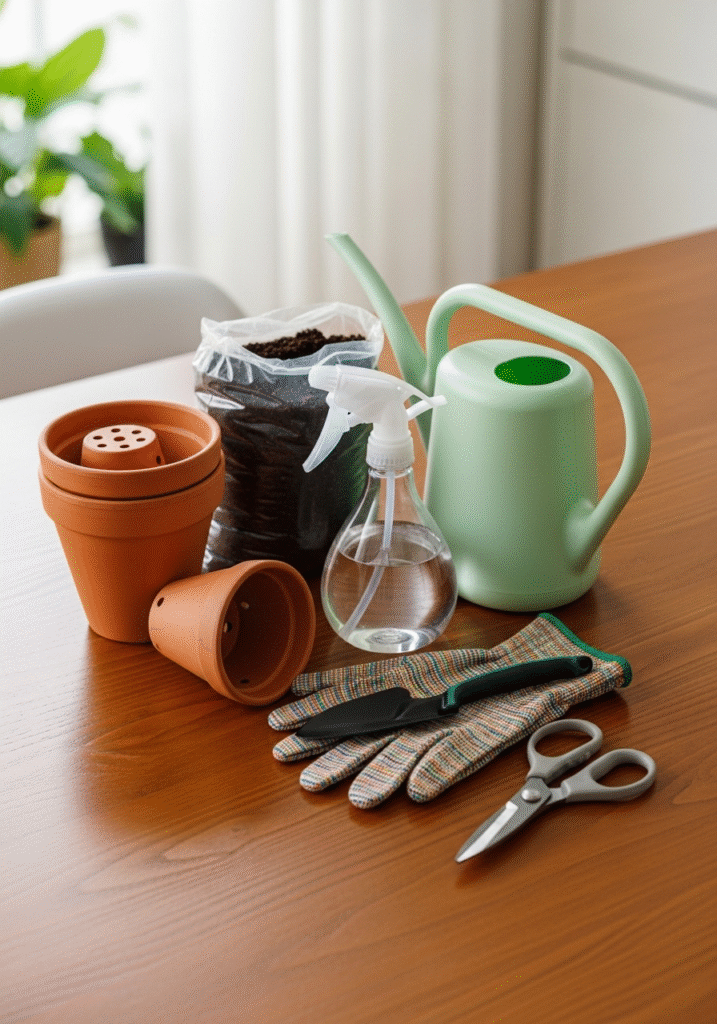
Having the right tools and supplies on hand can make indoor plant care easier, more effective, and more enjoyable. While houseplants don’t require a full garden shed of equipment, a few well-chosen items can go a long way toward keeping your plants healthy and your care routine efficient. Whether you’re just starting out or expanding your collection, here are the must-have tools every indoor gardener should consider.
Pots with Drainage Holes:
Proper drainage is critical to prevent root rot—a common issue for indoor plants caused by overwatering and poor air circulation in the soil. Always use pots with drainage holes at the bottom to allow excess water to escape. If you fall in love with a decorative pot that doesn’t have holes, use it as a cachepot (a decorative outer pot) and place a plastic nursery pot with drainage inside. Just be sure to empty any standing water from the bottom to avoid soggy roots.
Quality Potting Soil:
Not all soil is created equal. Garden soil from outdoors is often too dense for indoor use and may contain pests or diseases. Instead, invest in high-quality potting mix that is well-aerated and appropriate for your plant types. For example, succulents and cacti need fast-draining soil, while tropical plants may benefit from mixes rich in organic matter and moisture-retaining ingredients like peat moss or coconut coir.
Watering Can with a Narrow Spout:
A watering can designed for indoor plants will give you better control over where and how much you water. A narrow spout allows you to direct water to the base of your plants without splashing the leaves or making a mess. This is especially useful when watering plants in tight spaces, hanging pots, or small planters.
Spray Bottle for Misting:
For humidity-loving plants like ferns, calatheas, and orchids, a spray bottle can be used to gently mist their leaves and help maintain adequate moisture levels. Misting is not a substitute for proper humidity, but it can provide temporary relief in dry environments. Choose a bottle that creates a fine mist and use distilled or filtered water to avoid mineral buildup on leaves.
Gardening Gloves:
Even indoor plant care can be messy, especially when repotting, handling fertilizer, or trimming plants. A good pair of gardening gloves protects your hands from soil, sap, and potential irritants. They also offer better grip and cleanliness while working with your plants. Choose gloves that fit snugly and allow for dexterity so you can manage delicate tasks like pruning or handling seedlings.
Pruning Scissors or Shears:
Regular pruning keeps your plants healthy, encourages new growth, and helps maintain their shape. A sharp pair of small pruning scissors or shears makes it easy to trim dead or yellowing leaves, cut back leggy growth, or take cuttings for propagation. Clean your tools before and after use to prevent the spread of plant diseases.
5. How to Pot Indoor Plants
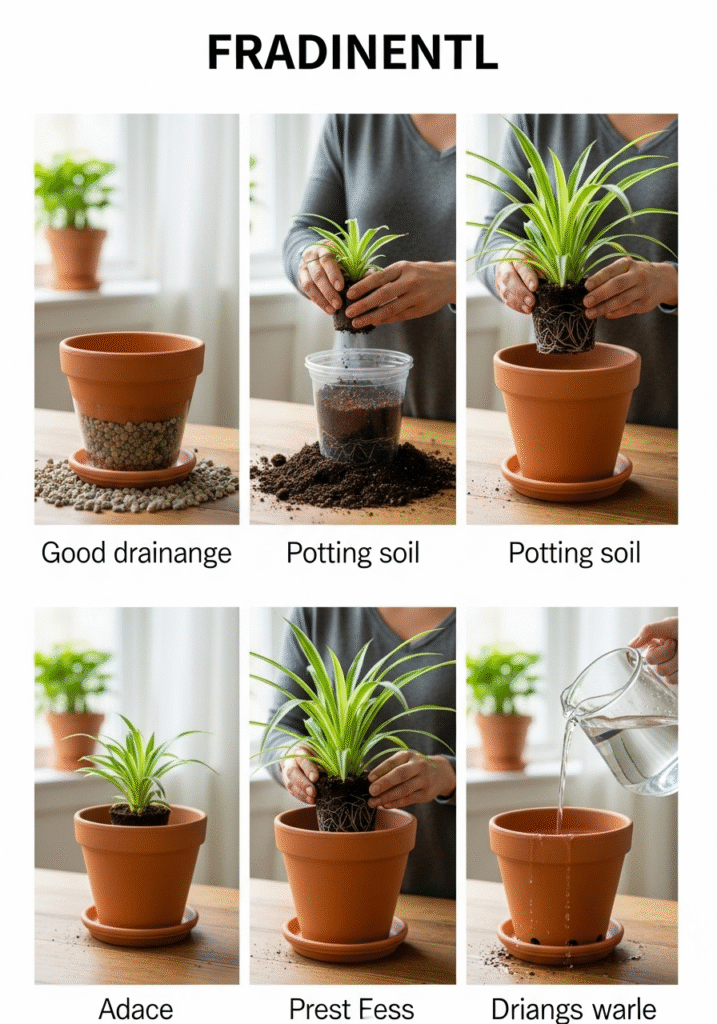
Potting or repotting a plant may seem like a simple task, but doing it correctly can make a big difference in your plant’s health and growth. Whether you’re transferring a newly purchased plant into a decorative container or giving an older plant more room to grow, potting helps refresh the soil, encourages root expansion, and promotes better water and nutrient absorption. Here’s a detailed, step-by-step guide to help you pot indoor plants properly:
Step 1: Choose the Right Pot
Select a new pot that is about 1–2 inches larger in diameter than the plant’s current container. A pot that’s too large can retain excess moisture and lead to root rot, while a pot that’s too small may restrict root development. Ensure that the pot has proper drainage holes at the bottom to allow excess water to escape.
Step 2: Create a Drainage Layer (Optional but Recommended)
To improve drainage and prevent water from sitting at the bottom of the pot, add a thin layer of gravel, small stones, or broken pottery pieces before adding soil. This helps protect the roots from standing water, especially in decorative pots that may not drain as quickly.
Step 3: Add Potting Soil
Fill the pot about halfway with a good-quality potting mix appropriate for your plant species. Gently pat it down without compacting it too much, as roots need space to breathe. Use a soil blend that matches the plant’s needs—well-draining for succulents, moisture-retentive for tropicals, etc.
Step 4: Remove the Plant from Its Current Pot
Carefully take the plant out of its original container. You can turn the pot sideways or upside down while supporting the base of the plant with your hand. If the plant is stuck, squeeze the sides of a plastic pot or tap around the edges to loosen the root ball. Gently shake off any excess soil and inspect the roots—trim away any dead or overly long roots with sterilized scissors if necessary.
Step 5: Position the Plant
Place the plant in the center of the new pot. Adjust the amount of soil beneath it so the base of the plant (where the stem meets the soil) sits about 1 inch below the rim of the pot. This allows room for watering. Once the plant is centered, begin filling in around it with additional potting mix, gently pressing the soil to support the plant without compacting it too tightly.
Step 6: Water Thoroughly and Let Drain
Give the plant a light but thorough watering to help settle the soil around the roots. Allow any excess water to drain out completely. If you’re using a decorative pot without drainage holes, be sure to monitor closely and empty any standing water to avoid overwatering.
6. Watering Indoor Plants Correctly
Watering is one of the most essential—and often misunderstood—aspects of indoor plant care. While it may seem simple, proper watering requires attention to your plant’s individual needs and growing conditions. Both overwatering and underwatering can cause serious issues, so learning how to water the right way is key to maintaining healthy, thriving plants.
Check Soil Moisture First
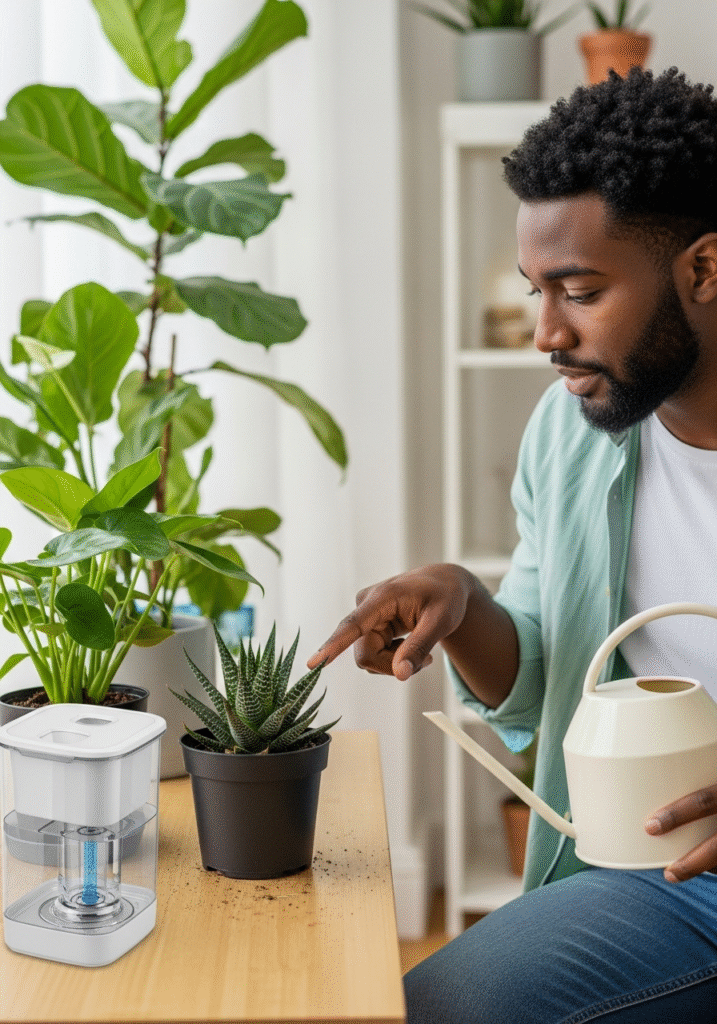
Before you water, always check the moisture level of the soil. A simple and reliable method is the finger test: insert your finger about an inch into the soil (up to the first knuckle). If the soil feels dry at that depth, it’s time to water. If it still feels moist, wait a day or two and check again. This habit helps prevent overwatering, one of the most common causes of indoor plant problems.
Use Room-Temperature Water
Cold water can shock plant roots, especially those from tropical regions. For best results, use water that’s at or slightly above room temperature (around 68–75°F or 20–24°C). Letting tap water sit for a few hours before use can also allow chlorine and other chemicals to dissipate, which is beneficial for more sensitive plants.
Avoid Overwatering
Overwatering is a leading cause of root rot, a condition where roots suffocate and decay due to constant saturation. Signs of overwatering include yellowing leaves, wilting despite moist soil, and a musty odor from the pot. Always make sure your pot has drainage holes and allow excess water to escape freely. It’s better to underwater slightly than to drown your plant—most houseplants can recover from dryness, but not from rot.
Self-Watering Pots for Convenience
If you travel often or tend to forget regular watering, self-watering pots can be a helpful solution. These pots contain a reservoir at the bottom that allows the plant to absorb moisture as needed through capillary action. They’re especially useful for thirsty plants or busy plant owners and can reduce the frequency of manual watering while maintaining consistent soil moisture.
7. Providing Proper Light
Light is one of the most vital factors in a plant’s ability to thrive indoors. While all plants rely on light to photosynthesize and grow, different species have different light requirements. Understanding and meeting these needs is essential for keeping your houseplants healthy and vibrant. Without enough light, plants can become leggy, weak, or stop growing altogether—but too much intense sun can scorch delicate leaves. Here’s how to find the right balance.
Understand the Types of Light
There are three primary categories of light exposure: direct light, indirect light, and low light. Knowing the difference helps you match your plant to the best possible location in your home:
- Direct Sunlight means the plant receives unfiltered sunbeams for several hours a day. South-facing windows typically provide the most direct light, especially in the northern hemisphere. This kind of light is ideal for sun-loving plants like succulents, cacti, and fiddle-leaf figs. Just be cautious—intense afternoon sun can scorch sensitive leaves if they’re too close to the window glass.
- Indirect Light is bright, but the rays are diffused before reaching the plant—either by a sheer curtain, a shaded spot in the room, or reflected light. This is the most common and versatile lighting condition indoors and is ideal for popular houseplants like pothos, peace lilies, snake plants, and spider plants. East- or north-facing windows usually provide soft, indirect light throughout the day.
- Low Light conditions are found in rooms with small or shaded windows, or areas several feet away from a light source. While very few plants prefer low light, some can tolerate it, such as ZZ plants, cast iron plants, and some ferns. If natural light is too limited, supplement with artificial lighting.
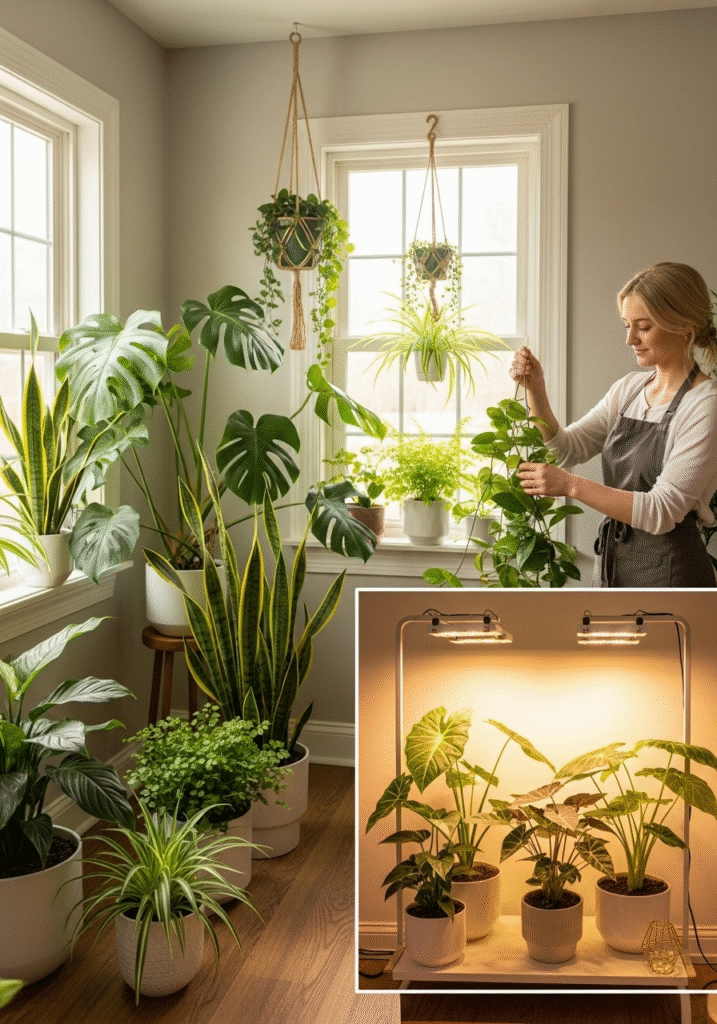
Use LED Grow Lights for Low-Light Spaces
If your home doesn’t provide enough natural light, don’t worry—there are excellent artificial lighting options available. Full-spectrum LED grow lights mimic natural sunlight and support healthy growth for most indoor plants. They’re energy-efficient, easy to use, and come in a variety of styles, from desk lamps to hanging panels. Use a timer to ensure your plants get 10–14 hours of consistent light each day, depending on the species.
Rotate Your Plants Regularly
Plants naturally grow toward the light source, which can lead to uneven or lopsided growth over time. To maintain a balanced, symmetrical shape, rotate your plants a quarter-turn every week or so. This ensures that all sides receive equal light exposure and encourages fuller, more even development.
8. Fertilizing Houseplants
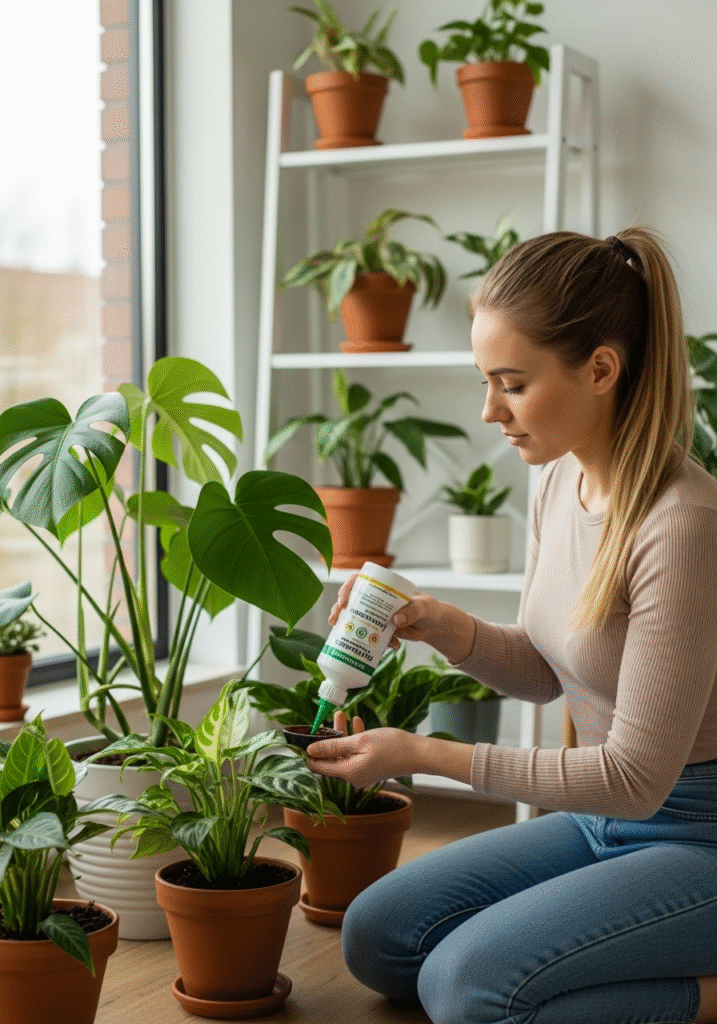
Fertilizing is an essential part of plant care that promotes healthy growth, vibrant foliage, and strong root development. While plants rely on water and light for basic needs, the nutrients in the soil can be depleted over time. Fertilizers replenish these nutrients, ensuring that your plants have everything they need to thrive. However, it’s important to fertilize correctly to avoid overfeeding, which can harm your plants.
Use a Balanced Liquid Fertilizer
A balanced, all-purpose liquid fertilizer is the best choice for most houseplants. These fertilizers typically contain equal parts of the three primary nutrients: nitrogen (N), phosphorus (P), and potassium (K). Nitrogen supports healthy leaf and stem growth, phosphorus promotes root and flower development, and potassium aids in overall plant health and disease resistance.
Feed your plants every 4 to 6 weeks during the active growing season, typically from spring through late summer. For most indoor plants, a diluted solution (usually half the recommended strength) is sufficient, as it’s better to underfeed than to overfeed. Always follow the instructions on the fertilizer package, as different brands and types may have specific guidelines.
Reduce Fertilizing in Winter
During the colder months, many houseplants enter a period of dormancy or slower growth. As a result, they require less fertilizer, and applying too much can actually stress the plant. Cut back on feeding during the winter—typically from November to February—when growth naturally slows. You can either stop fertilizing entirely or apply fertilizer once every 8–10 weeks, depending on the plant’s needs. Always observe your plants’ growth patterns and adjust accordingly.
Slow-Release Fertilizer Options
If you prefer a more hands-off approach, consider using slow-release fertilizers, which release nutrients gradually over time. These are often available in granular form and can be mixed into the soil when repotting or added on top of the soil for long-term feeding. They’re convenient because you only need to apply them a few times a year, making them a great option for busy plant owners.
Signs of Over-Fertilizing
While fertilizing is important, too much of a good thing can be harmful. Over-fertilizing can lead to burnt leaf tips, yellowing or curling leaves, and an overall unhealthy appearance. If you suspect you’ve overfed your plants, flush the soil with water to wash out the excess fertilizer and reduce the feeding schedule. On the other hand, plants that aren’t receiving enough nutrients may show stunted growth, pale leaves, or poor flowering.
9. Common Indoor Plant Problems and Solutions
Indoor plants are relatively low-maintenance, but that doesn’t mean they’re immune to problems. As a plant parent, it’s important to be aware of common issues that can arise and how to address them promptly. Early detection and appropriate action can help prevent minor problems from turning into serious ones. Here are some of the most frequent indoor plant issues you might encounter, along with practical solutions:
Yellow Leaves: Overwatering or Lack of Nutrients
Yellowing leaves are a common sign of stress in plants, and the cause can often be traced to either overwatering or nutrient deficiencies.
- Overwatering: If the soil remains constantly soggy, the roots can suffocate and begin to rot. This can result in yellow leaves, especially at the base of the plant. To fix this, ensure your pot has good drainage, and allow the soil to dry out between waterings. If root rot is suspected, remove the plant from the pot, trim any rotten roots, and repot it in fresh soil.
- Lack of Nutrients: A plant deprived of essential nutrients may also develop yellow leaves, particularly older ones. If this is the issue, it’s time to fertilize the plant to replenish its nutrient stores. Opt for a balanced fertilizer and follow the recommended feeding schedule.
Brown Tips: Low Humidity or Too Much Fertilizer
Brown tips on leaves are often a sign that something is off with your plant’s environment or care routine.
- Low Humidity: Many houseplants, particularly tropical varieties like ferns, calatheas, and peace lilies, thrive in high humidity. If the air in your home is too dry, the tips of the leaves may turn brown. To fix this, increase the humidity by using a humidifier, placing a shallow dish of water near your plants, or grouping plants together to create a microclimate. Regular misting can also help but is less effective over time.
- Too Much Fertilizer: Excessive fertilizer can lead to the accumulation of salts in the soil, which may burn the edges of the leaves, causing them to turn brown. If you suspect over-fertilizing, flush the soil with water to remove excess nutrients and cut back on feeding.
Drooping: Check for Root Rot or Underwatering
If your plant is drooping, it could be a sign of either overwatering or underwatering, both of which affect the roots.
- Root Rot: This occurs when plants are overwatered, causing their roots to suffocate and decay. Symptoms include yellowing or wilting leaves, and a musty smell from the soil. To solve this, carefully remove the plant from its pot, inspect the roots, and trim away any blackened or mushy parts. Repot the plant in fresh, well-draining soil and adjust your watering schedule.
- Underwatering: If the soil is too dry and the leaves are wilting, underwatering could be the issue. The solution is simple: water the plant thoroughly, ensuring that the soil is evenly moist. Make sure you establish a consistent watering schedule and check the moisture level regularly.
Pests: Neem Oil or Insecticidal Soap
Pests are a common problem for indoor plants, particularly aphids, spider mites, and mealybugs. These tiny invaders suck the sap from leaves and stems, causing yellowing, wilting, and deformities.
- Neem Oil: This natural insecticide is effective against many types of pests. It works by suffocating insects and disrupting their feeding patterns. Mix neem oil with water (according to package directions) and spray the plant thoroughly, making sure to cover both the tops and undersides of the leaves. Repeat every 7–10 days until the pests are gone.
- Insecticidal Soap: Another option is insecticidal soap, which is gentle on plants but effective in killing pests on contact. Spray the affected plant with insecticidal soap, and wipe the leaves to remove any pests you can see. Always test a small area of the plant first to ensure it doesn’t react poorly.
10. Seasonal Care Tips
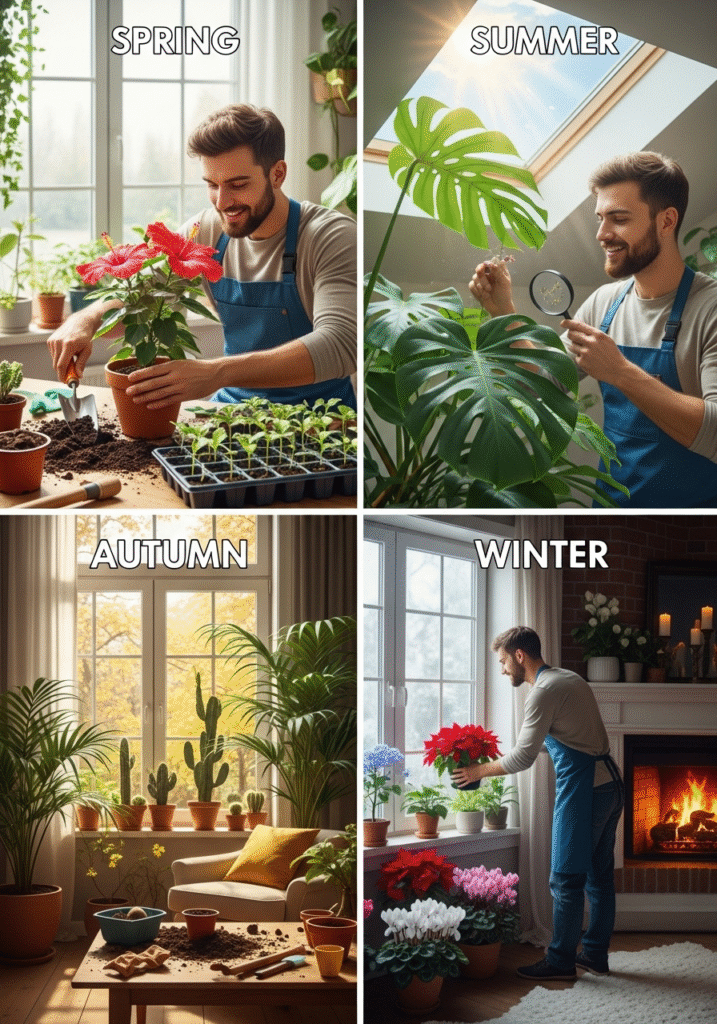
Houseplants have different needs throughout the year, and adapting your care routine to the changing seasons helps ensure they remain healthy and vibrant. While indoor plants are less affected by the dramatic shifts in temperature that outdoor plants experience, they still respond to changes in light, humidity, and growth cycles. By paying attention to your plants’ seasonal needs, you can keep them thriving year-round.
Spring: Repotting and Fertilizing
Spring is a time of renewal, and most indoor plants enter their active growing phase during this season. It’s an ideal time to give them the care and attention they need to kickstart their growth.
- Repot if Needed: If your plants have outgrown their current pots or seem root-bound (when roots grow tightly around the edge of the pot), spring is the best time to repot. Choose a pot that’s 1–2 inches larger in diameter than the current one, and refresh the soil to encourage healthy root growth.
- Start Fertilizing: As your plants begin to grow more actively, start fertilizing every 4–6 weeks to provide the nutrients they need. Opt for a balanced, water-soluble fertilizer and follow the instructions carefully. Fertilizing during this time helps plants build strength for the growing season ahead.
Summer: Watch for Pests and Heat Stress
Summer is often the most intense period for plant growth, but it also comes with its own set of challenges, especially in terms of temperature and pests.
- Watch for Pests: During the warm summer months, pests like aphids, spider mites, and mealybugs are more likely to appear. Regularly inspect your plants for any signs of infestation. If pests are spotted, use neem oil, insecticidal soap, or a homemade solution to keep them at bay. Always test new treatments on a small portion of the plant before applying them fully.
- Heat Stress: If your plants are near windows with direct sunlight, be cautious of overheating. The heat can cause leaf scorch or dehydration. To prevent this, move plants to a slightly cooler spot, or use sheer curtains to diffuse direct sunlight. Ensure your plants stay hydrated during hot spells, but always check the soil moisture level before watering to avoid overwatering.
Fall: Reduce Watering and Fertilizing
As temperatures start to cool and daylight hours shorten, many indoor plants enter a semi-dormant state. Fall is a transition period where your plant’s growth slows, and it’s important to adjust care accordingly.
- Reduce Watering: Plants typically require less water in fall as their growth slows. Check the soil moisture more frequently, and reduce watering when the top inch of soil feels dry. Be mindful of watering based on the specific needs of each plant, as some will still need moderate moisture while others may need much less.
- Cut Back on Fertilizing: Most plants don’t need as much fertilizer during fall and winter. As the growth slows, reducing the frequency of fertilizing (or stopping altogether) is recommended. If you continue fertilizing during fall, do so with a diluted solution and only once every 6–8 weeks.
Winter: Protect from Cold Drafts and Heaters
Winter can be a challenging season for indoor plants due to lower humidity, fluctuating temperatures, and the reduced amount of natural light. It’s a time when plants go into their dormant phase, meaning they need less attention but still require special care to keep them healthy.
- Move Plants Away from Cold Drafts and Heaters: Avoid placing plants near cold drafts from windows, doors, or air conditioning units. At the same time, don’t put them too close to heat sources like radiators or space heaters, as these can dry out the air and stress the plants. A consistent temperature range of 65°F to 75°F (18°C to 24°C) is ideal for most indoor plants.
- Increase Humidity: The dry indoor air from heaters can be tough on plants, especially tropical varieties that need high humidity. Use a humidifier in the room, or place a shallow tray of water near your plants to increase moisture in the air. Alternatively, grouping plants together can help create a more humid microclimate.
11. Decorating Your Home with Indoor Plants
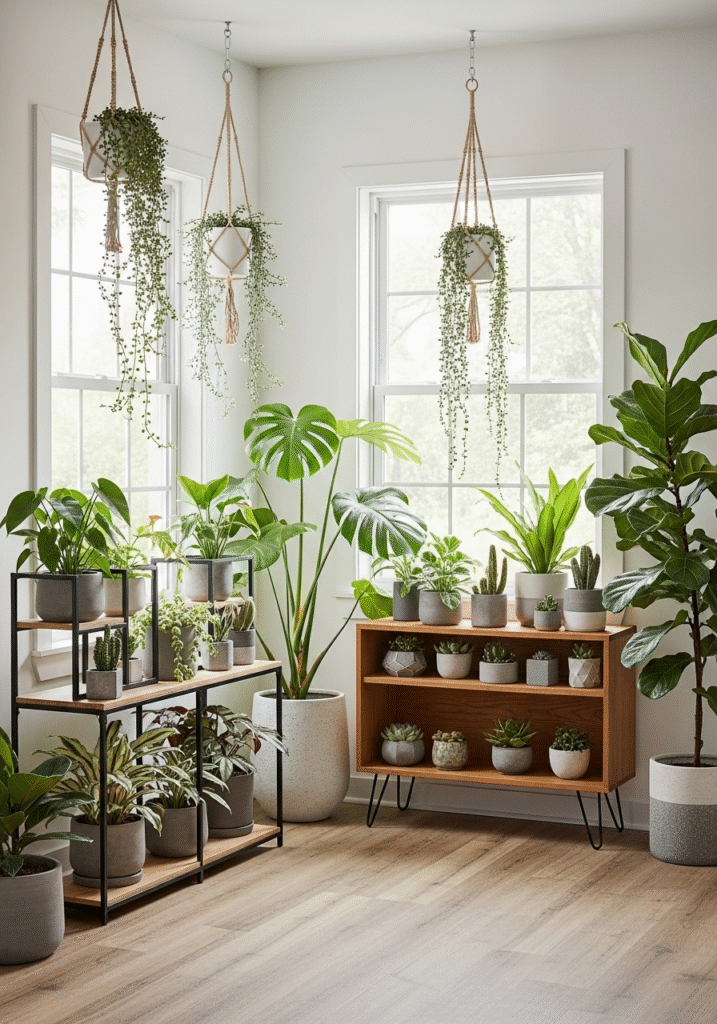
Indoor plants are more than just air purifiers—they can become stunning focal points in your home decor, adding color, texture, and life to any room. With the right plants and creative arrangements, you can transform your space into a vibrant, natural oasis. Whether you’re looking to create a cozy corner or make a bold statement, houseplants can play a significant role in enhancing your interior design. Here’s how to incorporate plants into your home decor in stylish and functional ways:
Use Plant Stands, Hanging Planters, and Shelves
Incorporating different levels and heights into your plant display adds dimension and visual interest. Here are a few creative ways to use planters in your home:
- Plant Stands: Elevating plants on stands can give them prominence, drawing attention to their shape and texture. Metal, wooden, or ceramic stands are available in various styles, from minimalist to boho chic, allowing you to match them with your interior design. Use a series of stands at different heights to create a cascading effect.
- Hanging Planters: Hanging planters are perfect for saving floor space and creating a cascading look, particularly for trailing plants like pothos, ivy, or string of pearls. They can be hung from the ceiling, on hooks, or even on curtain rods. Consider using macramé hangers for a vintage or bohemian feel, or sleek, modern hangers for a more minimalist look.
- Floating Shelves: Installing floating shelves can provide an excellent platform for displaying plants in groups. Arrange plants with similar light needs on one shelf, and vary the size and shape of the pots for a dynamic look. Use shelves in different corners of a room or along walls to add greenery throughout the space.
Group Plants with Similar Light Needs
Grouping plants according to their light requirements not only makes care easier but also creates a visually cohesive arrangement. For example:
- Bright Light Group: Place sun-loving plants like succulents, cacti, and palms near windows that receive direct sunlight. They’ll thrive in this environment and add texture and structure to your decor.
- Indirect Light Group: Keep plants like peace lilies, snake plants, and pothos in spots that receive bright, indirect light. These plants offer lush greenery without needing direct exposure to sunlight.
- Low Light Group: For darker corners or rooms with limited natural light, plants like ZZ plants, pothos, and cast iron plants are excellent choices. These hardy plants can adapt to lower light levels and still contribute beauty to your space.
Mix Sizes and Textures for Visual Interest
Varying the sizes and textures of your plants adds depth and intrigue to your decor. Combine plants with different leaf shapes and colors to create contrast. For example:
- Large Foliage: Big-leafed plants like Monstera, fiddle leaf figs, and bird of paradise can act as focal points in your room. Place them in corners or larger spaces to create drama.
- Trailing Plants: Pair large, upright plants like snake plants or palms with smaller, trailing plants like pothos or ivy. The cascading vines add softness and movement to the arrangement.
- Textural Variety: Mix glossy-leaved plants like rubber plants with matte-leaved varieties like ferns. The contrast in texture creates visual depth, making your plant display even more captivating.
Add Statement Plants in Key Areas
Sometimes, all it takes is one striking plant to elevate a room. Statement plants draw attention and become an immediate focal point in your decor. Consider placing these types of plants in high-visibility areas like entryways, living rooms, or near windows where they’ll shine:
- Monstera: Known for its bold, split leaves, the Monstera is a fantastic statement plant. Place it in a large pot in a corner or near a window to create a tropical vibe in your space.
- Fiddle Leaf Fig: This plant’s large, glossy leaves make it a popular choice for creating drama. A fiddle leaf fig in a decorative planter can fill an empty corner and become the centerpiece of a room.
- Rubber Plant: With its large, dark green leaves, a rubber plant makes a strong visual statement. Its upright growth and thick foliage add structure and sophistication to a room.
Create Plant Corners or Gardens
Designating specific areas in your home as “plant corners” or “plant gardens” can help organize your collection while also giving your space a lush, tropical feel. Consider dedicating a spot in your living room, dining area, or even bathroom to house several plants with complementary sizes, colors, and textures. Using a variety of planters—ceramic, wicker, and concrete—can also contribute to the design aesthetic, allowing you to match your plant corner to the overall theme of the room.
12. Final Tips for Indoor Plant Success
Caring for indoor plants is a rewarding experience, but it requires patience, observation, and a willingness to learn. While they may seem low-maintenance, plants can sometimes be finicky and need adjustments along the way. To ensure your plants thrive and bring joy to your home, here are some final tips to keep in mind:
Be Patient: Growth Takes Time
One of the most important things to remember when caring for houseplants is that growth happens slowly. Plants need time to adjust to their environment, develop new roots, and begin showing visible growth. This can sometimes feel like progress is stalling, especially if you’re a first-time plant owner. However, rest assured that with consistent care, your plants will grow at their own pace. Celebrate the small milestones—new leaves, a fresh sprout, or even healthy root growth. The process is slow, but the results are worth it.
Observe Your Plants: They Often Signal What They Need
Plants are excellent communicators, and they often signal when they need attention. By closely observing your plants, you can catch problems early and address them before they become serious. Look for signs like:
- Yellowing leaves: Could indicate overwatering, nutrient deficiencies, or low light.
- Wilting or drooping: May suggest either overwatering or underwatering, so check the soil moisture.
- Brown tips: Often a sign of low humidity or too much fertilizer.
- Pale or leggy growth: Could mean your plant is not getting enough light.
By learning to read these signals, you’ll be able to adjust care routines and create the best possible environment for your plants. Regularly checking on your plants will also help you spot any pests or diseases early, which will give you a better chance of quickly resolving issues before they spread.
Don’t Be Afraid to Prune or Repot
Pruning and repotting are both necessary parts of plant care and shouldn’t be feared.
- Pruning: Regularly removing dead or yellowing leaves encourages new growth and keeps your plant looking neat and tidy. Some plants, like spider plants, will also benefit from periodic trimming of overgrown stems or runners. Pruning can also help maintain the plant’s shape, particularly for bushier varieties like pothos or jade plants.
- Repotting: If your plant has outgrown its pot, it’s time to repot. A root-bound plant—one whose roots are tightly wound around the pot—can stunt growth and lead to unhealthy plants. Repot your plant every 1–2 years or when you notice roots growing through the drainage holes. Be sure to use fresh, well-draining potting soil and choose a pot that’s slightly larger than the current one.
Learn and Adapt: Every Home Environment is Different
No two homes are exactly alike, and the conditions in your space will affect how your plants grow. Things like room temperature, humidity, light levels, and even air circulation can all impact plant health. Don’t be discouraged if some plants do better than others in your home—it’s all part of the learning process. As you gain experience, you’ll become more attuned to the unique needs of each plant and your home’s specific environment.
- If one plant is struggling in a particular spot, consider moving it to a different location with better light or humidity.
- Experiment with different watering schedules and adjust based on seasonal changes or your plant’s growth patterns.
- If you’re unsure about something, don’t hesitate to research or ask for advice. There are countless resources available for troubleshooting common plant problems.
The key is to observe, learn, and adapt as you go. Every small adjustment can make a big difference in your plant’s health and vitality.
