Introduction
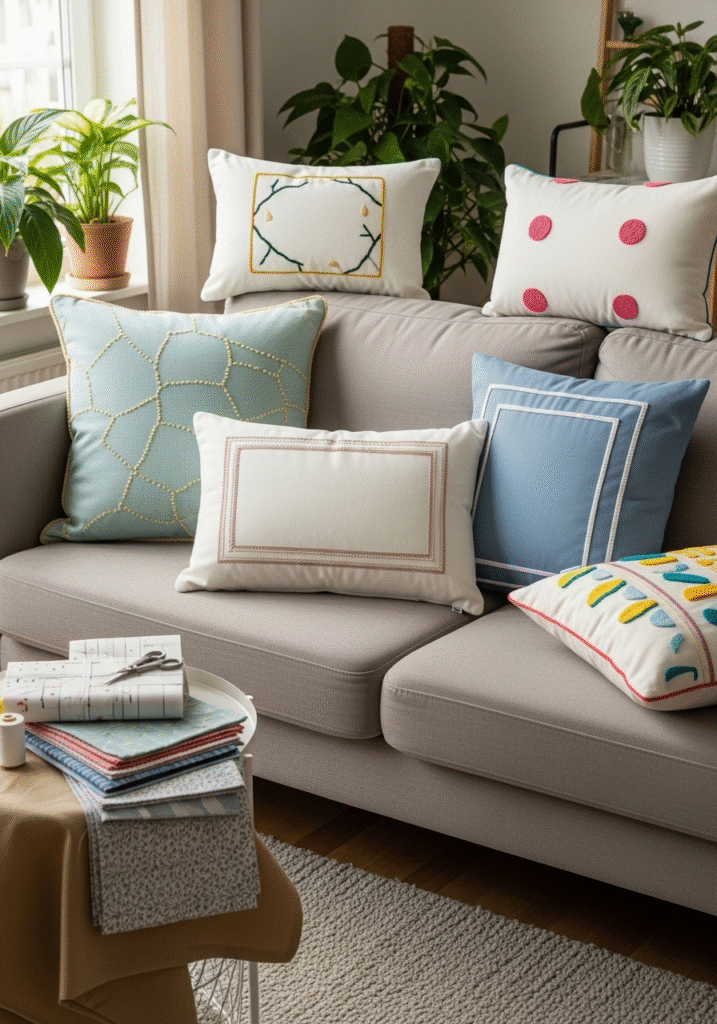
Decorating your living room doesn’t have to be an expensive endeavor. Often, the most charming and personal touches come from projects you create yourself! One of the easiest and most rewarding DIY projects you can try is making your own sofa cushion covers. With just a little creativity and some basic sewing skills, you can completely transform the look of your living space without spending a fortune.
In this comprehensive guide, we’ll walk you through each step of the process — from selecting the right type of fabric that complements your home décor, to measuring and cutting fabric precisely, sewing the covers together, and finally adding special decorative touches like buttons, trims, and patterns. You’ll also discover tips for mixing and matching different colors and textures to achieve a cozy, stylish look that truly reflects your personality.
Whether you’re aiming for a minimalist design, bold patterns, or something elegant and classic, making your own cushion covers gives you complete creative control. Plus, it’s an eco-friendly way to refresh your sofa by reusing existing cushions instead of buying new ones. This guide is perfect for beginners who are new to sewing, as well as for those with experience who want to experiment with new designs and techniques.
By the end, you’ll not only have beautiful, custom-made cushion covers, but also the satisfaction of knowing you made them yourself. So gather your materials, get inspired, and let’s create something special for your home together!
Why DIY Cushion Covers?
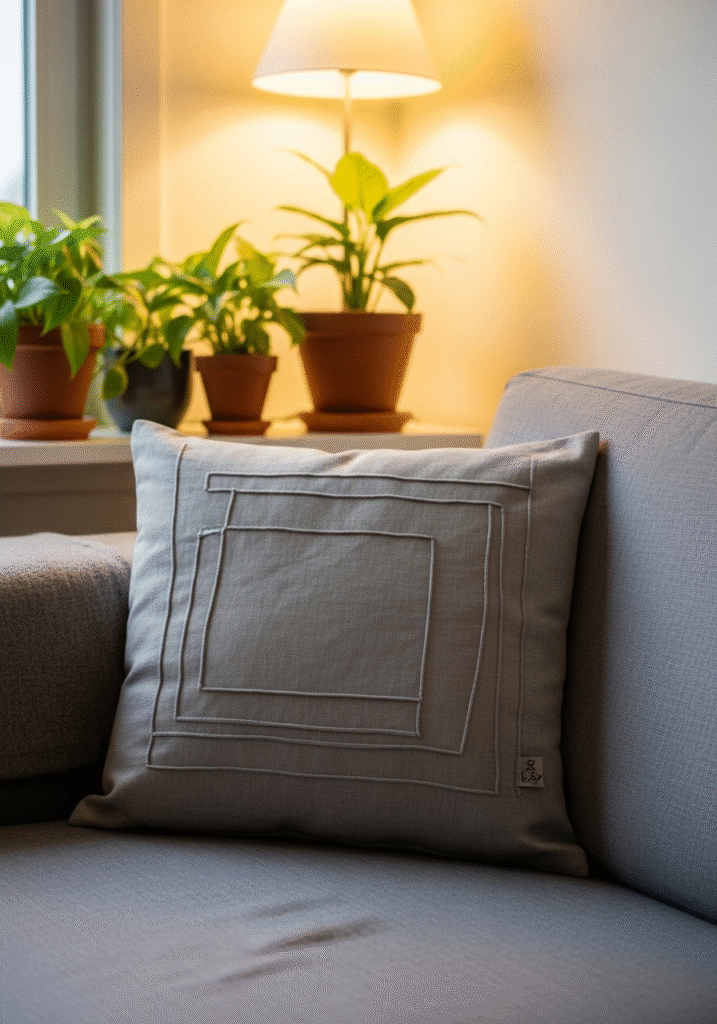
Before diving into the step-by-step guide, it’s worth exploring why making your own cushion covers is such a fantastic choice for anyone looking to refresh their living space.
Cost-effective transformation: Redecorating your home doesn’t always require a big budget. Store-bought cushion covers, especially designer or custom options, can be surprisingly expensive. When you make them yourself, you get to choose affordable fabrics, reuse materials you already have, or even upcycle old clothes or curtains into stylish covers — all while keeping your costs low.
Endless creative freedom: One of the best parts of DIY is the freedom it gives you to create exactly what you envision. You can experiment with bold colors, unique patterns, embroidery, appliqué, or decorative trims that you wouldn’t easily find in stores. Whether your style is modern, vintage, boho, or minimalist, you can design cushion covers that perfectly match your taste and home decor.
Perfectly custom fit & style: Not all cushions are standard sizes, and sometimes it’s frustrating trying to find covers that fit well. DIY allows you to measure your specific cushions and sew covers that fit snugly and look professionally made. You can also choose different closure styles — like zippers, envelope backs, or buttons — to suit your design preferences and practical needs.
Beyond saving money and achieving a unique look, making your own cushion covers brings a special sense of fulfillment. Each time you see your handmade creations brightening up your sofa, there’s an added joy and pride knowing that you made them yourself. It’s a creative, relaxing project that not only refreshes your living room but also adds a deeply personal touch that store-bought items simply can’t offer.
Whether you’re updating your decor for a new season, redecorating an entire room, or just adding a few colorful accents, DIY cushion covers are a perfect, budget-friendly, and rewarding way to make your living space truly yours.
Choosing the Right Fabric
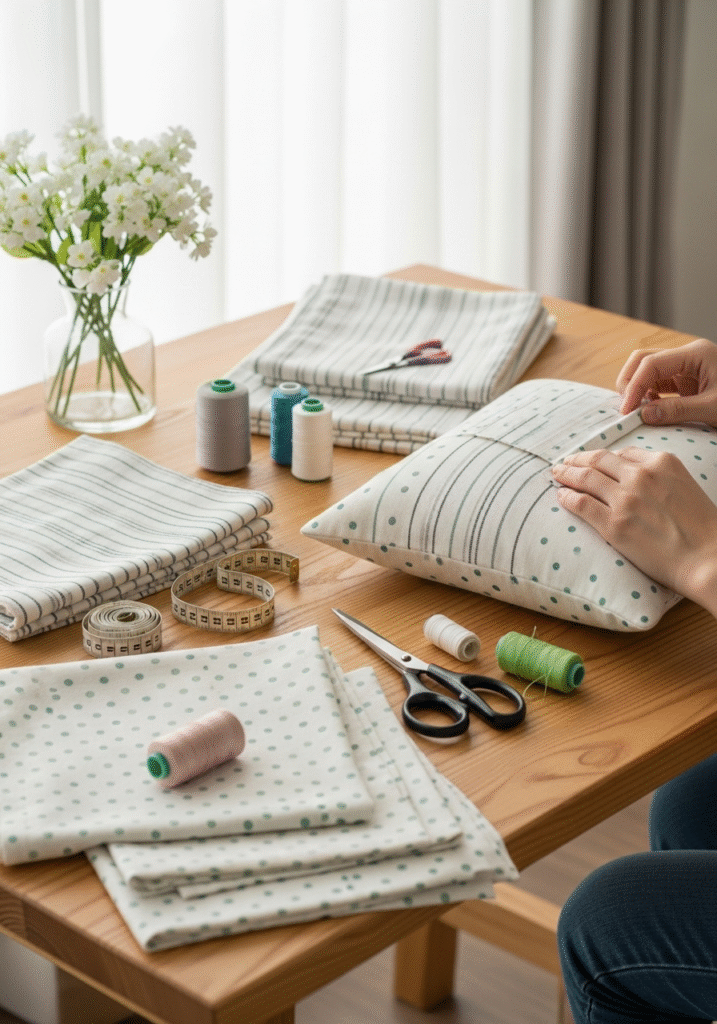
The fabric you select doesn’t just affect how your cushion covers look — it also determines how they feel, how well they wear over time, and how practical they are for your lifestyle. Whether you’re making new covers from scratch or reupholstering old ones, here’s what to know when picking the perfect fabric:
Popular fabric choices:
- Cotton: Soft, breathable, and comfortable, cotton is a timeless choice that’s especially friendly for beginner sewers thanks to its ease of handling. It comes in endless prints and colors, so you can find a style to fit any room.
- Linen: Known for its elegant, slightly rustic look and beautiful natural texture. Linen instantly elevates a space with its organic feel, though it’s worth noting that it tends to wrinkle more easily than other fabrics.
- Velvet: Rich and plush, velvet brings an element of sophistication and warmth — making it perfect for cozy winter decor or adding a dramatic touch to your living room.
- Synthetic blends: Fabrics like polyester or acrylic blends are often designed for durability, stain resistance, and easier cleaning. They’re practical choices if you have children, pets, or high-traffic areas.
What to consider before buying:
- Durability: Think about how often your cushions will be used. For family rooms or busy households, prioritize sturdy fabrics like twill, canvas, or blends designed for heavy wear.
- Color & pattern: Choose a color and pattern that complements your existing furniture and decor. Solid neutrals are timeless and versatile, while bold prints or bright colors can add personality and become a focal point.
- Texture: The tactile quality of your fabric matters more than you might expect — it can add depth, interest, and comfort to your space. Mixing different textures (like pairing smooth cotton with soft velvet) can create a layered, designer look.
Tools & Materials Needed
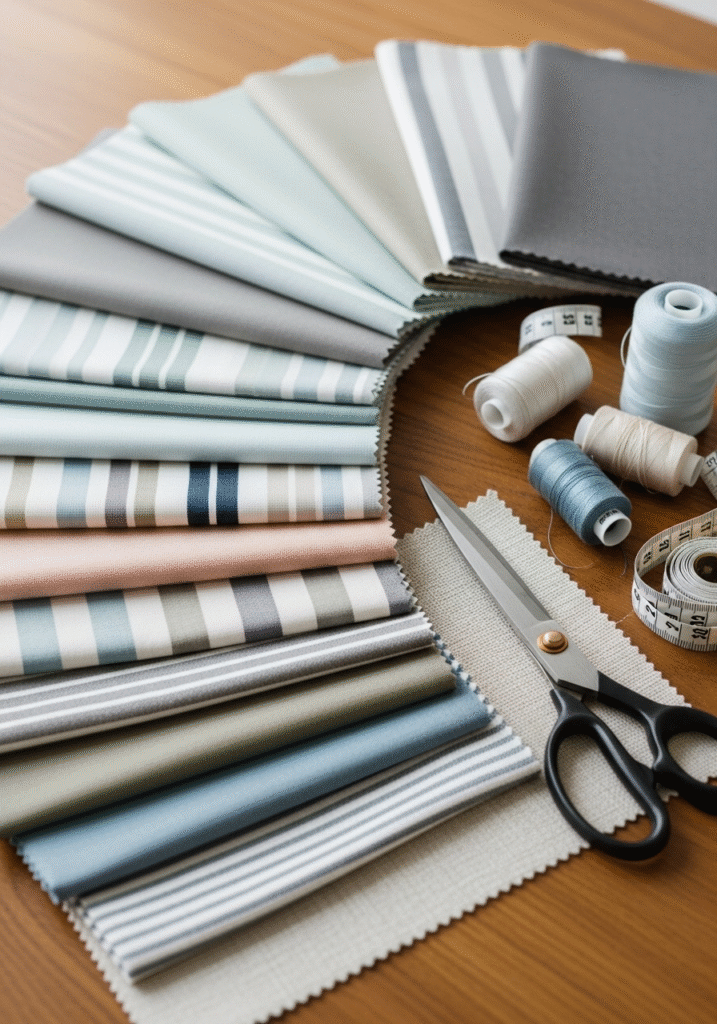
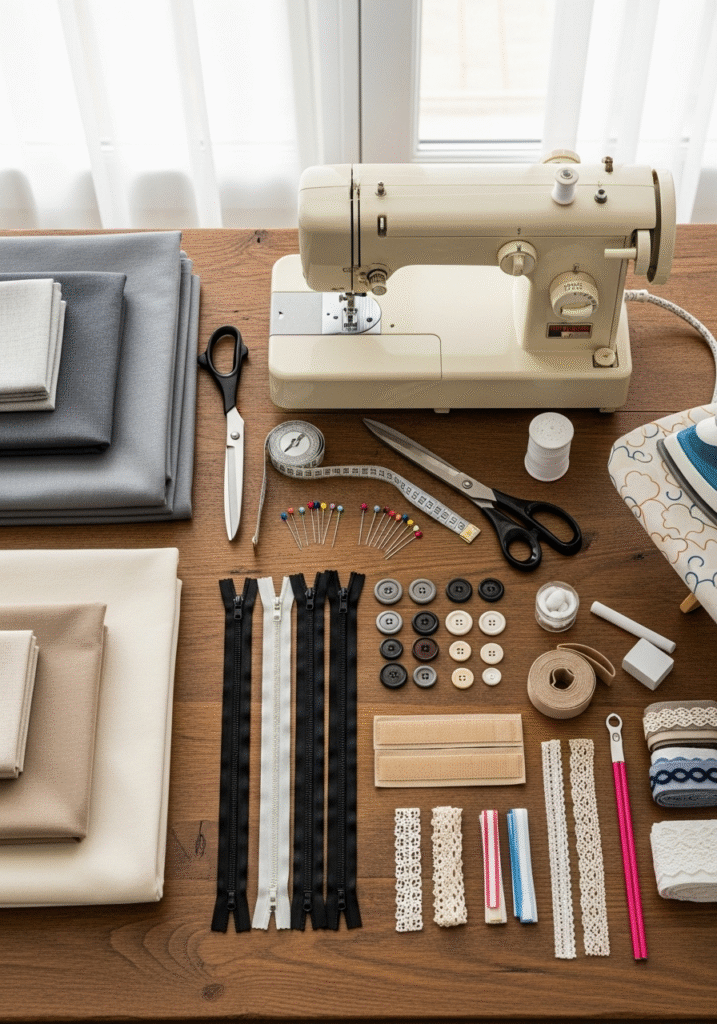
You don’t need an expert-level sewing setup or an industrial workshop to create beautiful, custom cushion covers. With just a few basic tools and materials — and a bit of creativity — you’ll be ready to transform your living space. Here’s a detailed list of what you’ll typically need:
Essential materials:
- Fabric: Choose the type and amount of fabric based on your cushion’s measurements and design preferences. Don’t forget to buy a little extra to allow for seams, pattern matching, or mistakes.
- Measuring tape: A flexible tape measure helps you accurately measure your cushions and fabric pieces to ensure a snug, professional-looking fit.
Cutting & marking tools:
- Fabric scissors: Invest in a sharp pair of scissors specifically for fabric. This helps you achieve clean, precise cuts without fraying.
- Tailor’s chalk or fabric marker: Perfect for marking seam allowances, fold lines, or where to place zippers or buttons.
Assembly tools:
- Sewing machine: Speeds up the process and creates strong, neat seams. If you don’t have one, you can sew by hand for smaller projects.
- Fabric glue: A handy alternative for quick, no-sew cushion covers, especially for decorative covers that won’t get heavy use.
- Pins or clips: Use these to hold fabric pieces together while you sew or glue, helping keep everything aligned.
Finishing & fastening options:
- Zippers, buttons, or Velcro: These help make your covers removable and washable — practical choices for everyday cushions. Choose the closure that suits your design and sewing skill level.
- Optional trims & decorations: Decorative trims, piping, ribbons, or appliques can add a unique, personalized touch to your covers.
Pressing tools:
- Iron & ironing board: Pressing fabric before, during, and after sewing keeps seams crisp and ensures a polished, professional finish.
Step-by-Step Guide to Making Cushion Covers
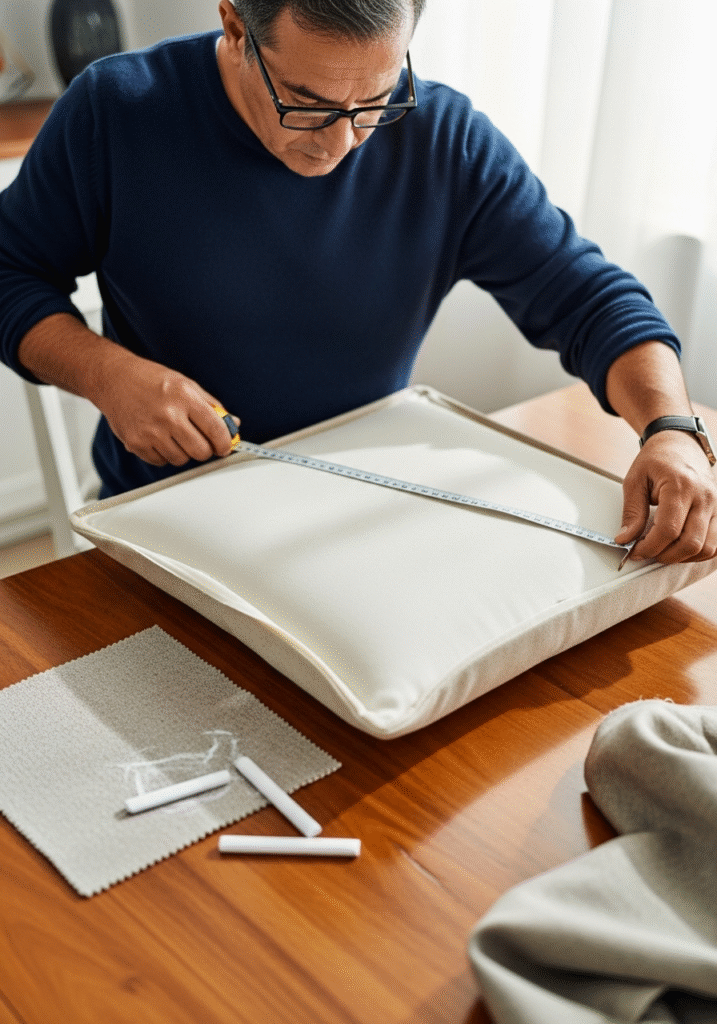
Before you cut any fabric, start by carefully measuring your cushion insert or the existing cushion itself. Accurate measurements are the foundation of a well-fitting, professional-looking cover. Here’s how to do it:
Remove the old cover (if there is one): This makes it easier to see the true dimensions of the cushion insert, especially if the old cover has stretched or lost its shape over time.
Measure the following dimensions:
- Width: Place the measuring tape across the front of the cushion from side to side.
- Height (length): Measure from top to bottom.
- Thickness (depth): Measure the side panel of the cushion to see how deep it is.
When measuring, keep the tape snug but not tight — you want the new cover to fit comfortably without over-compressing the cushion.
Add seam allowance:
For most cushion covers, you’ll need to add about 1–2 inches (2.5–5 cm) to each measurement to allow for seam allowance (the extra fabric that gets sewn together). This gives you enough room to sew the pieces securely without making the cover too tight.
Example:
If your cushion measures 18” x 18” (46 x 46 cm):
- Add about 1 inch (2.5 cm) seam allowance on each side.
- Cut your fabric pieces to roughly 20” x 20” (51 x 51 cm).
Cut the Fabric
Once you’ve finished measuring your cushion and added your seam allowances, it’s time to bring your project to life by cutting the fabric pieces. Taking care at this stage makes sewing (or gluing) easier and ensures a polished, professional-looking result.
Lay your fabric flat:
Spread your fabric out on a large, clean, flat surface like a cutting table, dining table, or even the floor (just make sure it’s free from dust or debris that could transfer onto the fabric). Smooth out any wrinkles by hand, or lightly press with an iron if needed.
Mark the measurements:
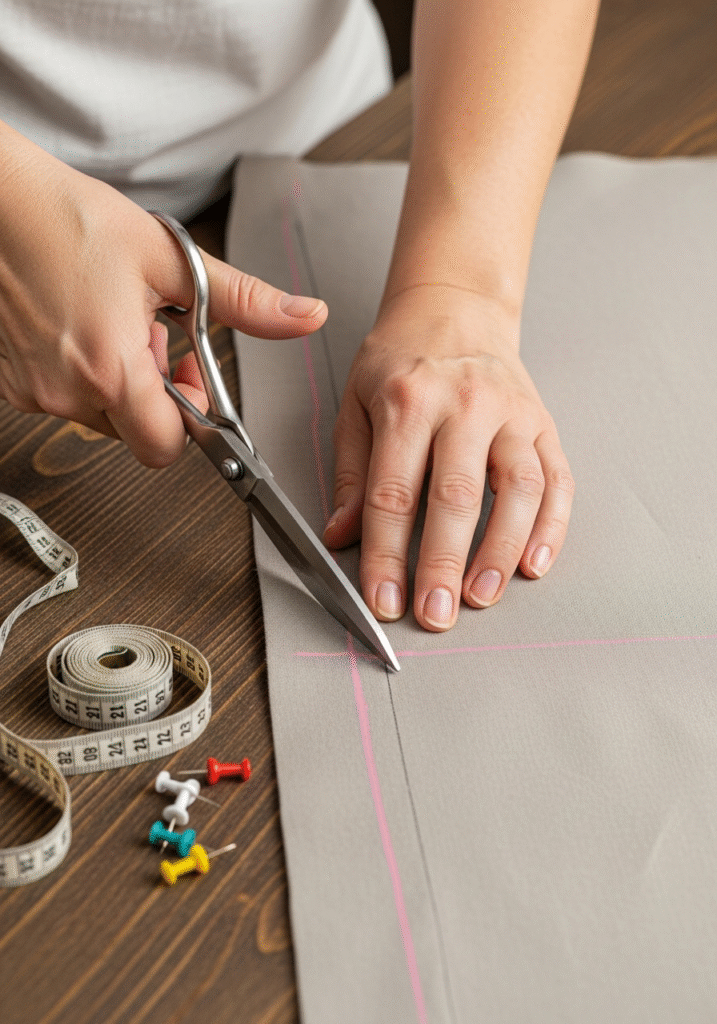
Using a measuring tape or ruler and tailor’s chalk (or a washable fabric marker), carefully mark out the dimensions you calculated earlier. Draw clear lines for each side of the panel. If your cover design includes a front, back, and separate side panels or an envelope-style flap, mark each piece separately.
Cut with precision:
Use sharp fabric scissors reserved only for fabric to cut along the lines you’ve marked. Cutting slowly and steadily will help prevent frayed edges and keep your pieces accurate. Avoid lifting the fabric too much as you cut — this helps keep the edges straight.
Extra tips:
- If your fabric has a directional pattern (like stripes or floral prints), make sure your marks align so the pattern runs the same way on each panel.
- Double-check your measurements before making the first cut to avoid mistakes.
- Label each piece lightly with chalk (e.g., “front,” “back,” “side”) to stay organized during assembly.
Choose Your Style
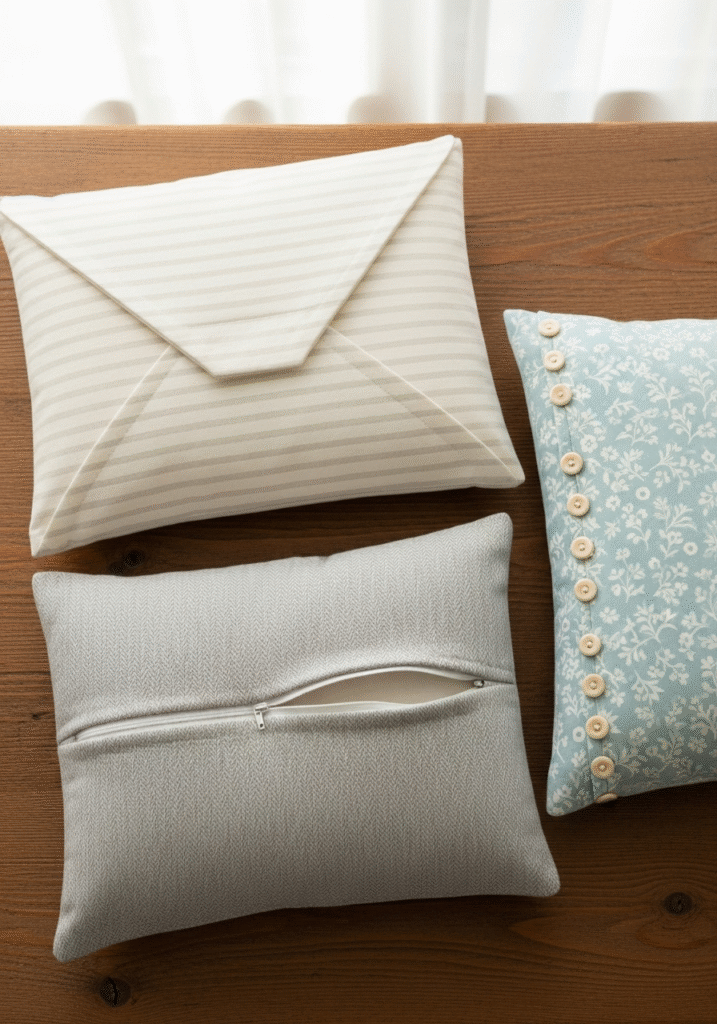
Once you’ve cut your fabric pieces, it’s time to decide how you’d like to construct and close your cushion cover. The closure style you choose not only affects how your cushion looks but also how practical it will be for washing, removing, or swapping covers seasonally. Here are the most popular options to consider:
🪡 Envelope style:
- Features two overlapping fabric panels on the back of the cushion.
- Super beginner-friendly because it doesn’t require sewing zippers or buttonholes.
- Easy to take on and off for washing.
- Offers a clean, simple look from the front while staying functional.
Zipper style:
- The zipper can be installed along the bottom or one side seam for a seamless finish.
- Provides a snug, tailored fit that keeps the cushion neatly enclosed.
- Slightly more advanced sewing skills required, but still very achievable with practice.
- Best for covers that will be removed and washed often.
Button closure:
- Uses buttons and buttonholes or loops on the back or side of the cushion.
- Adds a decorative, handcrafted touch and works well with rustic, vintage, or farmhouse styles.
- Allows for creative designs with different button shapes, sizes, or colors.
Tip for beginners:
If it’s your first time sewing cushion covers, start with the envelope style. It’s simple, forgiving, and doesn’t require specialty notions like zippers or buttonhole attachments — yet still looks neat and stylish.
Other creative ideas:
- Add ties made of fabric or ribbon for a cottage-inspired look.
- Use hidden Velcro strips for a smooth, modern finish without visible fasteners.
Sew or Glue
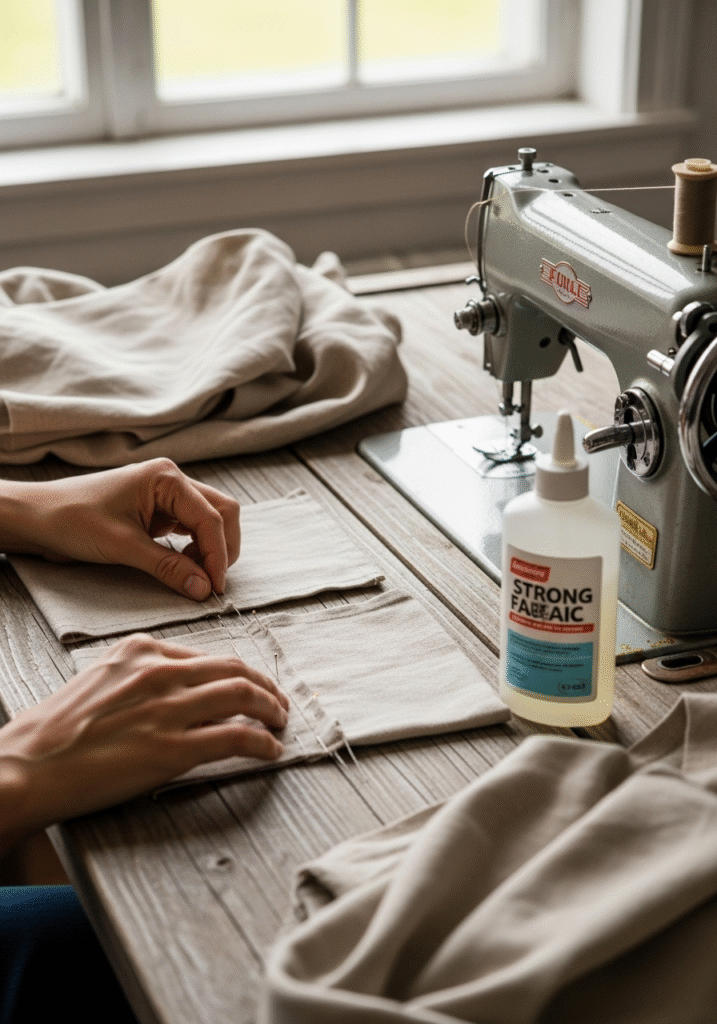
Now comes the exciting part — assembling your cushion cover! Whether you choose to sew your pieces together for durability or use fabric glue for a quick, no-sew option, here’s how to do it step by step:
🪡 For sewing (recommended for long-lasting covers):
1. Pin the fabric pieces together:
- Place your cut fabric pieces with the right sides facing in (the sides that will show when finished).
- Align the edges carefully and secure them with sewing pins or fabric clips to keep everything in place.
2. Sew around the edges:
- Use a sewing machine (or hand-sew with a backstitch if you prefer).
- Sew along the marked seam allowance (usually ½–1 inch / 1–2.5 cm from the edge).
- If you’re making an envelope cover, sew around the entire perimeter, leaving the overlap open.
- For a zipper or button closure, leave the appropriate edge or section open to install your closure later.
3. Trim and finish seams:
- Trim away any excess fabric at the corners to reduce bulk.
- Optionally, finish the raw edges with a zigzag stitch or pinking shears to prevent fraying.
4. Turn the cover right side out:
- Carefully turn your cover inside out so the right sides face outward.
- Use a blunt tool (like the back of a chopstick or a pencil) to gently push out the corners so they look sharp and square.
5. Iron for a professional finish:
- Lightly press all seams and edges with an iron.
- This step makes a huge difference in giving your cover crisp lines and a neat, polished look.
For no-sew (quick & beginner-friendly):
1. Arrange fabric pieces, right sides facing out:
- Place the fabric in the final arrangement you want, with right sides already facing out.
2. Apply fabric glue:
- Carefully run a thin line of strong, permanent fabric glue along the edges where seams would normally be.
- Press the glued edges together firmly and hold or clamp them until the glue begins to set.
3. Let it dry completely:
- Follow the glue manufacturer’s instructions for drying time.
- Avoid moving or stuffing the cover until it’s fully cured to ensure the bond holds.
Add Zippers or Buttons
Adding a closure is what turns your fabric panel into a practical, removable cushion cover. It can feel a bit intimidating the first time, but with patience and careful pinning, it makes a big difference in both functionality and style. Here’s how to do it in detail:
For zippers (sleek & modern):
1. Prepare your fabric:
- After sewing most of the cover’s edges together, leave one side (usually the bottom edge) open where the zipper will go.
2. Pin the zipper in place:
- Lay the zipper face down along the open edge, aligning the zipper teeth with the fabric’s raw edge.
- Use sewing pins or fabric clips to hold it in place evenly.
3. Sew carefully along the zipper edges:
- Attach a zipper foot to your sewing machine if you have one — it helps you stitch close to the zipper teeth without hitting them.
- Sew down one side, pivot at the end, sew across the bottom of the zipper, and then up the other side.
- Keep your stitches even and straight for the neatest finish.
4. Test the zipper:
- Before turning the cover right side out, open and close the zipper a few times to make sure it moves smoothly and hasn’t caught on fabric.
- If it sticks, remove stitches carefully and adjust the fabric so it lies flat against the zipper.
5. Finish:
- Turn the cushion cover right side out and press gently with an iron to smooth the zipper area.
- Your cushion cover should now open and close easily for quick removal and washing.
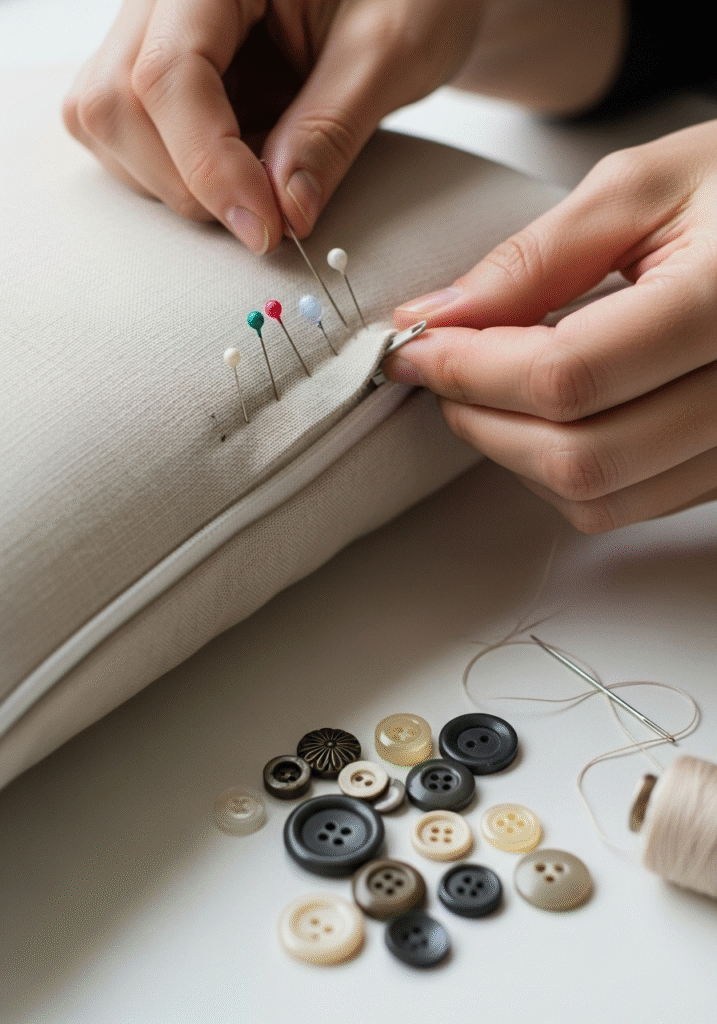
For buttons (decorative & classic):
1. Mark and sew buttonholes:
- Decide how many buttons you’d like and mark evenly spaced points along the edge of one flap (usually the back panel in an envelope or flap-style cover).
- Use your sewing machine’s buttonhole setting or hand-sew small buttonholes.
2. Attach buttons on the other side:
- On the opposite flap, mark points directly aligned with the buttonholes.
- Sew the buttons securely in place, making sure they’re firmly attached to handle regular opening and closing.
3. Test the closure:
- Button and unbutton a few times to check the alignment and ease of use.
- Adjust if necessary so the cover stays neatly closed when stuffed with the cushion insert.
Decorative Ideas & Finishing Touches
Once you’ve finished sewing or gluing your cushion cover and added closures like zippers or buttons, it’s time for the most fun part: adding creative, decorative details that make your project truly unique. These finishing touches can turn a simple handmade cushion into a stylish accent piece that reflects your personal taste and complements your home decor beautifully.
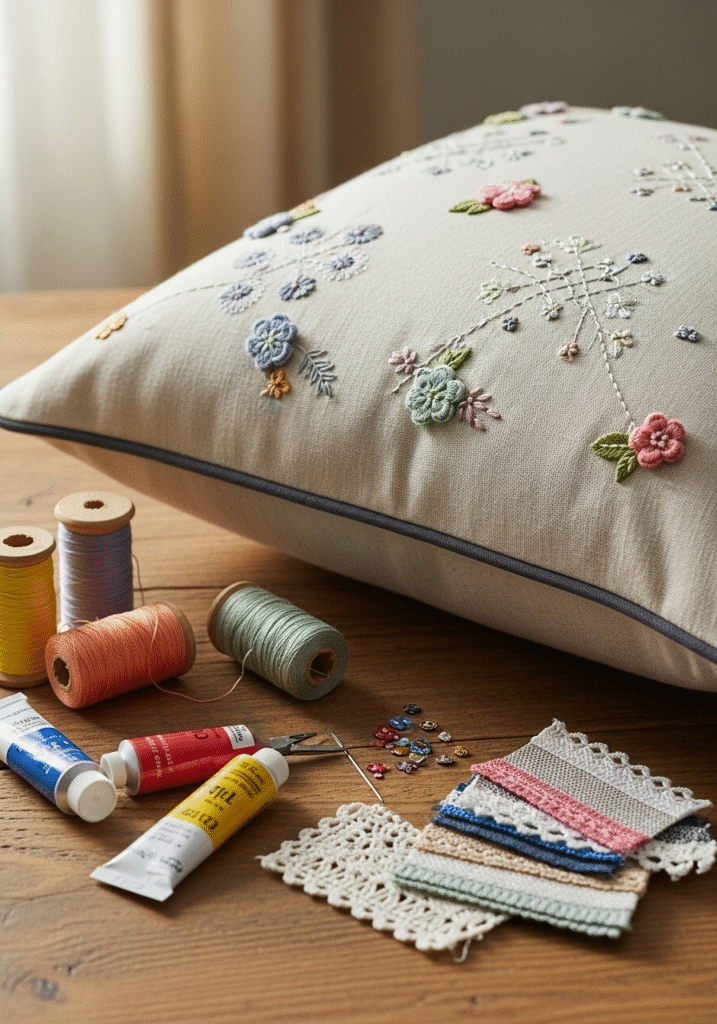
Embroidery:
- Hand-stitched designs add a charming, artisanal feel.
- Try simple geometric shapes, floral patterns, borders, or even a meaningful word or monogram.
- Use embroidery floss in contrasting or tonal shades to either make your design pop or blend subtly with your fabric.
- For beginners, practice on a fabric scrap first, or use pre-printed embroidery patterns to guide your stitches.
Piping & trims:
- Sew decorative piping around the edges of the cushion cover for a tailored, polished look often found in high-end home decor.
- Choose piping in a contrasting color for a bold statement, or a matching shade for a refined, subtle finish.
- You can also add lace trims, tassels, fringe, or decorative ribbons along seams or around the cushion’s perimeter to add texture and personality.
🪡 Appliques & prints:
- Iron-on patches, fabric appliques, or cut-out fabric shapes can add dimension and whimsy.
- Use fusible web (a type of adhesive) to attach fabric shapes neatly without visible stitching, or hand-sew for a handcrafted effect.
- Experiment with fabric paint or block printing to create custom designs, stenciled patterns, or bold motifs that can’t be achieved with fabric alone.
Creative combinations:
- Mix and match techniques! Pair embroidery with fabric paint, or add piping alongside a hand-stitched monogram.
- Use textured fabrics like velvet or linen as a base, then layer decorative elements to add depth.
Maintenance & Care Tips
After putting effort into making your own beautiful cushion covers, it’s worth taking a little extra care to keep them fresh, vibrant, and looking handmade (in the best possible way) — rather than worn out. Here are some practical tips to help your DIY covers stay stylish for years to come:
Wash regularly (but gently):
- Always check the care label of your chosen fabric before laundering.
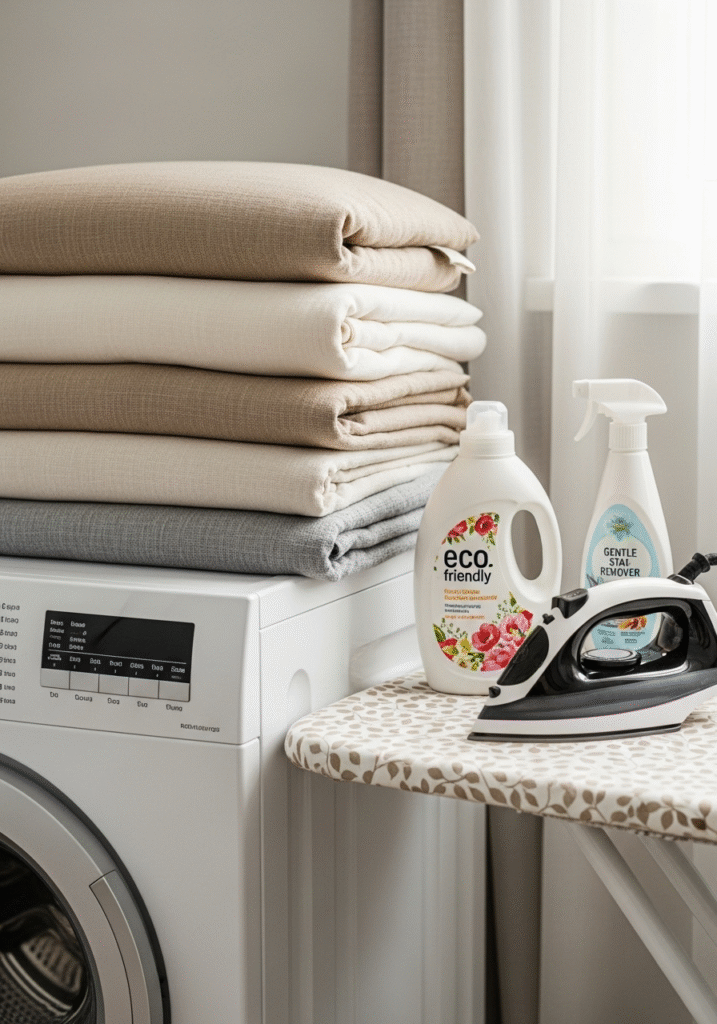
- For most cotton, linen, and sturdy synthetic blends, machine washing on a gentle cycle with mild detergent keeps covers clean without causing shrinkage or fading.
- Use cold or lukewarm water to help preserve colors and prevent distortion.
- Avoid overloading the washing machine to reduce wrinkling.
Spot clean stains promptly:
- Treat spills as soon as possible by gently blotting (not rubbing) with a clean cloth and mild detergent or fabric-safe stain remover.
- For delicate fabrics or hand-embroidered covers, test any cleaning solution on an inconspicuous area first to avoid damage or discoloration.
- Quick attention to stains helps prevent them from setting permanently.
Iron carefully for a polished finish:
- Natural fibers like cotton and linen benefit from pressing — it keeps seams crisp and gives covers a professional look.
- Always iron on the reverse side if your cover includes decorative details like appliques, embroidery, or trims, and use a pressing cloth to protect embellishments.
- Some fabrics, like velvet, should not be ironed directly. Instead, gently steam to remove creases without crushing the pile.
Rotate and store extras:
- Consider making multiple cushion covers in different fabrics or colors so you can switch them out by season or occasion.
- Rotating covers not only keeps your decor fresh but also helps each set wear more slowly, extending their lifespan.
- Store off-season covers in a cool, dry place, folded neatly to avoid creases, and keep them away from direct sunlight to prevent fading.
Conclusion: Refresh Your Space with Handmade Cushion Covers
Making your own sofa cushion covers is more than just a craft project — it’s a creative journey that combines style, function, and personal expression. Whether you’re a complete beginner with a few basic tools or an experienced DIYer ready to explore advanced techniques, this project offers something for everyone.
A rewarding experience:
By sewing (or gluing) your own covers, you’re doing more than saving money on store-bought decor. You’re learning useful skills that empower you to refresh your home whenever inspiration strikes. You’ll discover the satisfaction of transforming simple fabric into something practical and beautiful, all made with your own two hands.
Personalize your space:
With endless fabric choices, patterns, and embellishments, your cushion covers can truly reflect your taste and creativity. Go minimal and modern with sleek zipper closures and neutral tones, or embrace bold colors, intricate embroidery, and decorative trims for a statement piece. Each cover you create adds a unique, handmade touch to your living room that can’t be replicated by mass-produced items.
🪡 Flexible and fun:
Start simple with an envelope-style cover — ideal for beginners — then challenge yourself with zippers, buttons, or decorative piping as your skills grow. And because cushion covers are small projects, they’re perfect for experimenting with new techniques, fabrics, or seasonal themes without a huge time or cost commitment.
Eco-friendly & economical:
Reusing old textiles, upcycling thrifted fabric, or repurposing outgrown clothes adds sustainability to your project. Not only do you save money, but you also help reduce waste, making your crafting more environmentally friendly.
Ready to begin?
Now that you know the step-by-step process — from choosing fabric and cutting panels to adding decorative details and caring for your finished covers — there’s nothing stopping you from getting started. Visit your local fabric shop, search your storage for unused textiles, or pick up those leftover scraps from previous projects.
