Introduction
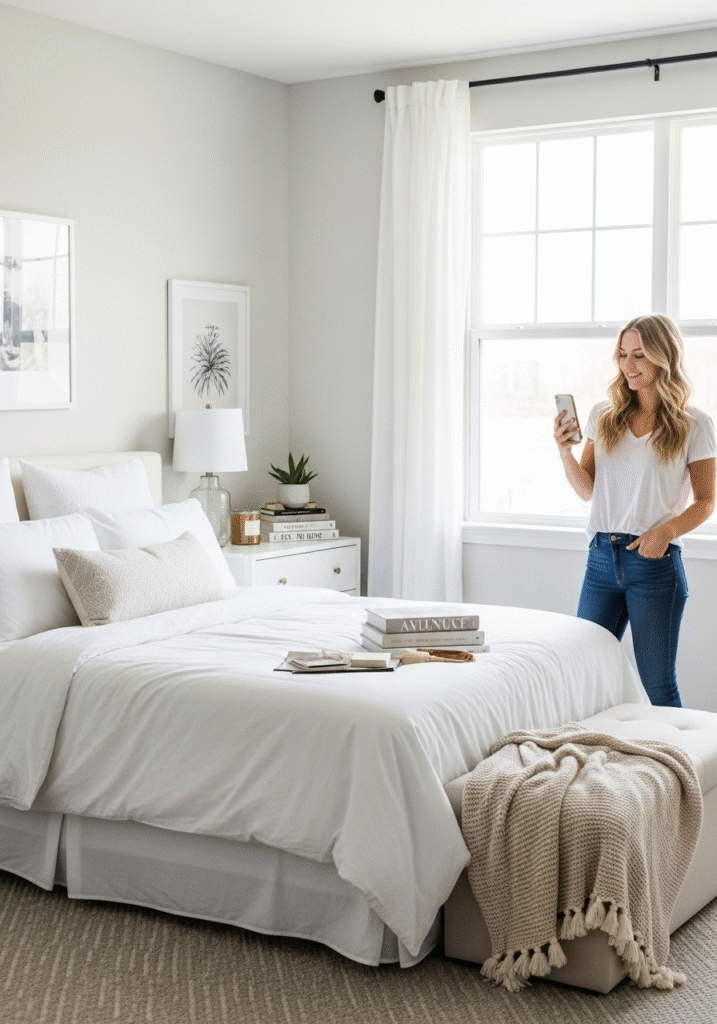
Your bedroom is more than just a place to sleep—it’s your personal retreat, a space where you should feel completely at ease. Ideally, it’s a calm, restful sanctuary where stress fades away and you can truly relax at the end of a long day. But in the chaos of daily life, it’s easy for our bedrooms to become neglected. Piles of laundry, cluttered nightstands, and random items that don’t belong start to build up, slowly transforming what should be a peaceful haven into a source of stress and visual noise.
We often think that reclaiming our space requires an entire weekend of deep cleaning or a full-blown makeover. But here’s the truth: you don’t need endless hours or fancy décor to make a big impact. Sometimes, all it takes is a little structure and just one focused hour to completely change how your room feels and functions.
That’s where this guide comes in. It’s designed for busy people who want fast, noticeable results without getting overwhelmed. Whether your room is mildly messy or totally chaotic, these simple, practical steps will help you tackle the mess, organize with intention, and create a more soothing, sleep-friendly environment.
This is not about perfection—it’s about progress. In just 60 minutes, you’ll clear the clutter, reset the energy, and rediscover the comfort your bedroom is meant to provide. So set a timer, grab a laundry basket, and let’s get started on transforming your space—quickly, efficiently, and with lasting impact.
What You’ll Need (5 Minutes Prep)
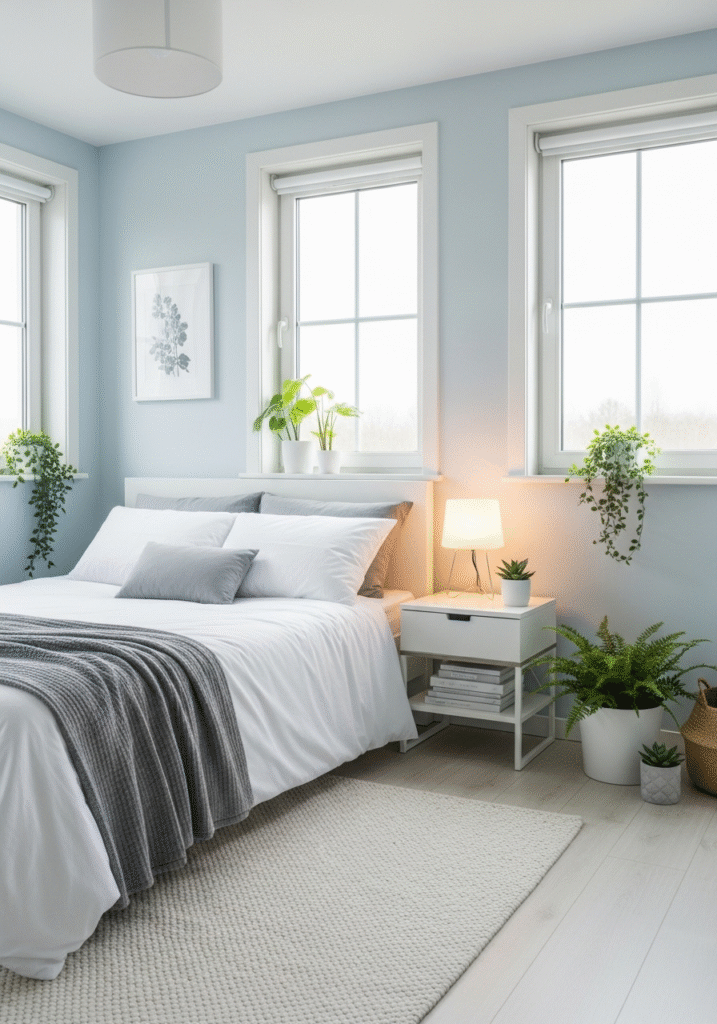
Before diving into your one-hour bedroom transformation, take just a few minutes to prepare. Gathering the right tools and setting the tone will make the process smoother, faster, and more effective. The goal is to work with focus and intention—so having everything ready from the start helps you avoid distractions and stay in the zone.
Here’s what you’ll need:
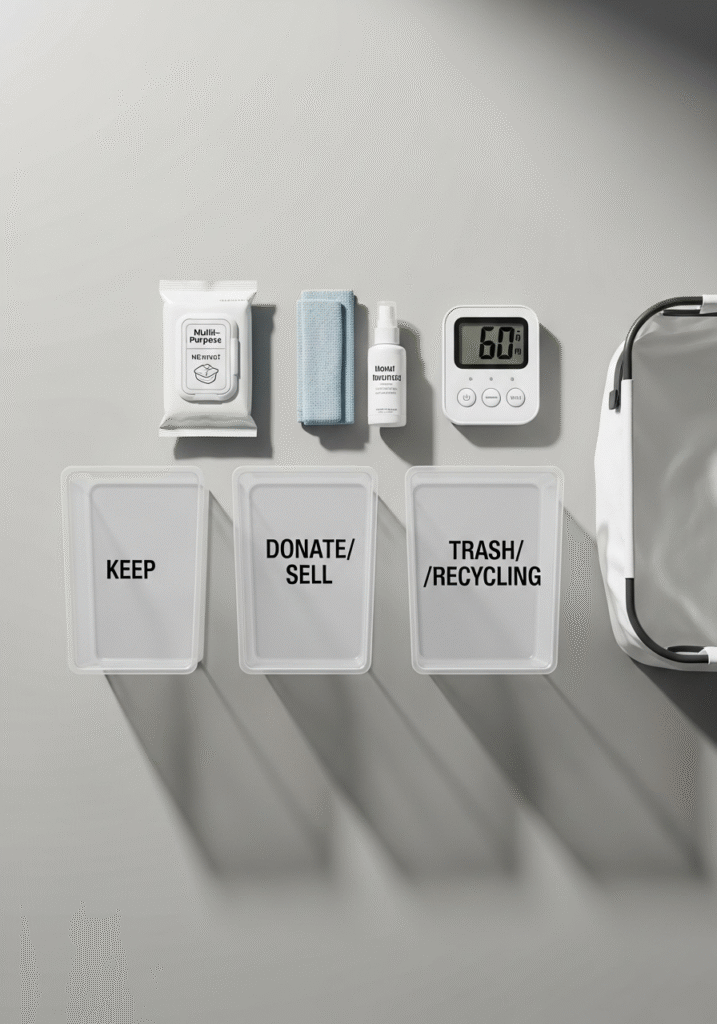
- Three Containers or Bags:
Designate three separate containers to help sort through clutter quickly and efficiently.- Keep: This is for items that belong in the bedroom but need to be organized or put back in their proper place.
- Donate/Sell: Use this for gently used items you no longer need or love—clothes, books, accessories, or décor.
- Trash/Recycling: For broken, unusable, or unnecessary items that can’t be donated. Be decisive—if it doesn’t serve a purpose or bring you joy, let it go.
- Surface Wipes or a Microfiber Cloth with Cleaner:
A quick wipe-down of surfaces can make a dramatic difference. Dusty furniture, sticky nightstands, and smudged mirrors can dull the calm feeling of your room. Choose a gentle, multi-surface cleaner to freshen up quickly as you go. - Timer (Phone or Kitchen Timer):
Set your timer for 60 minutes. This isn’t just to track time—it’s a motivational tool. A countdown creates urgency and helps keep you focused and energized. The goal is continuous movement and decision-making—no second-guessing or lingering. - Laundry Basket or Hamper:
Dirty clothes often contribute to visual chaos. Having a basket on hand lets you quickly collect laundry without stopping to sort or start a load. You can deal with washing after your bedroom reset is complete.
A Quick Note Before You Start:
Once your timer starts, commit to working straight through—no breaks, no checking your phone, no wandering off to another room. This hour is for your space and your peace of mind. You may feel rushed at times, but trust the process. Making quick, confident decisions is more productive than letting perfectionism lead to procrastination.
This isn’t about making your room look like a magazine photo—it’s about creating a space that feels clean, calm, and truly yours. Ready? Take a deep breath, press start on the timer, and let the transformation begin.
Step 1 (0–10 min): Clear Flat Surfaces
Let’s start where clutter tends to collect the fastest—flat surfaces. Nightstands, dressers, desks, window sills, and even the tops of shelves can quickly become drop zones for random items like receipts, keys, loose change, cups, makeup, chargers, books, or mail. These small objects build up gradually, but together, they create visual noise that makes your space feel chaotic and overwhelming.
In this first 10-minute sprint, your mission is simple: clear these surfaces completely. Focus on visual impact and fast decision-making.
How to Do It Efficiently:
- Work Top to Bottom:
Start with the most visible surfaces like nightstands and dresser tops, then move to desks or shelves. This approach ensures that even if time runs tight, the biggest-impact areas are tackled first. - Use Your Three Bins:
As you clear each surface, sort items immediately into your three containers:- Keep: Useful, meaningful, or decorative items that belong in the bedroom.
- Donate/Sell: Things you haven’t used in months, don’t love, or that no longer suit your space.
- Trash/Recycling: Old receipts, broken jewelry, expired products, dried pens, etc.
- Be Decisive and Ruthless:
If you hesitate, ask yourself:- Do I use this regularly?
- Would I buy this again?
- Is this item adding to the calm or clutter of my space?
If the answer is no, it probably doesn’t belong.
- Reset with Intention:
Once a surface is clear, wipe it down with a cloth or surface cleaner to remove dust and grime. Then, put only essential “keep” items back—ideally just one or two decorative or functional objects. Think minimalist: the less that’s out, the easier your space is to maintain.
Why This Step Matters:
Flat surfaces dominate your field of vision when you walk into a room. If they’re cluttered, your brain registers disarray—even if the rest of the room is relatively tidy. By clearing and resetting them, you instantly create a sense of order and calm that sets the tone for the rest of the space.
In just 10 minutes, you’ll go from chaos to clarity—transforming the most visible parts of your bedroom and building momentum to tackle the rest.
Ready? Let’s clear it off and wipe it down. Your sanctuary is already starting to take shape.

Step 2 (10–25 min): Closet & Drawers Quick Sort
Our closets and drawers often become a hidden source of clutter that can affect our daily routines and mindset. Clothing, shoes, accessories, and other personal items tend to accumulate over time, making it difficult to find what we need and creating unnecessary stress. This quick sort step helps you reclaim your space and refresh your wardrobe by making thoughtful decisions about what to keep and what to let go of.
Set a timer for 10 to 25 minutes to keep your process focused and efficient. Spend this time divided between your closet and drawers so you address all your clothing storage areas without getting overwhelmed.
Start by pulling out each item—whether it’s a shirt, pair of pants, jacket, or accessory—and give it a quick but honest evaluation. Ask yourself these key questions for each piece:
- Does it fit me well? Clothing that’s too tight, too loose, or otherwise ill-fitting rarely gets worn.
- Does it suit my current style and lifestyle? Trends and tastes evolve, so some pieces may no longer feel like “you.”
- Have I worn this item in the last year? If it’s been more than a year since you last used it, chances are you don’t need it taking up space.
If the answer to all these is yes, this item is worth keeping. Make a mental note or physically set it aside for proper folding or hanging.
If the answer is no—if the item doesn’t fit, no longer suits you, or has been untouched for a long time—consider donating it. Clothing donation benefits others and reduces waste, giving your old items a second life.
Once you’ve sorted through the items, take a moment to neatly fold the clothes you’re keeping and return them to the drawers in an organized way. For clothes going back in the closet, hang them properly on hangers, ensuring they’re spaced enough to avoid overcrowding, which helps maintain their condition and makes them easier to see.
If you have drawer dividers, shelf organizers, or other storage tools, now is the perfect time to use them. These organizers help keep your space tidy and make future sorting sessions quicker and easier. By creating dedicated sections for different types of clothing or accessories, you’ll save time when getting dressed and reduce daily frustration.
Ultimately, this quick sort is about more than tidying—it’s a small but powerful step toward simplifying your environment and making your wardrobe truly work for you. The time you invest now pays off with easier mornings, less clutter, and a more mindful approach to what you own.

Step 3 (25–40 min): Under‑Bed and Hidden Zones
Under the bed and other hidden nooks in your home are notorious catch-all spaces where things seem to disappear—out of sight, out of mind—until clutter builds up to the point where it becomes a real obstacle. These hidden zones, while out of immediate view, can silently contribute to disorder, dust accumulation, and even stress. Spending focused time sorting these areas can dramatically improve your home’s organization, cleanliness, and overall atmosphere.
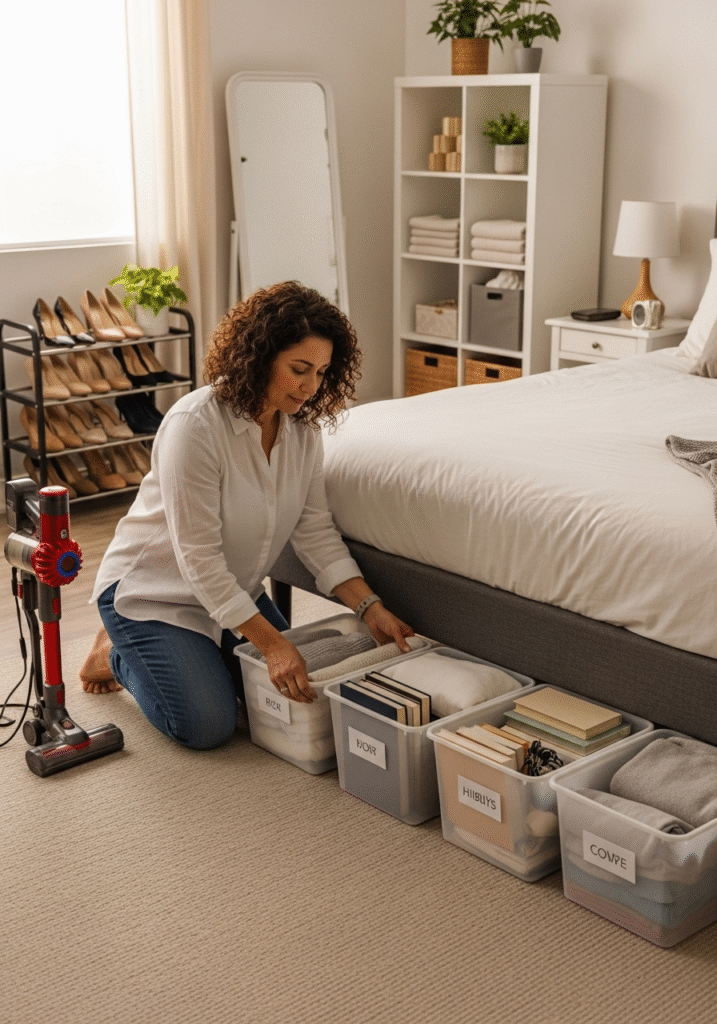
Begin by dedicating about 15 minutes to pulling out everything stored under your bed. This includes storage bins, boxes, loose items, or anything you might have shoved aside to keep it “out of the way.” As you bring each item or bin into the light, carefully open and examine the contents. Be honest with yourself about what still holds value or purpose:
- Keep only items that are meaningful, functional, or regularly used. This might include seasonal clothing, shoes, spare bedding, or sentimental keepsakes.
- Discard or donate anything broken, unused, or no longer relevant. Holding onto damaged or forgotten items only adds to clutter and mental weight.
After sorting the contents, take the opportunity to clean underneath your bed. Dust, dirt, and allergens often accumulate here, which can worsen allergy symptoms or affect air quality. Use a vacuum cleaner or broom to remove dust and debris, then wipe down the floor surface with a damp cloth if possible. This simple step refreshes the space and promotes a healthier living environment.
Remember, hidden zones extend beyond just under the bed. Other commonly overlooked clutter hotspots include:
- Behind doors, where hanging organizers or hooks may hold forgotten items.
- Shoe racks, which often become overcrowded and disorganized.
- Floor cubbies or small storage nooks, tucked into corners, closets, or entryways.
Approach these areas with the same sorting mindset: remove everything, make quick decisions about what to keep, and then put the items back in an orderly fashion. Using bins, baskets, or organizers can help maintain order and make future cleanups faster and easier.
By spending this focused time on hidden zones, you’re not only freeing up physical space but also reducing mental clutter. These small, out-of-sight areas can accumulate stress and disorder, but with consistent attention, they become neat, functional parts of your home that support ease and calm in your daily life.
Step 4 (40–50 min): Bed, Linens & Laundry
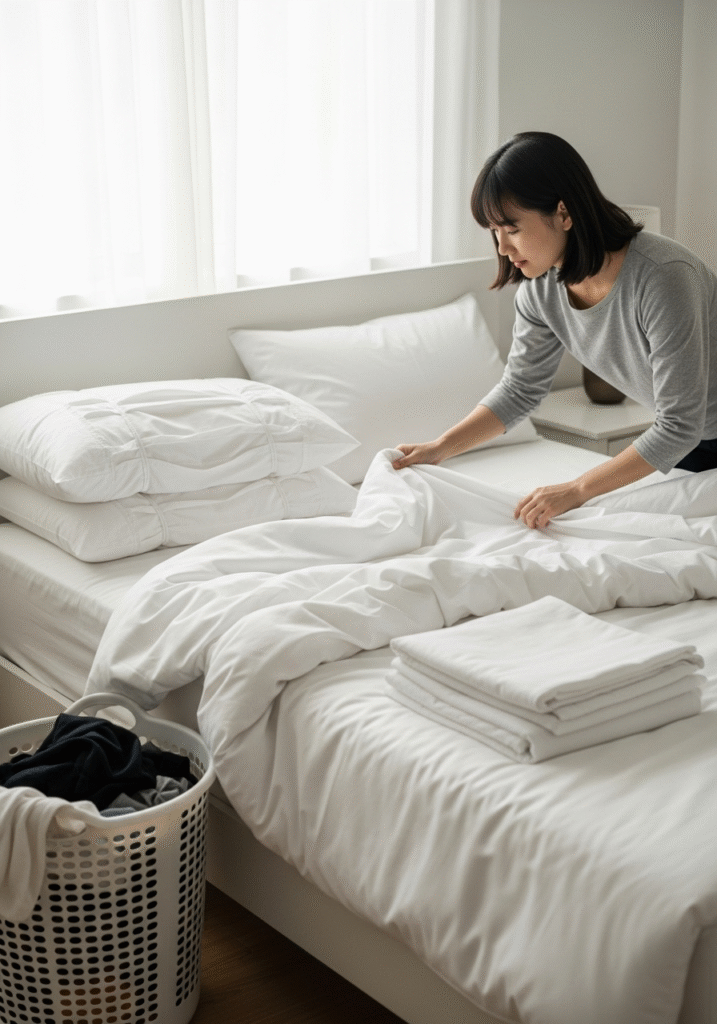
There’s something incredibly refreshing about slipping into a freshly made bed at the end of a long day. In this step, you’ll focus on revitalizing one of the most important parts of your room—the bed and all its linens. This 10-minute segment not only completes your space’s transformation visually but also contributes to your comfort, health, and overall sense of well-being.
Start by stripping all the bed linens, including sheets, pillowcases, duvet covers, and any blankets that can be laundered. Removing these items may reveal areas of dust or debris on the mattress or bed frame, giving you a chance to wipe down surfaces or vacuum if needed.
Next, place the linens in the laundry and begin washing them. Fresh, clean sheets can drastically improve your sleep quality, as they remove allergens, sweat, oils, and dust mites that accumulate over time. If you don’t have time to start the wash immediately, at least gather all dirty laundry into a hamper or basket so it’s organized and ready to go. This simple step prevents laundry from piling up later and helps keep your space tidy.
While the linens are washing, take a moment to prepare the bed frame if necessary. Dust or vacuum any exposed surfaces, and straighten pillows or cushions that might be on the bed.
Once the linens are clean and dry, replace them carefully. Smooth out fitted and flat sheets, tuck in corners neatly, and put fresh pillowcases on pillows. Fluff and arrange pillows attractively for that crisp, inviting look. This final step of making your bed creates a sense of order and calm that sets the tone for your entire room.
By regularly refreshing your bed linens and managing laundry consistently, you not only improve the look of your space but also promote a healthier, more restful sleeping environment. This small but impactful ritual can make your room feel like a sanctuary and give you a daily dose of satisfaction from a job well done.
Step 5 (50–60 min): Final Polish & Setup
You’re almost at the finish line! This last 10-minute segment is all about putting the finishing touches on your space to make it feel truly refreshed, welcoming, and functional. These small but meaningful tasks help elevate your room from simply tidy to beautifully polished, creating an environment that invites relaxation and peace.
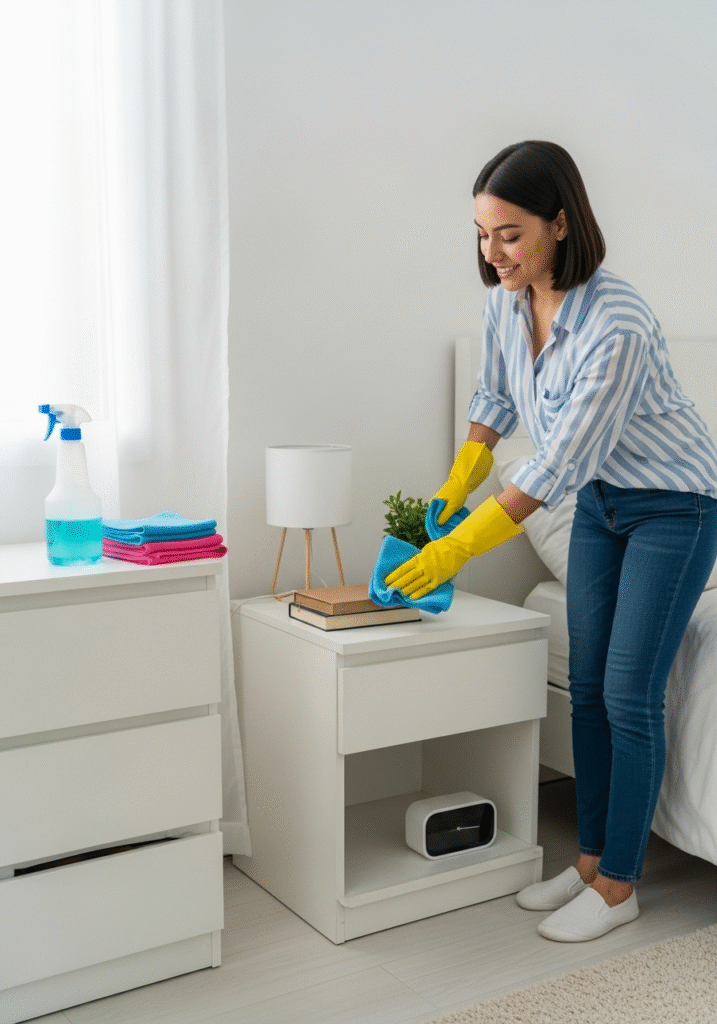
Start by using your wipes or a microfiber cloth to carefully wipe down all flat surfaces. This includes nightstands, dressers, shelves, window sills, and any other surfaces where dust tends to settle. Removing dust and smudges instantly brightens your space, prevents allergens, and gives everything a fresh, cared-for appearance.
Next, spot-clean any visible marks on walls or baseboards. Scuffs, fingerprints, or accidental stains can accumulate over time, making your room feel less pristine. A gentle cleaner or a damp cloth can erase these imperfections, enhancing the overall crispness of your space.
Once the surfaces are clean, vacuum or sweep the floors to pick up dust, dirt, and debris that may have settled throughout your cleaning process. Clean floors are crucial not only for appearances but also for maintaining a healthy, allergen-free environment, especially if you have carpet or rugs.
With your room freshly cleaned, turn your attention to arranging the items you use nightly. Place your bedside lamp, favorite books, alarm clock, phone charger, or any other essentials within easy reach. Organizing these items thoughtfully creates a practical and calming bedtime routine, helping you unwind and set the stage for restful sleep.
Finally, take a moment to pause and breathe deeply. Inhale slowly and appreciate the calm, clean atmosphere you’ve created. Your room should now feel like a restorative sanctuary—a space where clutter and chaos have been replaced by order and tranquility. This mindful moment reinforces the effort you’ve put in and helps you mentally settle into your refreshed environment.
Tips to Stay Clutter‑Free
Congratulations on completing your one-hour decluttering blitz! You’ve made significant progress, but the real challenge—and real victory—is maintaining that calm, organized environment over time. Staying clutter-free is a continuous process, and adopting a few simple habits and strategies can make all the difference. Here’s a comprehensive guide to help you keep your space tidy, functional, and stress-free long after the initial cleanup.
Daily 2-Minute Reset
One of the most effective habits for maintaining order is the daily two-minute reset. Each evening before bed, spend just two focused minutes tidying up your living space. Return any items that have strayed from their designated spots—whether it’s a book, a piece of clothing, or a stray charger cable. This small but consistent practice prevents clutter from piling up and keeps your home feeling fresh day-to-day. Over time, this habit builds momentum, making larger cleanups less daunting and helping you stay on top of clutter effortlessly.
One-In, One-Out Rule
Clutter tends to creep back when new items enter your space without any leaving. To prevent this, adopt the one-in, one-out rule: whenever you bring a new item into your home—be it clothing, decor, gadgets, or kitchen tools—commit to removing one existing item. This balanced approach controls clutter growth and encourages mindful consumption. It also helps you evaluate what you truly need and value, rather than accumulating things that add noise instead of joy.
Smart Storage Solutions
Organizing your belongings with thoughtful storage solutions is key to maintaining clutter-free spaces. Consider the following:
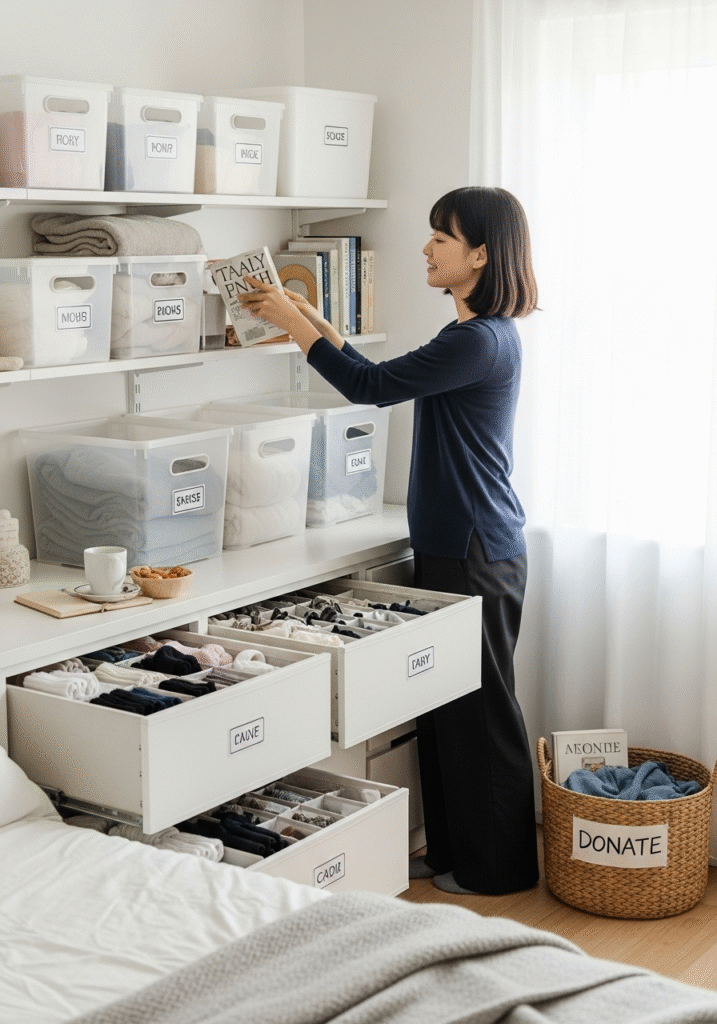
- Bins for Seasonal Clothes: Store off-season clothing in clear, labeled bins to free up closet space and keep your wardrobe streamlined. This makes it easy to swap items when the seasons change without creating mess.
- Dividers for Drawers: Drawer dividers help keep socks, underwear, accessories, or office supplies neatly separated and easy to find. This small investment in organization pays off daily by reducing frustration and saving time.
- Labels to Identify Contents: Label boxes, bins, shelves, and containers to create clear zones for different categories of items. When everyone in your household knows where things belong, maintaining order becomes a shared effort and less of a chore.
Monthly Mini Blitz
Set aside ten minutes once a month for a quick “mini blitz” of your space. This could involve tidying your countertops, straightening your closet, clearing behind doors, or reorganizing a drawer. These short, focused sessions prevent clutter from sneaking back and keep your home consistently organized. Monthly maintenance is far less overwhelming than infrequent, large cleanups, and it ensures your space stays inviting and functional throughout the year.
Reflect on Value
Lastly, keep a mindful approach to what you own by regularly asking yourself: “Does this bring me joy or serve a purpose?” If the answer is no, it’s time to consider donating, recycling, or letting go of the item. This reflection helps you cultivate a meaningful, intentional collection of belongings that enhance your life rather than weigh it down. Embracing this mindset fosters a healthier relationship with your possessions and supports ongoing clutter control.
By weaving these habits into your daily and monthly routines, you’ll transform the one-hour blitz into a lasting lifestyle change. Your space will stay clear, your mind calmer, and your life simpler—making room for the things that truly matter.
Conclusion
In just 60 focused minutes, you’ve taken a powerful step toward reclaiming your bedroom and transforming it into a space that supports rest, relaxation, and clarity. Through clearing cluttered surfaces, organizing your clothing and under-bed storage, refreshing your linens, and adding those final polished touches, you’ve made enormous progress that goes beyond just tidiness. This is a meaningful reset for your personal sanctuary.
A decluttered, well-organized bedroom does more than just look good—it creates a calming atmosphere that can positively influence your mood, streamline your daily routines, and boost your overall productivity. When your environment is orderly and welcoming, it’s easier to relax, focus, and start your day with intention. The ripple effects of this simple hour of effort can extend into many areas of your life, fostering a greater sense of peace and control.
Now that you’ve experienced the benefits firsthand, take the next step by setting a timer and committing to your bedroom today. Whether it’s a quick refresh or a deeper sort, starting is the most important part. Celebrate your journey by sharing your before-and-after photos in the comments or on social media—your transformation could inspire friends, family, or others in our community to take their own steps toward a clutter-free life.
Remember, a cleaner, calmer life starts with just one hour—and one decision to begin. You’ve already made that choice today, and that momentum can carry you forward to greater order, joy, and simplicity in your home and beyond.
